May 30, 2012

Glazing in the studio


My mom and I have been getting ready for the art show for a while now. She is selling pottery at her booth and I'll be selling smaller things like earrings, journals, and stationary at my booth. She just recently got through her final bisque fire of pots, which means it's time to glaze. She made a ton of stuff! I spent some time in the studio with my sisters helping her with glazing. My mom pretty much hates glazing -- but I don't. I think glazing is actually fun because you really have no idea what the final result will look like. Different combinations of glazes will have totally different effects and even if you try the same combination twice, it may still look totally different. Even though glazing is kind of an art that does itself, it's still possible for everyone to develop their own styles of glazing which always shine through after the glazed pieces are fired. 

These aren't fired yet, so they look pretty dull for now. It's pretty much like painting with watery dust. In the kiln, the glaze melts into a kind of glass and they look a lot nicer. I'll post pics of those when they are done.


May 22, 2012

Recipe: Coconut Pecan Frosting


Coconut Pecan Frosting 
Recipe taken from: cooks.com

I asked my mom what kind of cake she wanted for her birthday and she told me German chocolate. Never made or heard of German chocolate cake before then. I was planning on making the whole thing from scratch...but got a little lazy and decided to use a box. I did make the icing from scratch, though, and it turned out really good. The coconut shreds and pecans add an interesting texture and it's a fun alternative to plain vanilla or chocolate frosting. 

You will need:
1 c. evaporated milk
1 c. sugar
3 egg yolks
1/2 c. butter
1 tsp. vanilla 
1 c. flaked coconut
1 c. chopped pecans

Directions:
Combine milk, sugar, yolks, butter and vanilla in pan. Cook over medium heat, stirring constantly until mixture thickens. Remove from heat. Add coconut and pecans. Beat until cool and thick. 

And that's it!


Some fun ways to use this frosting, you ask?

bakingjunkie.com 

redcouchrecipes.blogspot.com

southernfood.about.com

veggievores.blogspot.com

 -doe

May 21, 2012

A birthday bathroom makeover


For my mom's birthday, me and my younger sisters teamed up to redo the upstairs bathroom that used to be ours, to give to my mom. She recently gave her master bed room to my sisters along with the bathroom attached to it...so she has been bathroom-less for a while. The whole bathroom took about a week and a half to complete, and my mom had no idea because she rarely goes upstairs! She spends most of her time at work or in the basement working in her ceramic studio. 

Where we started:

It actually looked kind of worse. This picture was taken after taking down a shower curtain printed with huge, gaudy, multicolored flowers on it. This was also after removing a green, fuzzy rug that was over 13 years old, along with bright blue painted wooden shelves that sat over the toilet.  


The Process:

The Cabinets

The cabinets were the biggest challenge. Instead of painting or staining, I tried using a kit. I used the Rust-Oleum Furniture Transformations kit, costing a little over $30. Since I was only working with a bathroom sized cabinet, I chose the 35 sq ft sized box. The color we used was Federal Gray, but there are a couple dozens of colors to chose from shown on the back of the packaging. The application is time intensive, but gives good results. You don't have to deal with sanding, which you would have to do with a wood stain, but can still achieve a natural wood grain effect using the decorative glaze that you can't get from a regular paint job. 

Contents:
community.homedepot.com

First, we used the deglosser to remove whatever finish was on the wood. This is basically like cleaning the cabinets. Then, we applied two coats of the bond coat (color). You are supposed to wait at least an hour or two between coats. The decorative glaze is optional and darkens the color slightly while adding a grainy wood appearance. We chose to apply the glaze because we liked the natural wood look. To do this, you apply a thin layer with a brush, and then use cloth (provided in the kit) to wipe off excess. After this dries for 8 hours (we didn't wait this long, but probably should have), then it's time for the protective top coat, which adds shine and protects against moisture.

Before beginning the paint job, we removed all of the doors from the unit and removed all of the hardware from the doors. Afterwards, we replaced the handles with new ones. Turned out cute!


Before:


After:


The Walls

Since we were working with purple walls, we decided to go with BEHR Premium Plus Ultra Paints, which have a primer mixed into the formula. The color we chose was called Lion, a pretty green, and the paint guy at Home Depot suggested a satin finish for bathrooms, so that's what we got. The can cost around $30 for a gallon. We taped everything, of course, and then applied two coats. The color dried slightly darker than I had anticipated, but I liked how it looked either way. It's the kind of green that can either look more cool or more warm depending on the atmosphere. I just used a 2" brush to cover smaller areas and corners, and my sister took over the rest of the walls using the roller. Total painting time was probably 4-5 hours, but I wasn't really timing it. I would suggest using a small ladder to reach heights, and not balancing on stacked chairs and stools like we did. 


Shelving

We wanted something a little more sophisticated but not over our budget. We went to Target and bought a bronze finished shelving unit for $18. I guess bronze finish actually means black. We didn't think the stark black finish looked right with the rest of the bathroom, so we bought spray paint from Home Depot for about $5 and spray painted the shelf before mounting it on the wall. To get rid of the holes from the original shelving we had, we used Spackle and sandpaper. Just filled in the holes with Spackle, let dry for an hour, sanded, and painted. 

Before:


After:


The Final Touches

An elephant portrait I bought from a wood carver
in Cameroon during my last visit in 2006.
Chunky robe hook
Fluffy white robe
Pair of fluffy white towels
Shelving unit for the shower
Dainty shower curtain
Baskets full of things moms love
Fluffy floor mats 


And finally...


The Happy Mommy


She loved it! And she looked very cute in her fluffy white robe. 


May 20, 2012

It's been a year...

...And I've reached my goal!

So it's finally been a year. Now that the time has passed, it feels like it flew by. Although, I will admit, I've had plenty of impatient days where I felt like just shaving all of my hair off again or throwing on a wig or stepping back in the shower and doing my hair all over again. At the moment, I think I am at a pretty awkward length, but there are good days, too. I am more conscious of hair health now than I was before the BC, so I am more careful about moisturizing and covering my hair at night. I can't say it is growing faster, but I can say that now I am retaining more length, that used to just break off. It's been fun and challenging experimenting with different products. I'm excited about seeing the growth progress over the next year so I can try out new longer styles. I find myself just wearing it out a lot because I don't know what to do with it. I am waiting as patiently as possible for the day when I can just tie my hair up in a scrunchy and be lazy.  


big chop May 17, 2011:


now May 19, 2012:


Photos above:
Length:  
My hair has grown about 6'' in length, possibly more. I don't want to do an exact length check right now because I will be measuring my hair in June, anyway (every 2 months). 

Style:
I tried out something new. I just separated out my bangs and then bobby pinned from ear to ear in place of where a head band would be. Was going for a fro-hawky look. Isn't exactly a faux-hawk, but I think it looks okay. Only took about 5 minutes and made crazy 3-day hair look slightly less out of control. 

Color:
It's hardly noticeable, but about a month ago I dyed my hair using a box color. I forget the exact shade, but it was a color by L'Oreal Paris Superior Preference and it was one of the medium/dark brown shades. I couldn't notice the difference until my naturally darker roots started growing in. It's only about a shade lighter but the color is a little more noticeable in bright light. Next time, I'll probably go to a salon.

Regimen:
Shampoo Trader Joe's Balanced Moisturizing Nourish Spa Shampoo, at least 1x/week
Conditioner Yes to Carrots Pampering Conditioner, 1-3x/week
Leave in Kinky Curly Knot Today 
Styling product Eco Styler with Moroccan Argan Oil Gel
Sealant an argan oil based product


May 19, 2012

I LOVE This Stuff

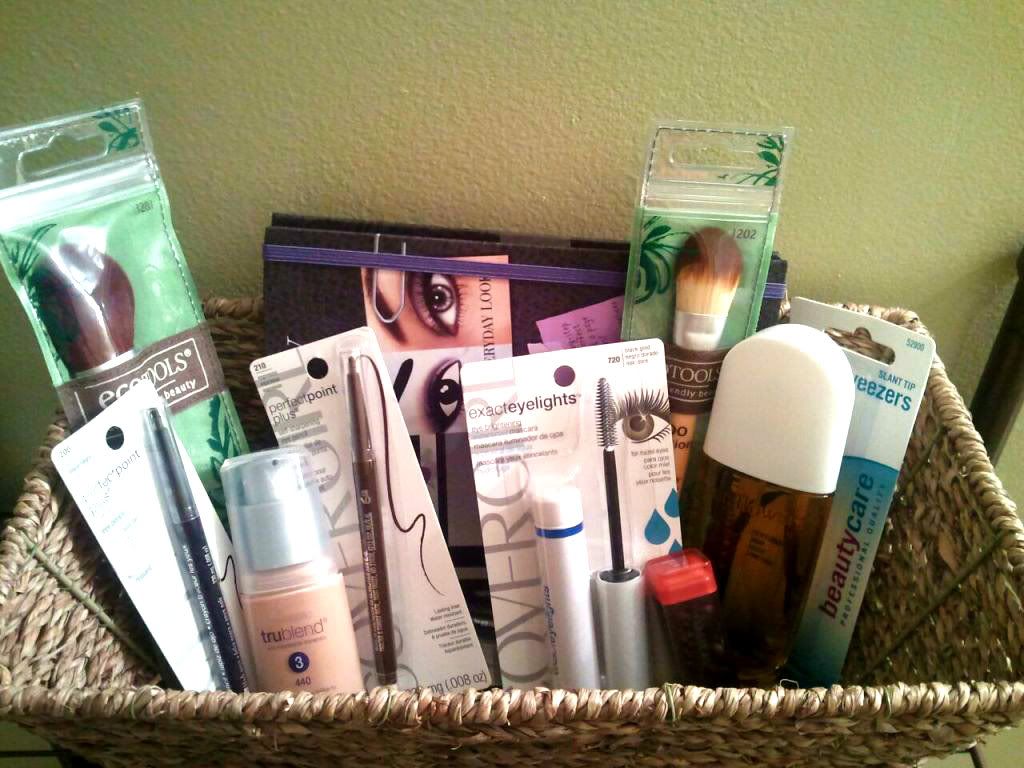
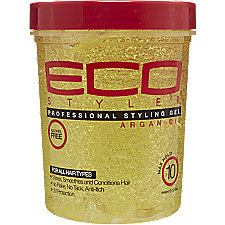
ECO STYLER with MOROCCAN OIL STYLING GEL, 32oz
$5, Sally Beauty

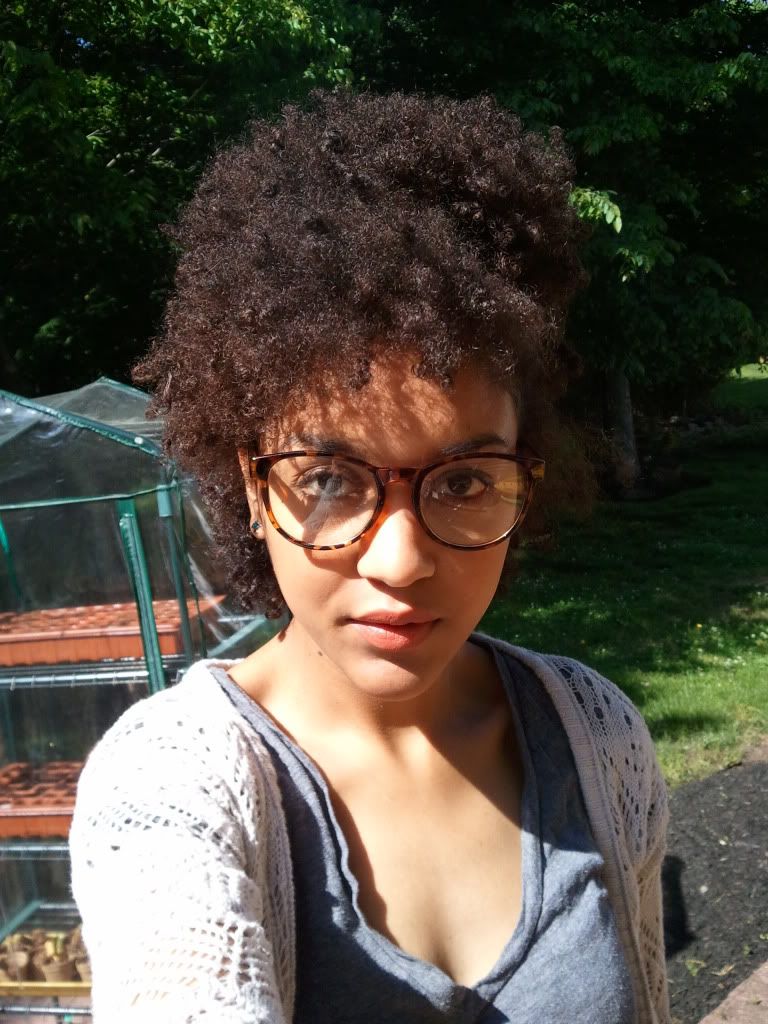
I've been doing a fairly decent job at avoiding buying products I don't need. I don't have any problem with product junkies (and if I could afford it, I would be way more of one), but might as well save money on my hair. The only reason I was hesitant to try this product was because it comes in such a huge container. So if for some reason I didn't love it...I knew I would be stuck with 32oz of it (a whole lot!). Turns out, I love it. Since I've bought this stuff (about a couple weeks ago, maybe?), I've been styling my hair with wash-and-goes a lot more frequently because I actually like the results. I find blow drying each section separately while stretching the hair helps keep some length. 

I find the consistency of this gel to be slightly thicker but similar to the Kinky Curly Curling Custard (KCCC), and works just as well on my hair texture and length as far as what I have noticed. The Eco Styler is thicker and stickier than the KCCC, but still has a soft hold.  I have never tried the Eco Styler with Olive Oil Gel, but I have heard that this gel, with argan oil, feels slightly thinner than the olive oil one. The first time I used this product, I applied very little because I was afraid of it being too gel-like. Now I've been putting it on slightly heavier for a stronger hold. When my hair dries, I just smooth on a little bit of oil to soften the hold and to scrunch out the crunch. Lately I've been using argan oil because I ran out of coconut oil (which melted and spilled all out of the jar on the drive home from Michigan...sad face). 

What's there to love:
Moroccan oil
I love that Eco Styler contains Moroccan argan oil. It's one of the latter ingredients on the list, so it's not very concentrated, but it's there. A little argan oil goes a long way. 

The price
$5 for 32oz...this jar is HUGE. Beats the price of any other styling product I've ever bought. Ever. 
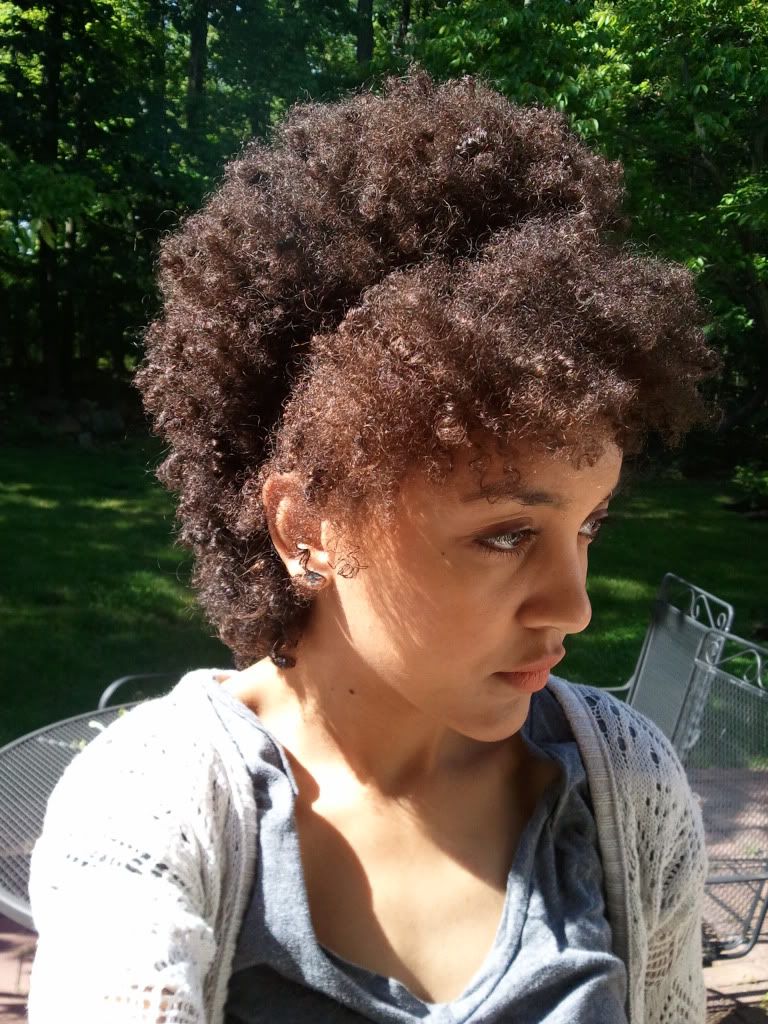
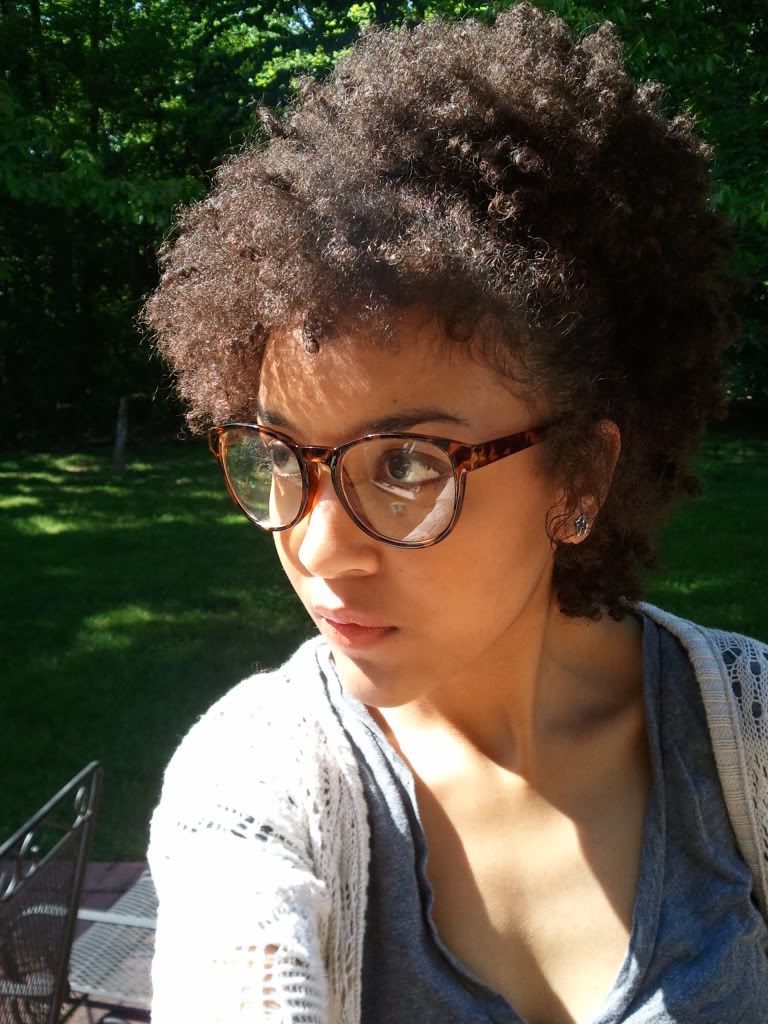
The hold
You can get fairly soft day 1 curls and fairly well defined 2 and 3 day curls. You don't really have to sacrifice softness for definition with this product, depending on how much you use. If I use styling tools like curlers or curl rods (or twists) the curls are even softer. 

The Smell
Very mild. Won't leave your hair smelling like cake. 

Alcohol Free
As all Eco Styler products are, I believe. 

What's there not to love:
I don't hate anything about Eco Styler gel. I notice if I put it on too heavy, it will flake a bit or get crunchy. This isn't difficult to avoid if I just don't cake it on. I try to use little product, anyway, so this isn't a huge problem. I also don't mind washing my hair a couple times a week. If you go for 100% all natural products, this may not be the best product for you. The ingredient list isn't horrible, but there are some inorganic things in it. This makes me question long term use, if some of the ingredients may actual dry out my hair.  I would never put this on my hair without first applying a moisturizer. 

Ingredients:
Water, Carbomer, Hydrolyzed Wheat Protein, PVP, Glycerin, Trithanolamine, Sodium Hydrxymethylglycnate, Plysorbate 20, Tetrasodim EDTA, Argan oil, Fragrance, Yellow #11

-doe