I got a set of Curlformers for Christmas (yay!). I'd never tried them before so I was curious about the results after seeing so many youtubers' good reviews. I see them used on wet hair more than dry hair, but my hair takes forever to dry so I just used them on my dry, lightly misted and combed hair.
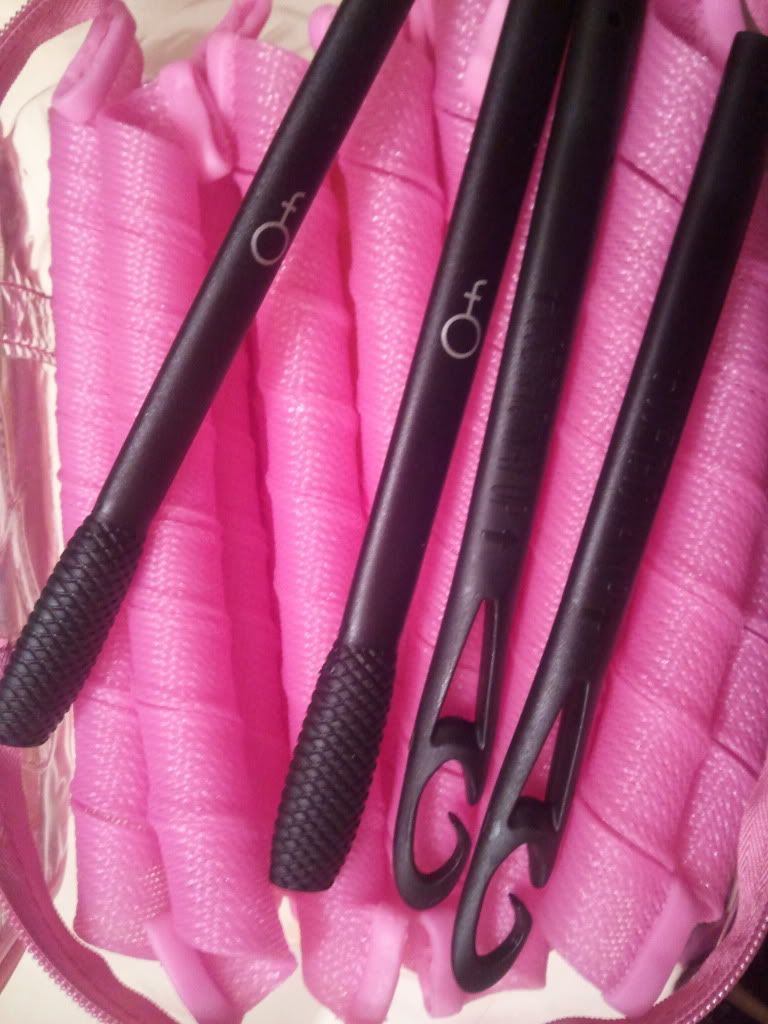
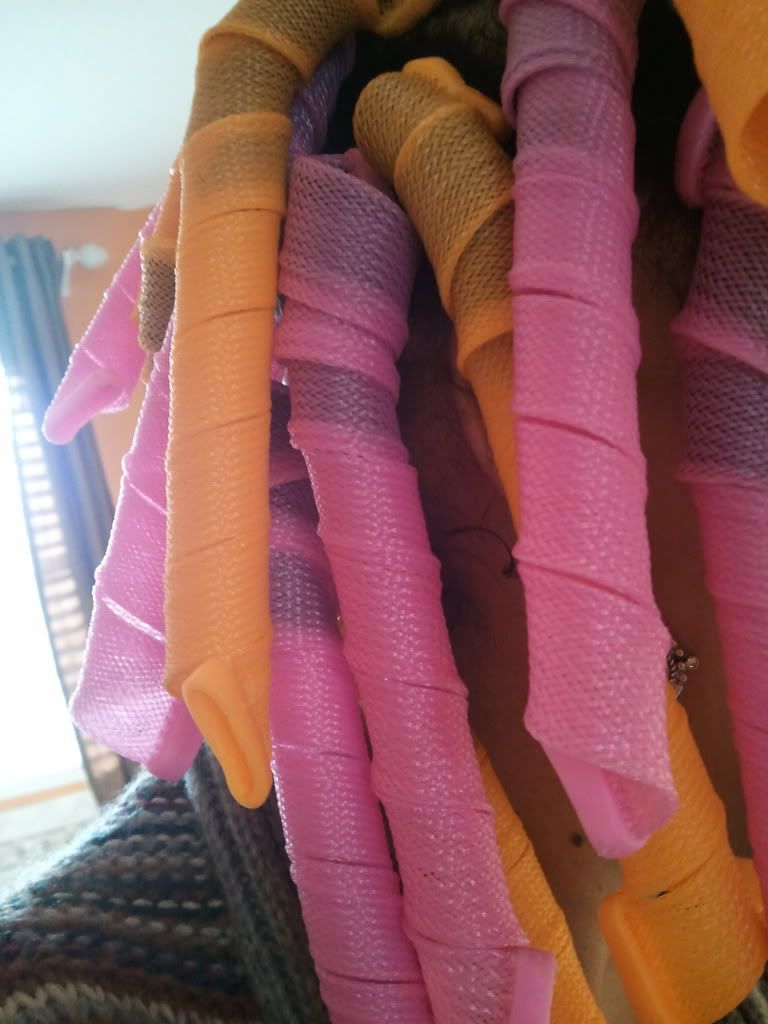
The kit I have comes with 40 extra long and wide curlformers and two styling hooks. Each color spirals in opposite ways to make for a more natural and less uniform look.
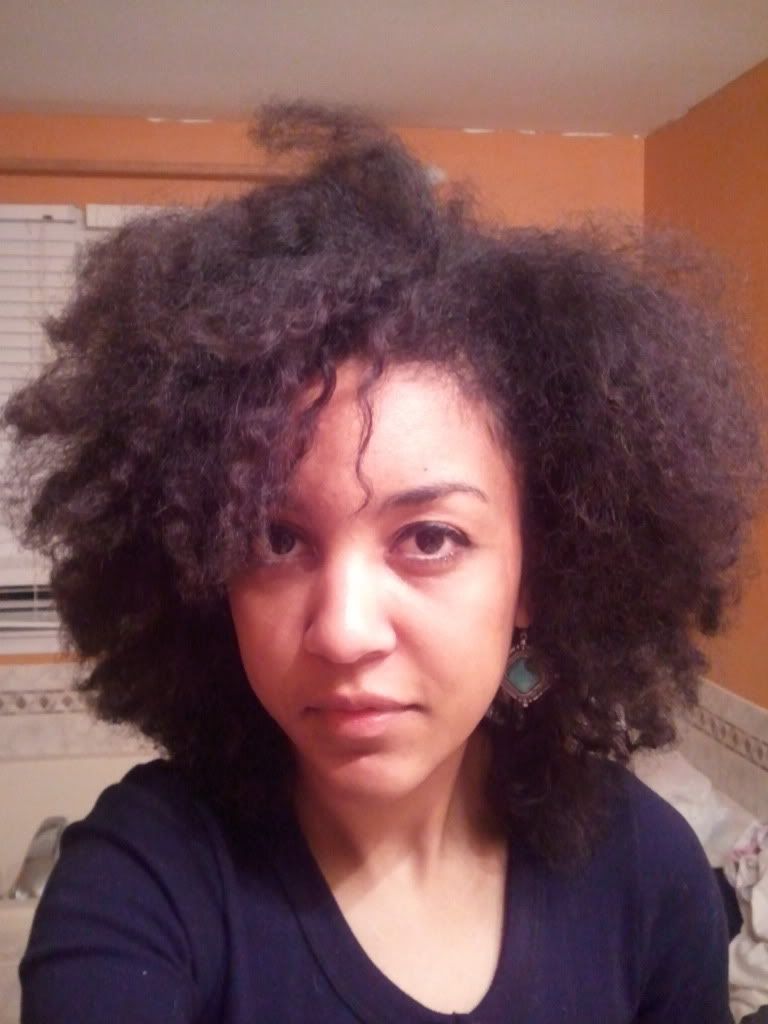
Where I started:
My dry, stretched, and frizzy hair. Before applying each curlformer, I spritzed each strand with water and brushed through using my Denman.
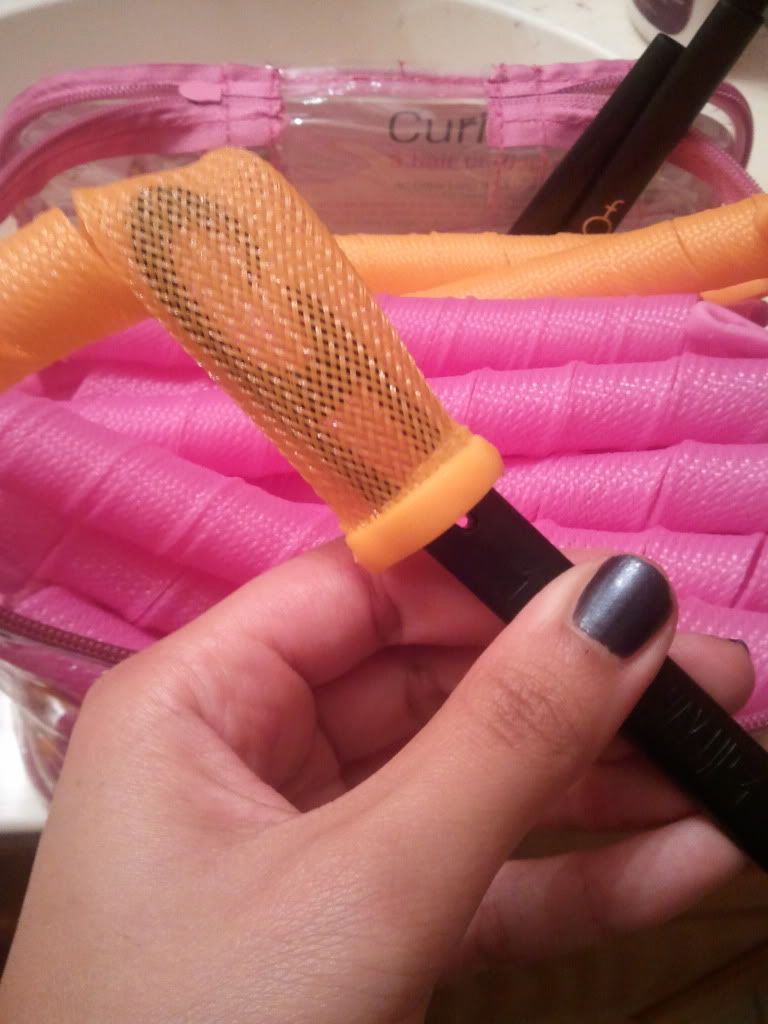
The process:
Insert styling rod hook-first into curlformer.
Pull curlformer down styling rod until the rod has gone all the way through.
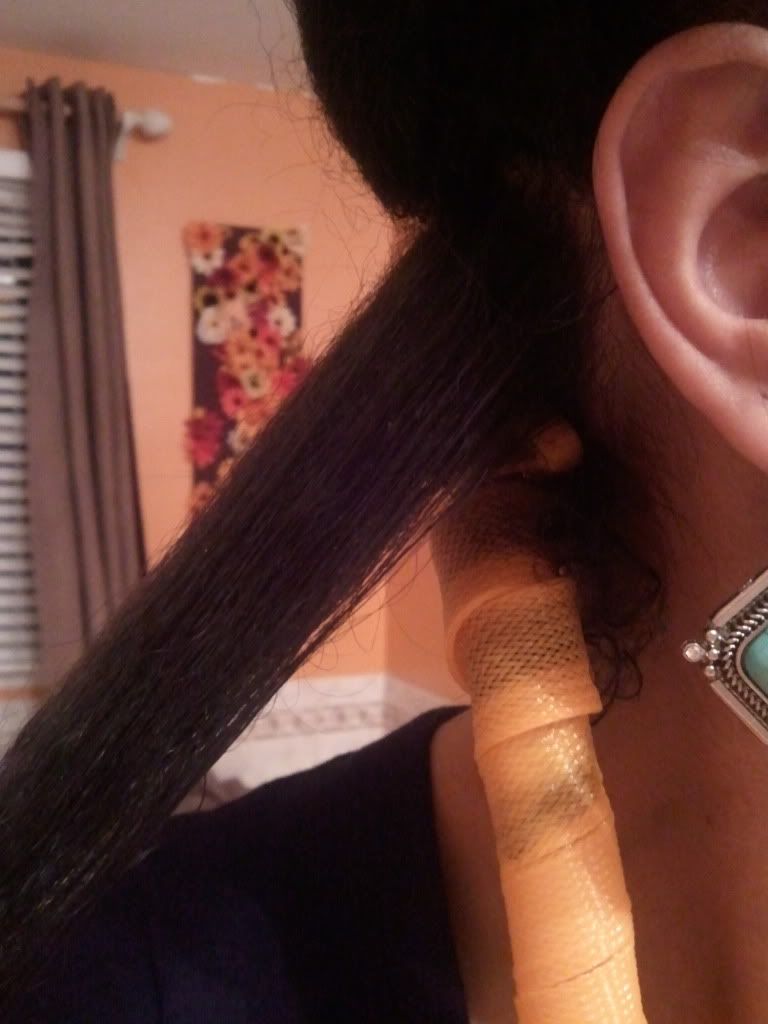
Take a small strand of hair and hook styling hook onto the strand. One hooked, hold the curlformer with one hand and pull down on the styling hook with other to pull the hair through the curlformer.
Do this until all of your hair is covered. Sometimes the curlformers would come off the rod uncurled so I would have to twist them back into place. Once you get it though, the application is really easy.
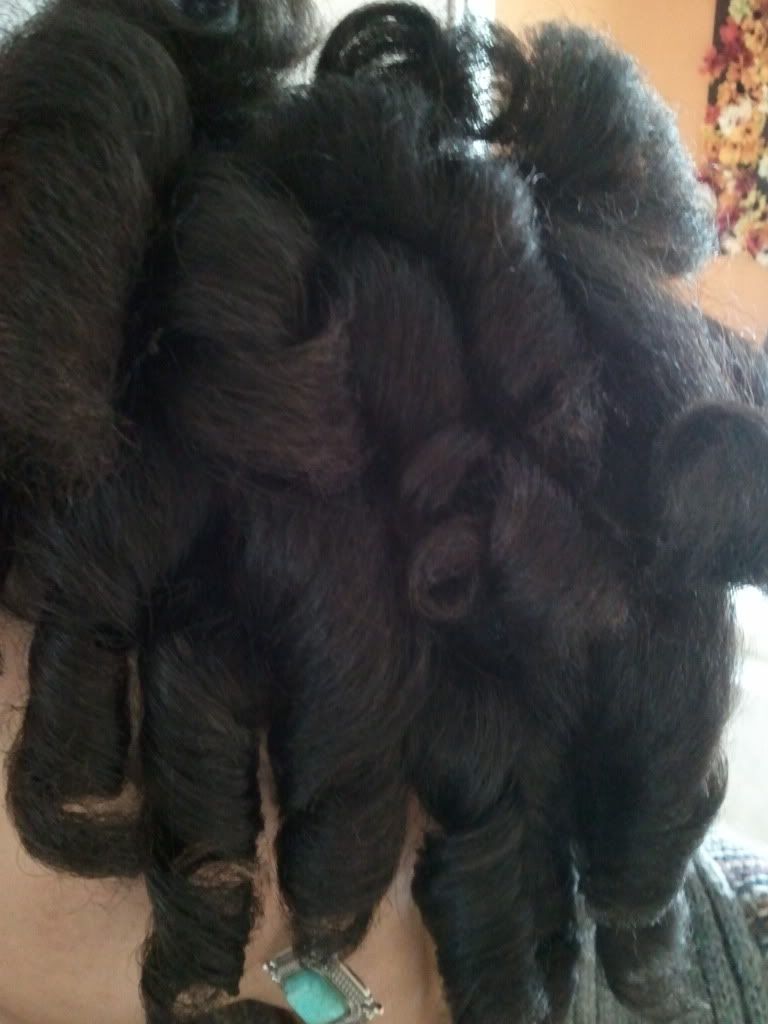
I covered with a scarf to hold them in place and then went to bed. The next morning I took them out. I squeezed the opening of the curlformers to widen the space for the hair to go through. If you don't do this, the friction can frizz up the curls. I also straightened out the curlformer before pulling it off of the strand to avoid even more friction.
Here's the curls directly after taking the curlformers out. Pretty big, bouncy and soft curls.
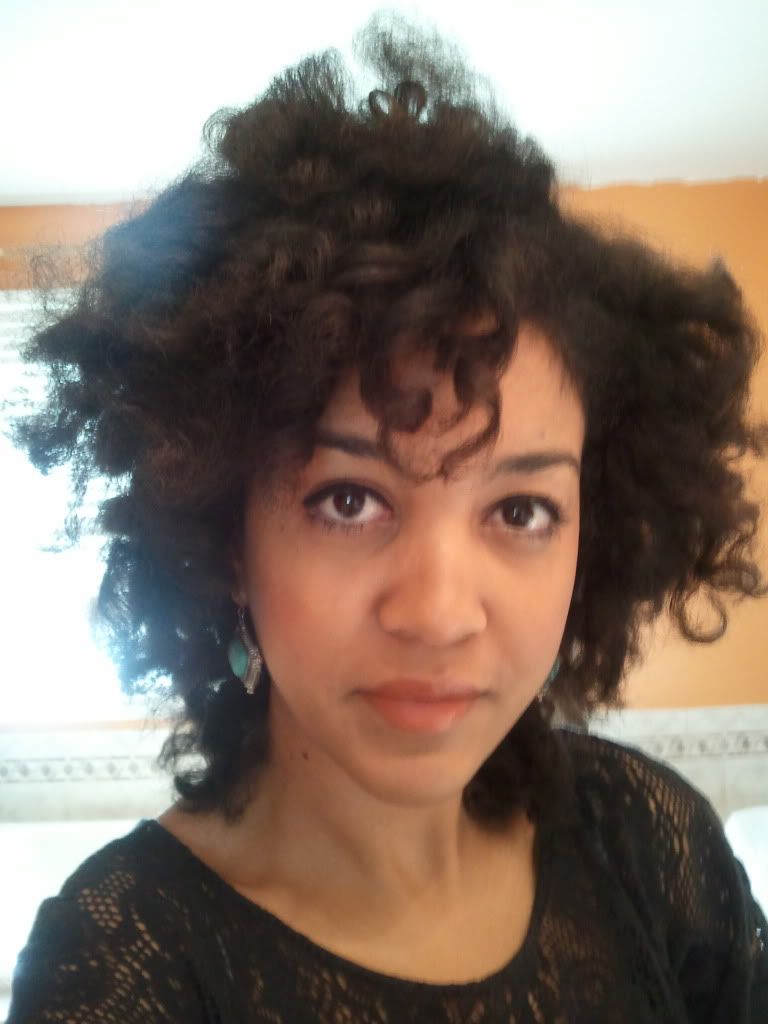
Results:
These are the curls after separating and fluffing out. I liked the results. It turned out a little frizzy, through. Next time, I'll use a light styling cream or gel to give them better hold. Also, instead of spacing out the rods evenly among 4 sections (10 per section), I plan on putting less curlformers on the bottom half of my hair and putting more on top so I'll be able to separate more on top. I don't really care if the bottom hairs frizz a little bit because you can never see them much anyway.
The application was easier than it looks -- not a pain at all. The only trouble is sleeping with them in which I find more uncomfortable than regular rollers. I like these better than curl rods though because the results are the same if not better and the application is much easier.
I still use heat on my hair, but during the week, instead of using a curling iron or instead of blow-drying these are a good way to get stretched styles while giving my hair a break from direct heat.