Showing posts with label Simple DIY. Show all posts

February 14, 2021

How to Make DIY "Un-paper" Towels


diy unpaper towels - paper free paper towels - reusable paper towels - cloth paper towels

It's been a million and one years since I've blogged on here or have done anything La Ti Doe related...but I'm back!

I put La Ti Doe on the back burner for a new business I was working on - Espinache - maybe you have heard of it? A spinach-infused hair and skin care line. But after a spinach love affair that lasted several years...I had to close that chapter for a bunch of different logistical reasons. 

So long story short, after New York, to Princeton, and then to Philadelphia...I am now in Miami! And loving the sunshine. Will be launching my La Ti Doe etsy shop back up again soon where I'm going to offer a bunch of different hand made textile goodies that bring joy the home. 

Anyways...for this past Christmas I was trying to think of something I could gift my sister who is very environmentally conscious. She really hates getting "stuff" from people. She is very minimalistic and tries to live as waste-free as possible. So I thought about making her a giant set of "un-paper" towels, made of soft absorbent cotton that she can reuse and reuse and wash (by machine or by hand!) and reuse again.

diy unpaper towels - paper free paper towels - reusable paper towels - cloth paper towels

And I think it was a successful gift because I didn't get yelled at! Hehe. 

It seemed like a no brainer to make some for myself too. I live with 2 dogs and 2 men (my husband and his brother) and me myself, who am probably the mess-equivalent of a few 8 year olds, so you can imagine we go through a lot of paper towels and a lot of trash.


What I love about these "un-paper" towels:

  • They are 100% cotton flannel - super soft and absorbent 
  • They are machine washable 
  • They are super simple to make
  • They are super cute
  • They are waste-free
  • They can double as napkins or even as little bibs
  • They are soft enough for any surface without leaving a scratch
  • They are much stronger than the normal paper-made paper towel 
  • They 'cling' together easily so you can roll them up and store them on any regular paper towel holder
  • They would make a great house warming or hostess gift! 

Materials You'll Need to Make DIY "Un-Paper" Towels:

diy unpaper towels - paper free paper towels - reusable paper towels - cloth paper towels

  • 1-2 yards of 100% cotton flannel (1 yard will make about 16) -- I got these from Joann Fabrics
  • Serger / overlocking machine (for the trim)*  
  • Matching thread 
  • Sharp fabric scissors and/or pinking shears

*If you don't have a serger/overlocking machine, you can use a regular sewing machine. Just cut the edges with pinking shears and fold over all of the edges to make a clean seam 


How to Sew DIY "Un-Paper" Towels:


Step 1: Fold & Cut

Fold the yard of fabric in half about 4x to form equal sized rectangles. Depending on the width of your fabric, the shape might be a bit more square or a bit more rectangle. 

My squares turned out to be roughly 10 inches x 11 inches. 

diy unpaper towels - paper free paper towels - reusable paper towels - cloth paper towels

diy unpaper towels - paper free paper towels - reusable paper towels - cloth paper towels

With your sharp fabric scissors, cut along the folds on all 4 sides. 

diy unpaper towels - paper free paper towels - reusable paper towels - cloth paper towels


Step 2: Iron Flat

This step is a little extra, so you can skip this if you don't feel like going all out. But I like to run my iron over each square just so they are all flat, smooth and easier to work with on the machine. 

diy unpaper towels - paper free paper towels - reusable paper towels - cloth paper towels

If you do not have a serger/overlocking machine, you can cut the edges with pinking shears, and then fold along out the outer edges and iron those down to make a clean edge that won't fray as much. 

Step 3: Serge Along the Seams 

Simply sew along all for sides with your serger (or sewing machine). If you're sewing with a sewing machine, you can pivot for crisp square corners. With a serger, I just sewed along all in 1 continuous stitch, curving along the edges for curved corners. 

diy unpaper towels - paper free paper towels - reusable paper towels - cloth paper towels

Repeat for all of your squares! Then cut off any excess / loose strings. 

diy unpaper towels - paper free paper towels - reusable paper towels - cloth paper towels

Step 4: Stack & Roll

Overlay one square on top of the next into a long line. The slight soft and fuzziness of flannel creates enough static for its own natural Velcro effect—so these will all 'stick', or more like cling, together on their own. 

diy unpaper towels - paper free paper towels - reusable paper towels - cloth paper towels

Then roll these up! You can roll them directly on an empty paper towel roll or directly on a storage rod. 

diy unpaper towels - paper free paper towels - reusable paper towels - cloth paper towels

They should stand up on their own - or you can store them on a cute paper towel holder wherever you use them most. I HIGHLY recommend making separate towels for the bathroom / unsanitary areas and making them different distinct colors so you're not accidentally cleaning toilet (barf) with the same cloth unpaper towels as your kitchen countertops!!! 

Fini! 
And that's it! Having a serger makes this so much faster / easier. But you can definitely make these with a regular sewing machine, no problem. 

diy unpaper towels - paper free paper towels - reusable paper towels - cloth paper towels

I think I might sell these in my etsy shop - COMING SOON! - so you can also get them from there if you don't feel like making them yourself!

Enjoy - 


February 18, 2015

DIY Paper Collage Journals

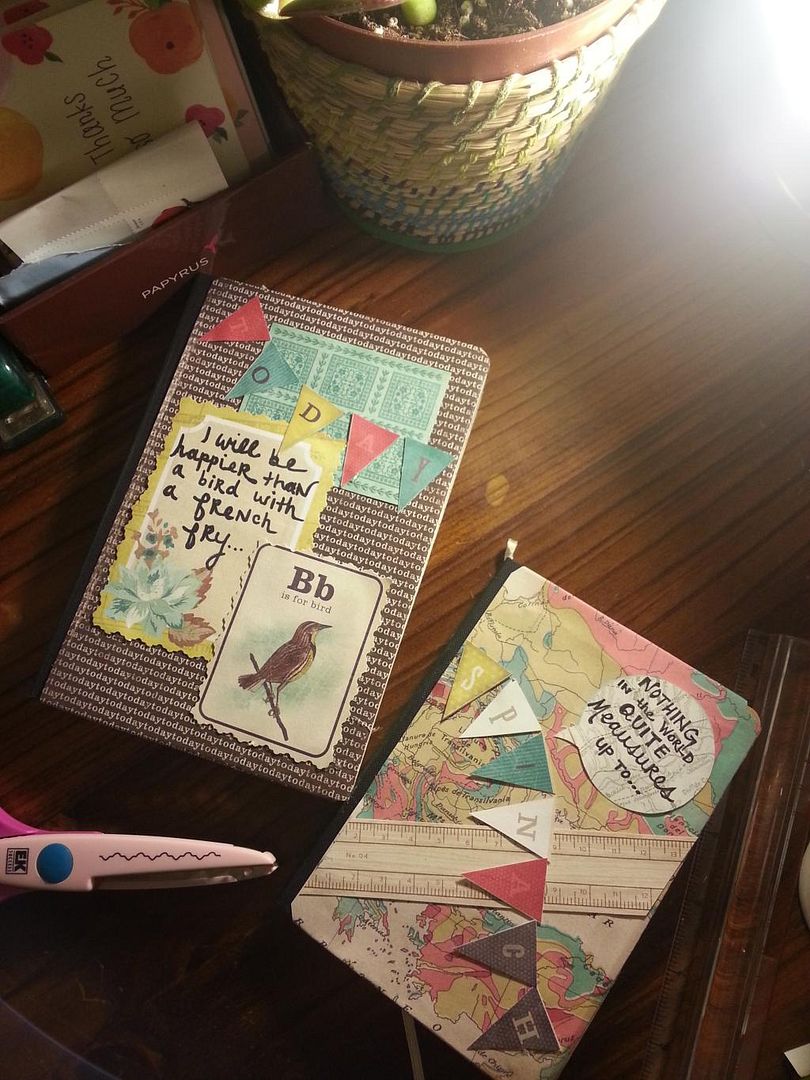
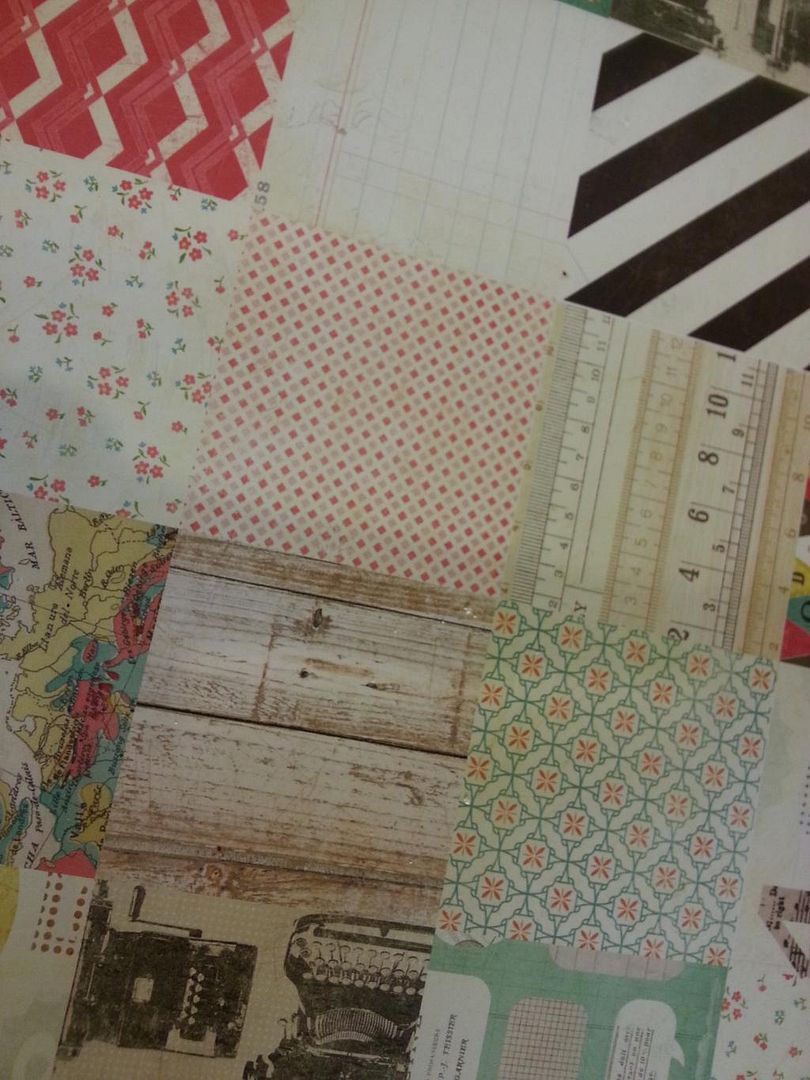
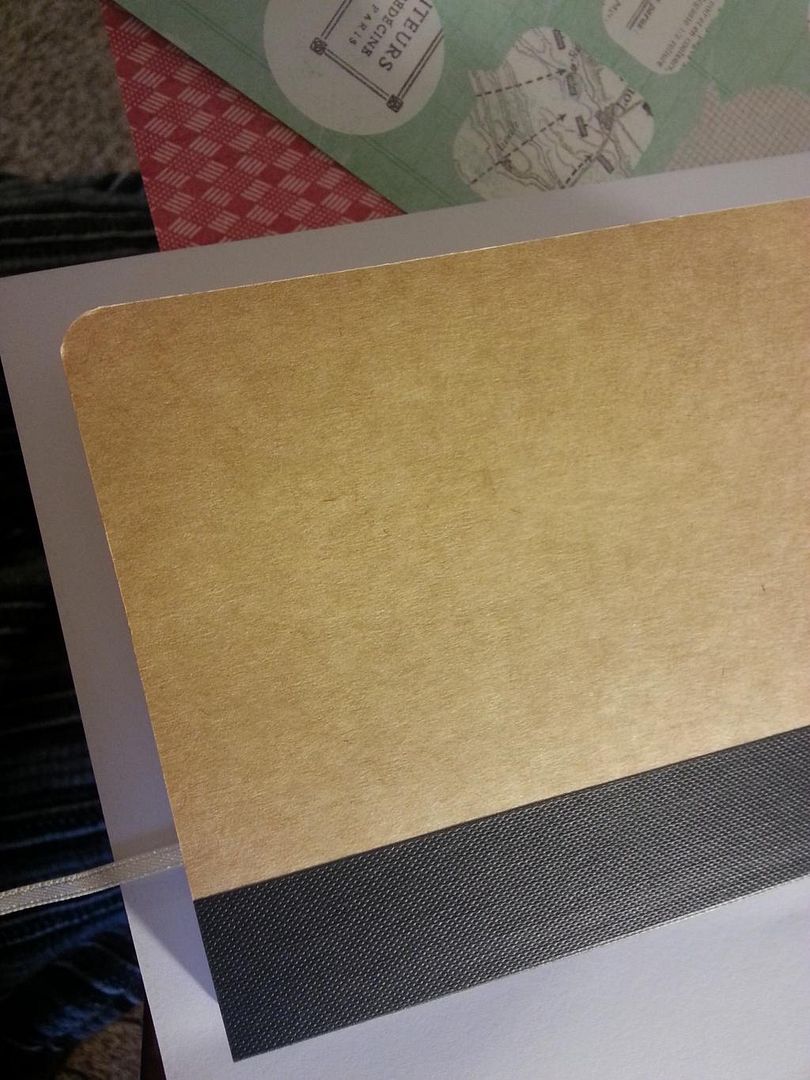
I'm a paper fiend. As well as a journal fiend. Have been journaling since I was 8 years old. I am now 23. With over 40 journals. Most written cover-to-almost-cover. For some reason I always leave several pages blank at the end of every journal. I would like to say there is a contemplative reason behind why. But the reason why is likely because I usually end up buying a new journal too soon...then can not be patient enough to finish the pages of the old one before moving on to the new one. 

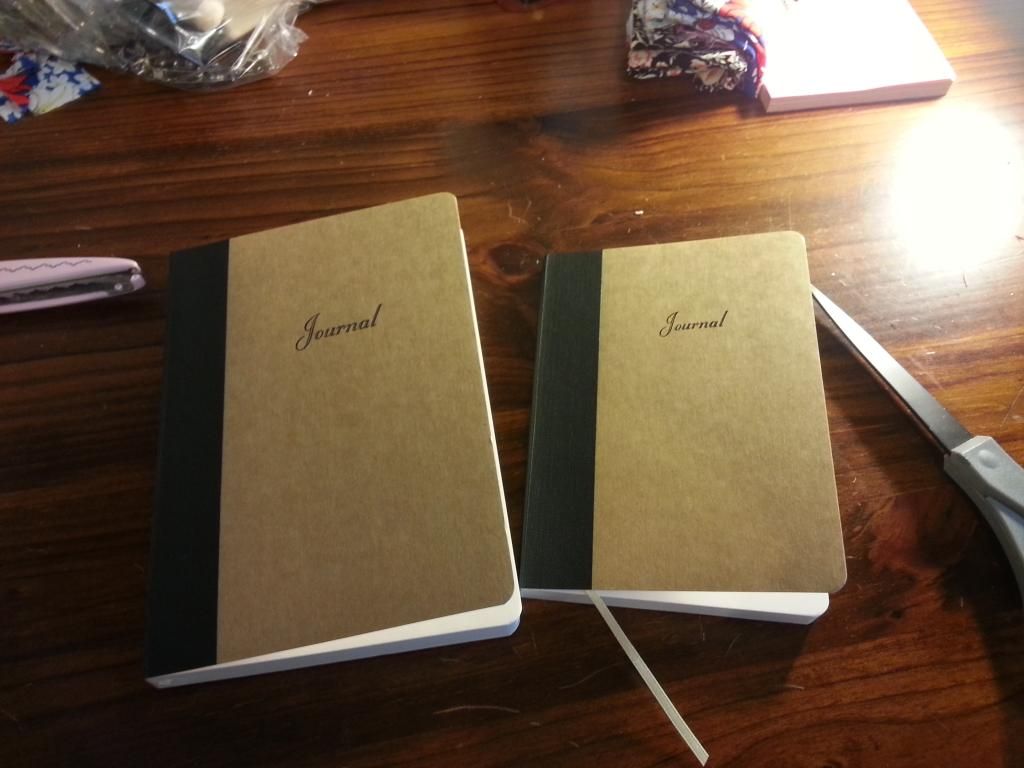
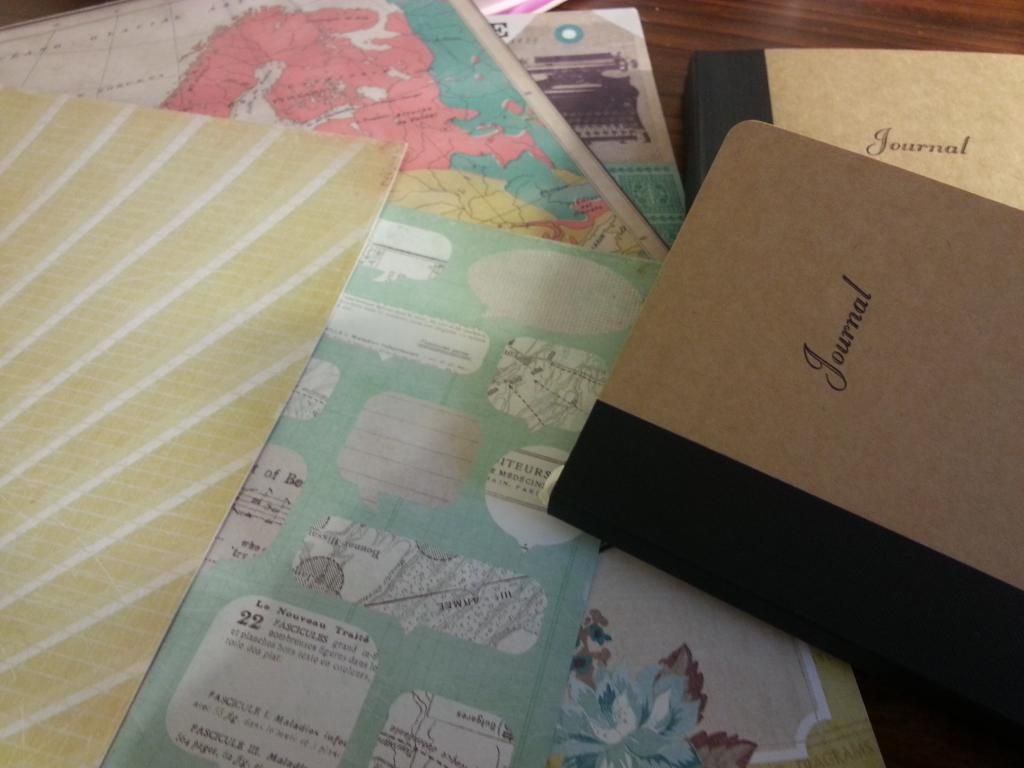
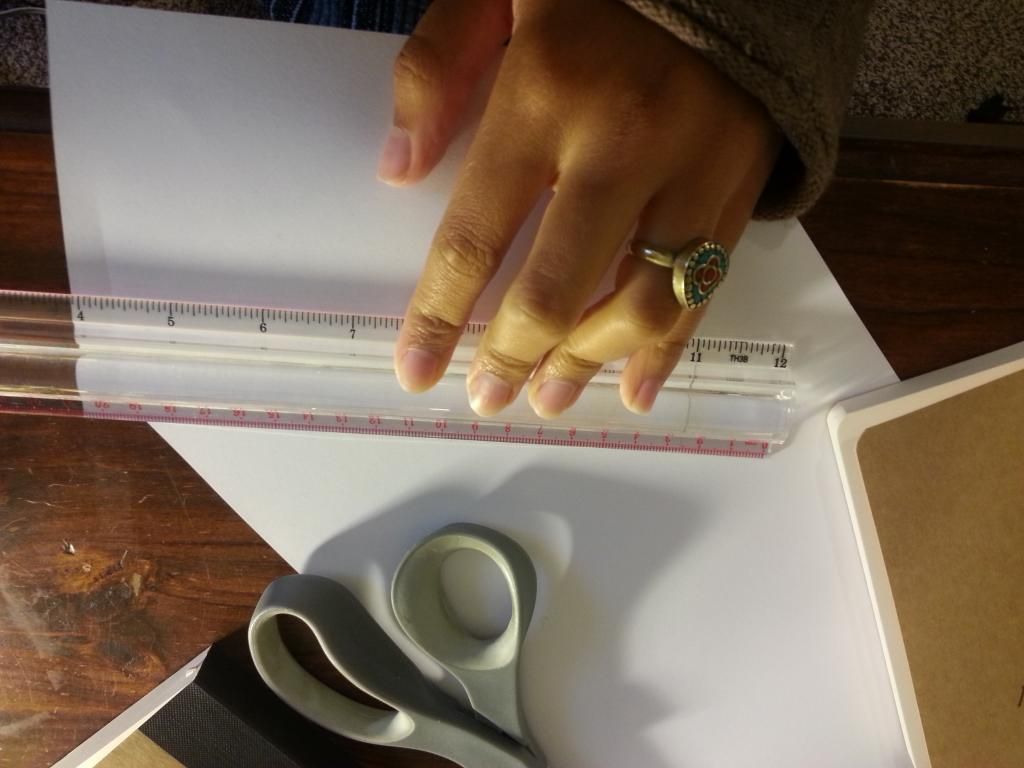
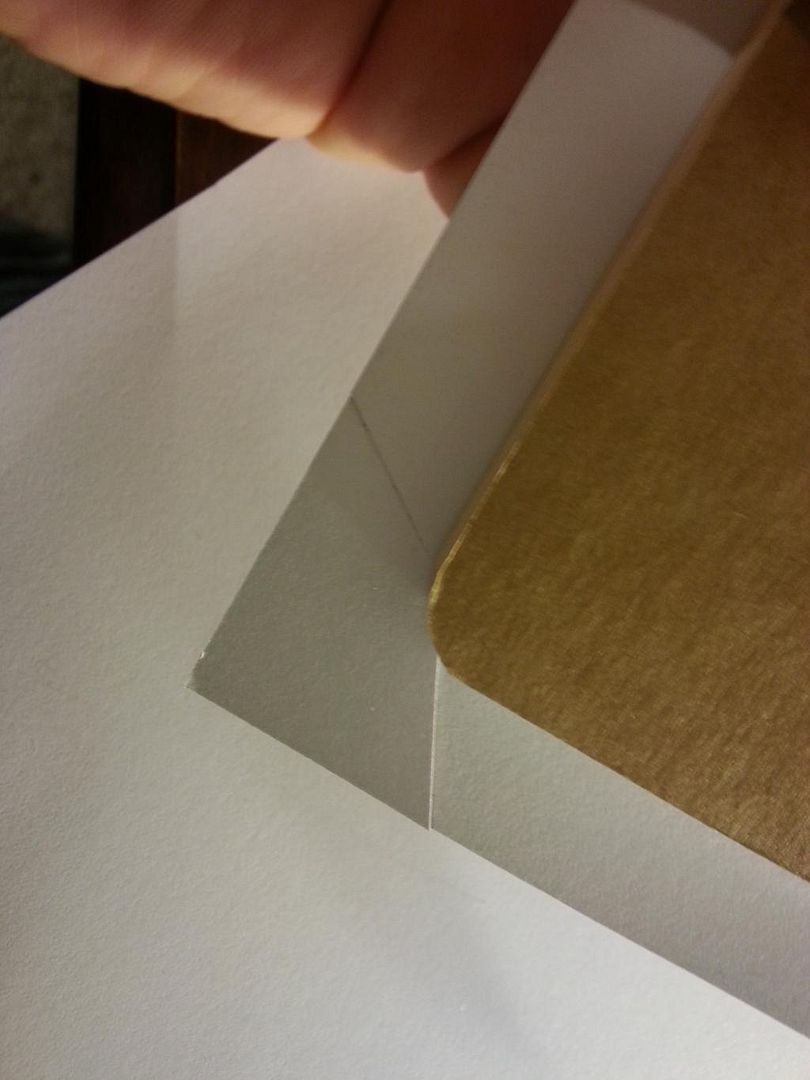
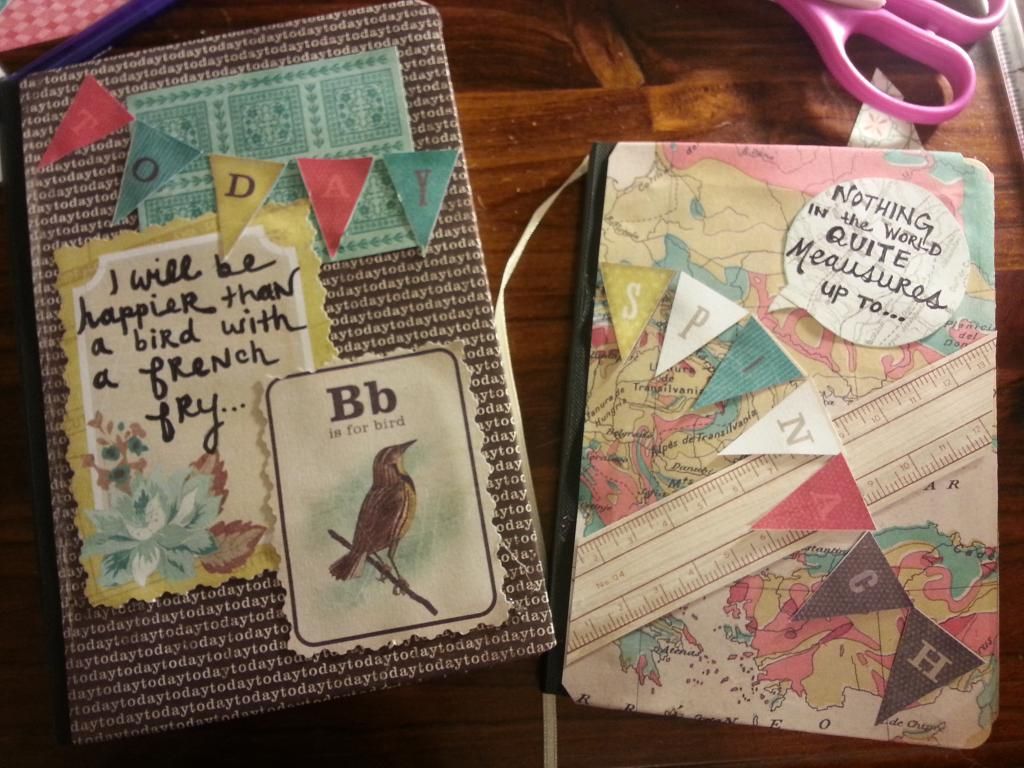
This time around I thought I'd make my own. I was feeling slightly uninspired one day. On those days I usually venture outside...to wind up back inside in a familiar place...like Starbucks, or in this case, Barnes & Noble. Where I can people watch or meet and greet or participate in some retail therapy to take my mind off of things. When I'm in Barnes & Noble I usually end up wandering to the journals. It's like gravity. There may be other aisles, magazines, books, music, and/or Starbucks in between. But oftentimes, I end up at the journals. And sometimes, walk out with a new one. This time, I thought I'd be creative and save money at the same time and buy a journal filler (is that what they're called?) instead. To make my own cover. I even made one for Spinach Blog - to record my recipes which I am so bad at remembering to write down...New Year Resolution, maybe?


Today I will be happier than a bird with a french fry.

Sometimes happiness (for me...) begins with big messes...that become tiny treasures.

September 30, 2014

Adventures in Latidoe Stamp Making + New Packaging

A little excited and little nervous that I may have found an (other!) new obsession: stampmaking.

This is something I've always wanted to try out but never actually came around to buying materials and testing. You don't need fancy materials to make stamps...you can use styrafoam, tooth picks and paint. But I wanted to start off with a stamp for my up and coming store that I keep promising the world...and figured might as well get the good stuff.
thepaperplace.ca, nationalartcraft.com

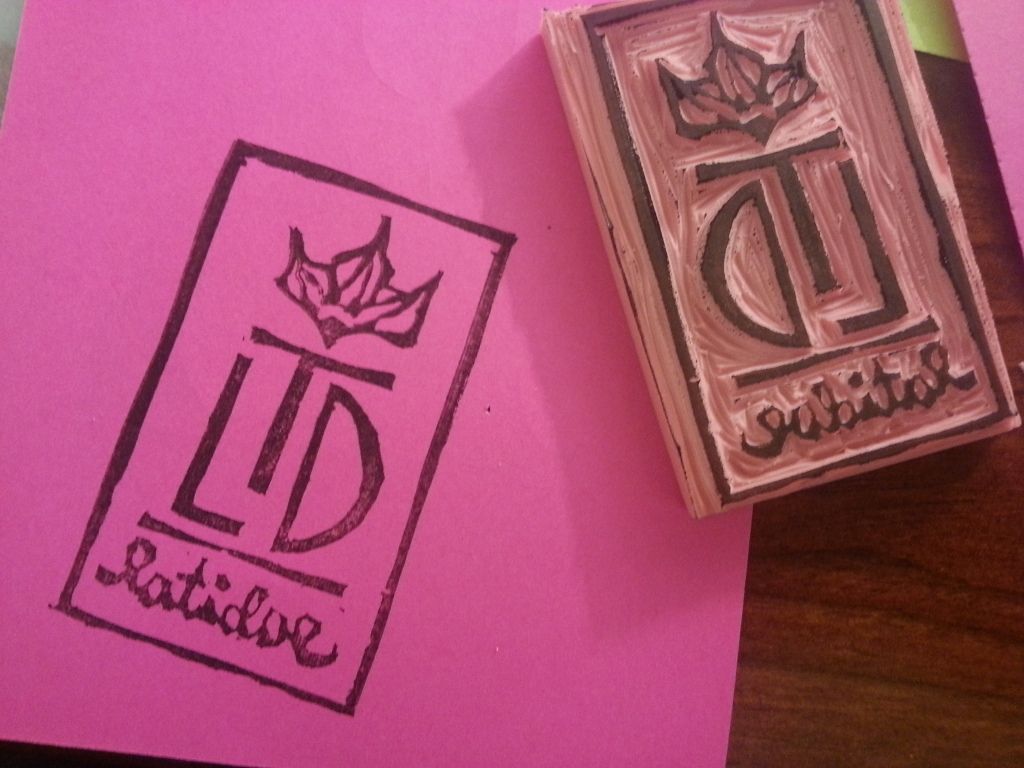
I picked up this stamp making kit from Michaels for $15. It includes a 4x6" rubber stamp base, tracing paper, and a carving tool with two different blades. 
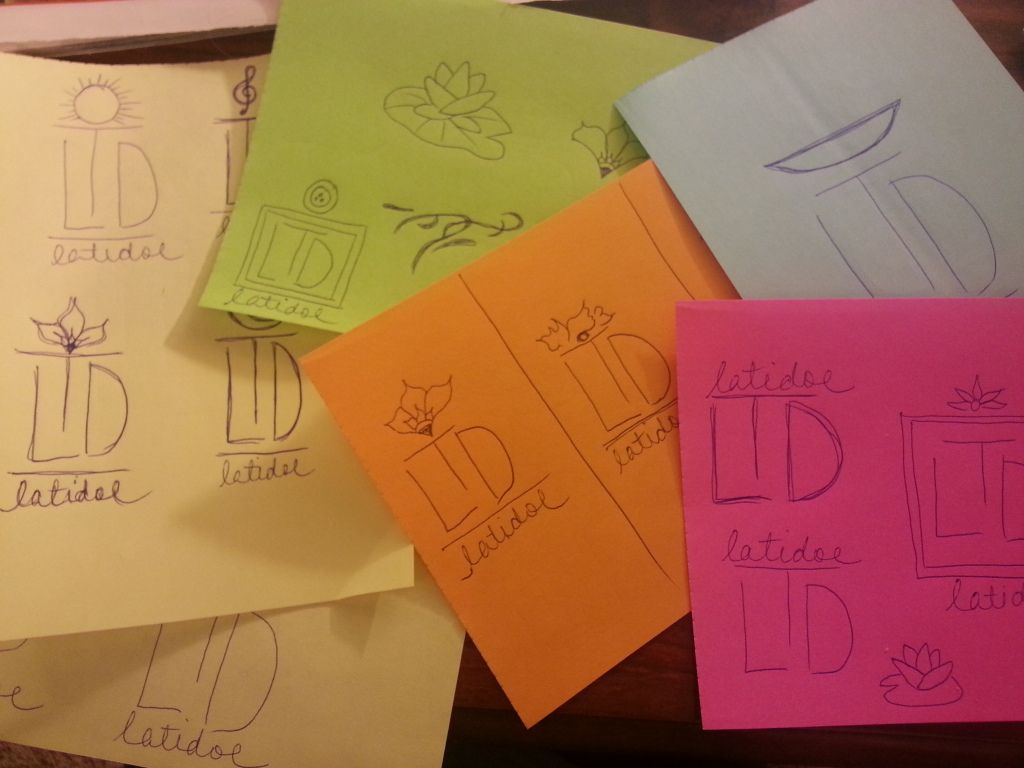
First I played around probably too long with stamp ideas. 
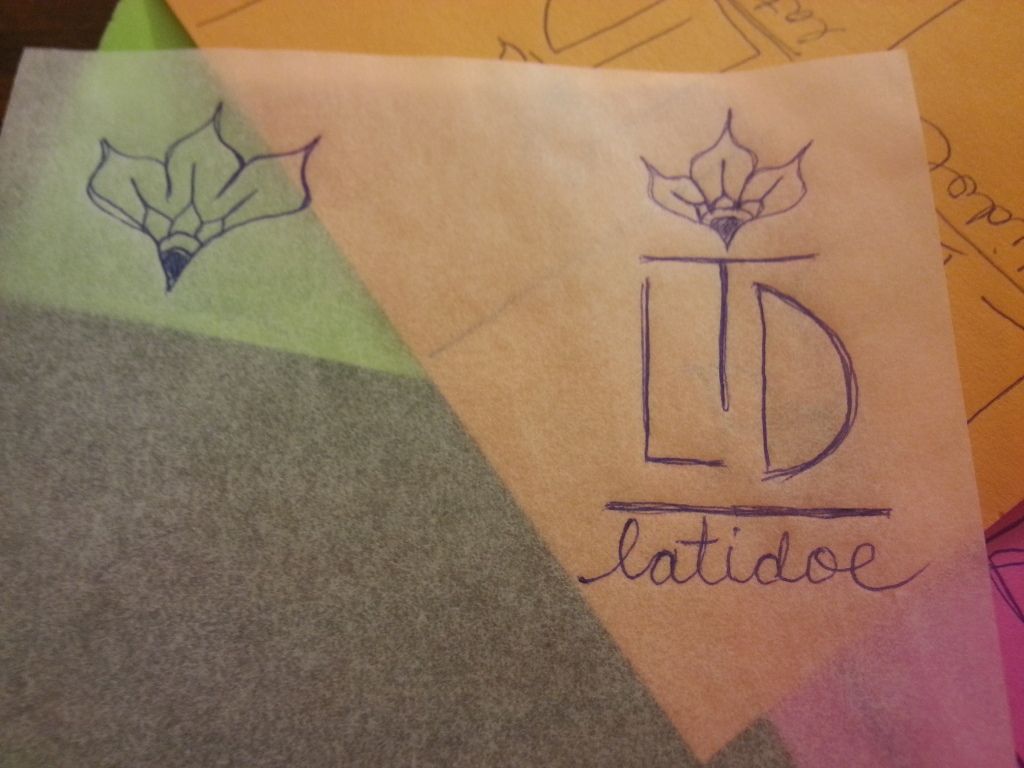
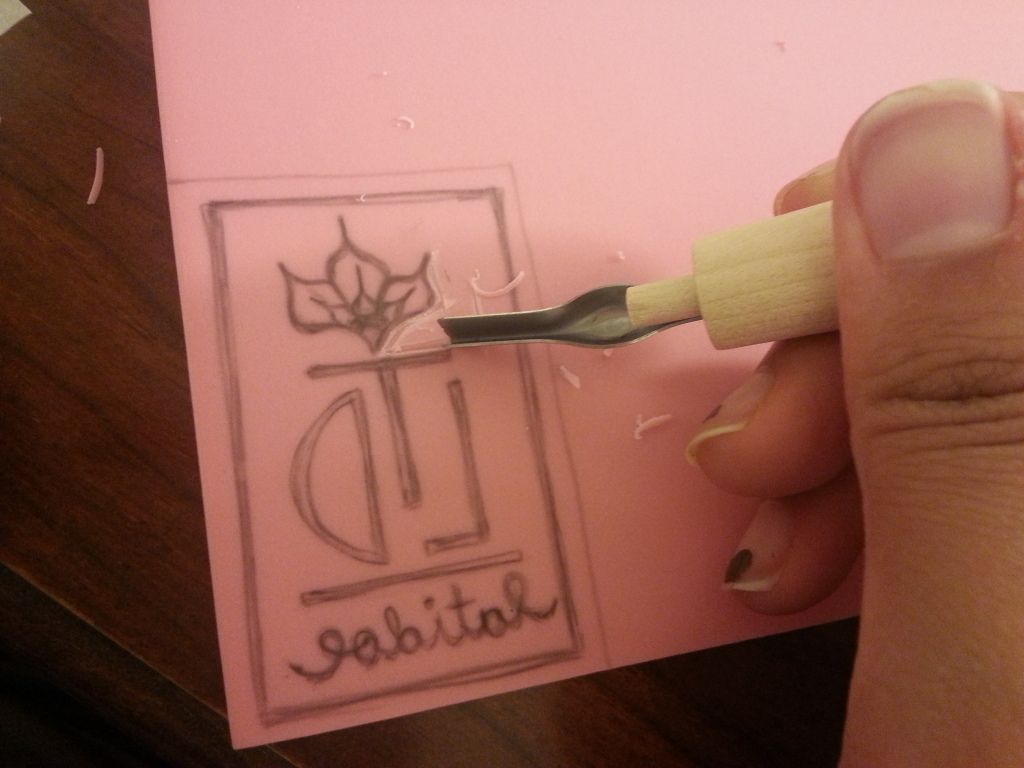
Then I traced the one I liked onto the tracing paper. To transfer the image to the rubber stamp, I traced over the design with a pencil.
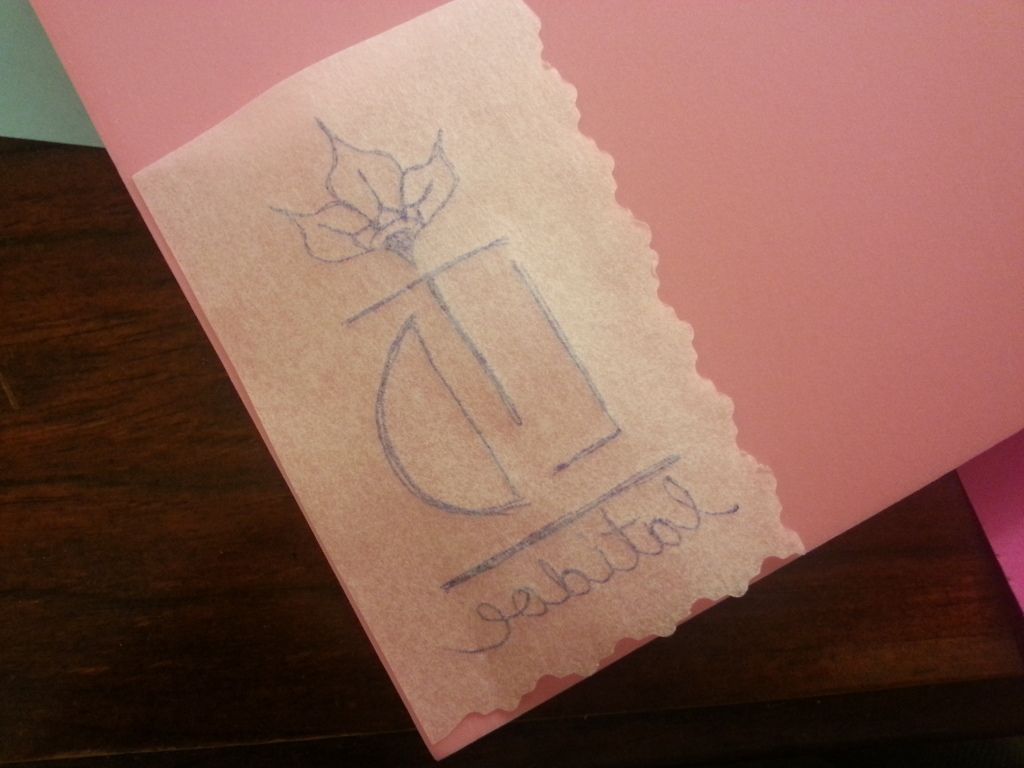
Cut it out, flipped it onto the stamp then rubbed the back so the pencil would transfer.
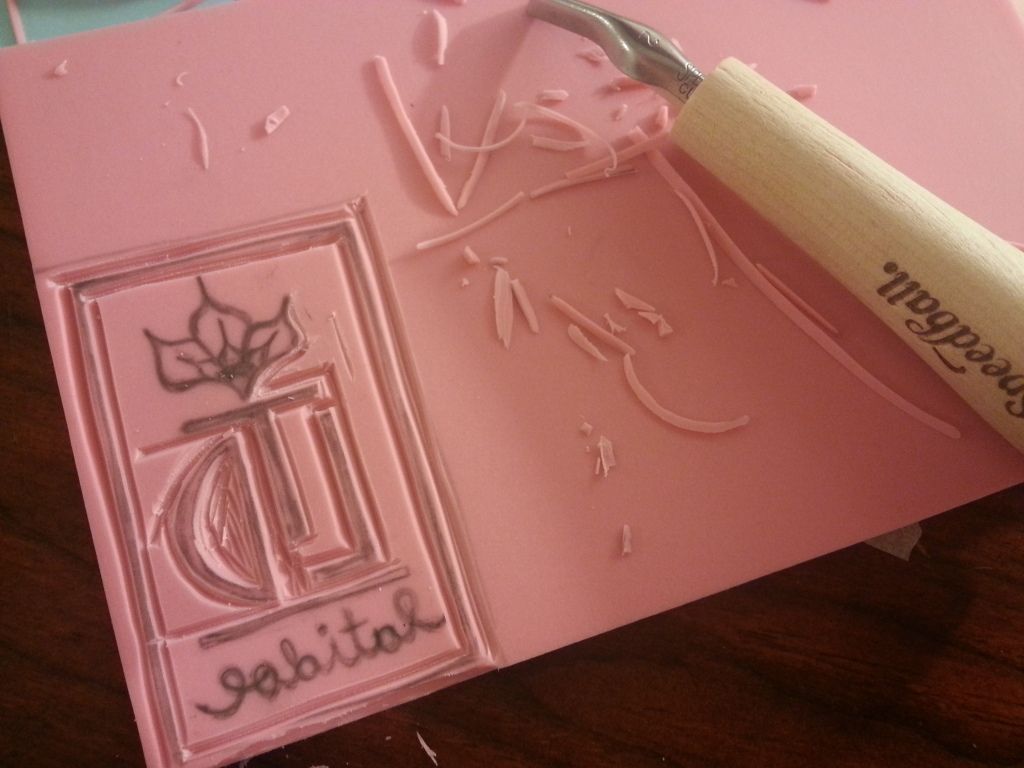
Once the basics of your design are transfered you can go over details again with a pencil to make them more clear. And then of course remember that whatever areas you carve out will be white space. I tried to shade it in so that all the pink space would be what I had to carve out.
The blade just snaps into the tool. Then you just start shaving away...
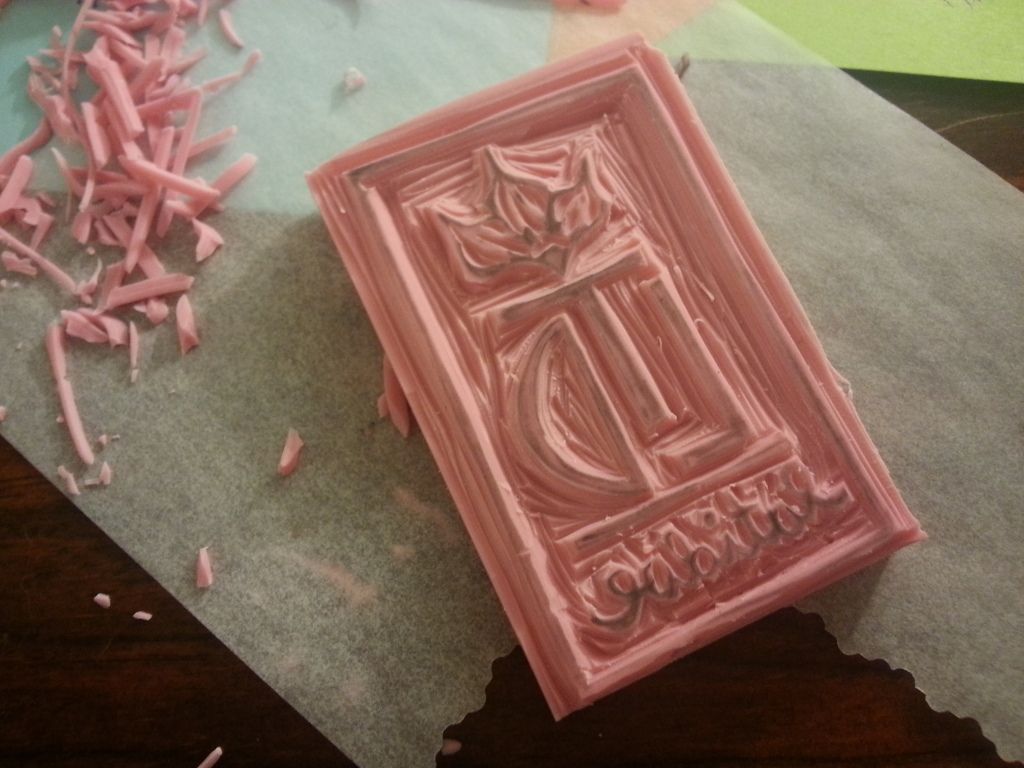
My stamp is small so I just cut off what I needed.
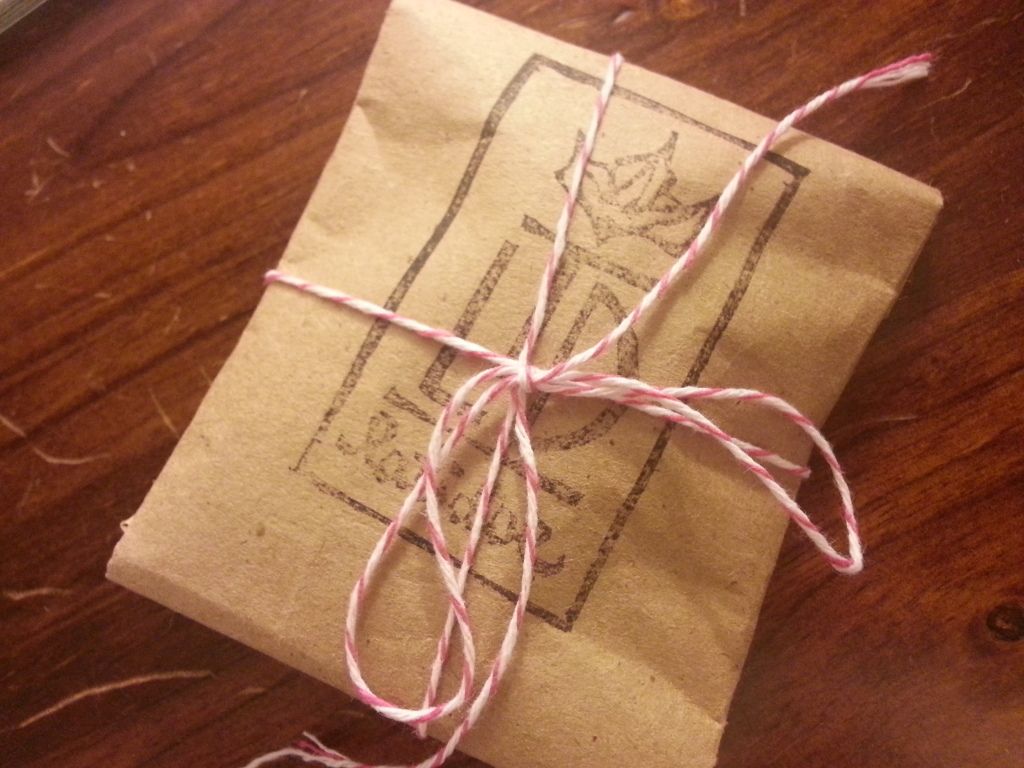
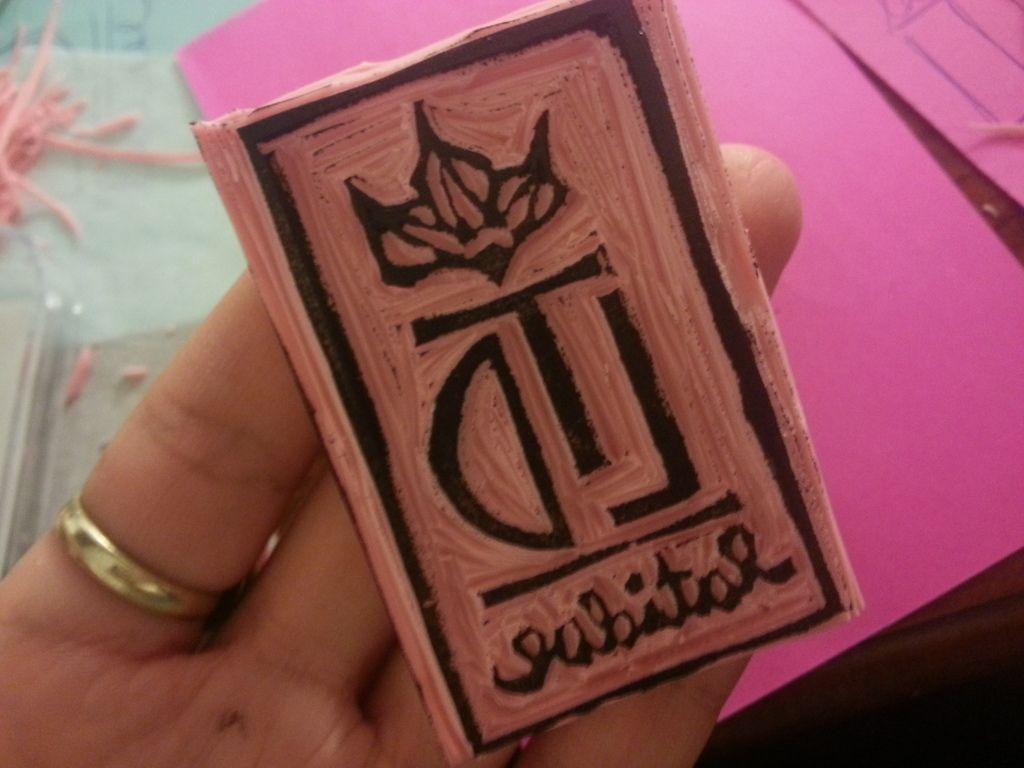
Then tested it out! It's in now way perfect...but I think that's what makes handmade stamps special. They have a crafty made at home feel to them and for a line of hand crafted accessories...I think the stamp is pretty true to my 'brand' (if you can call it that)! 
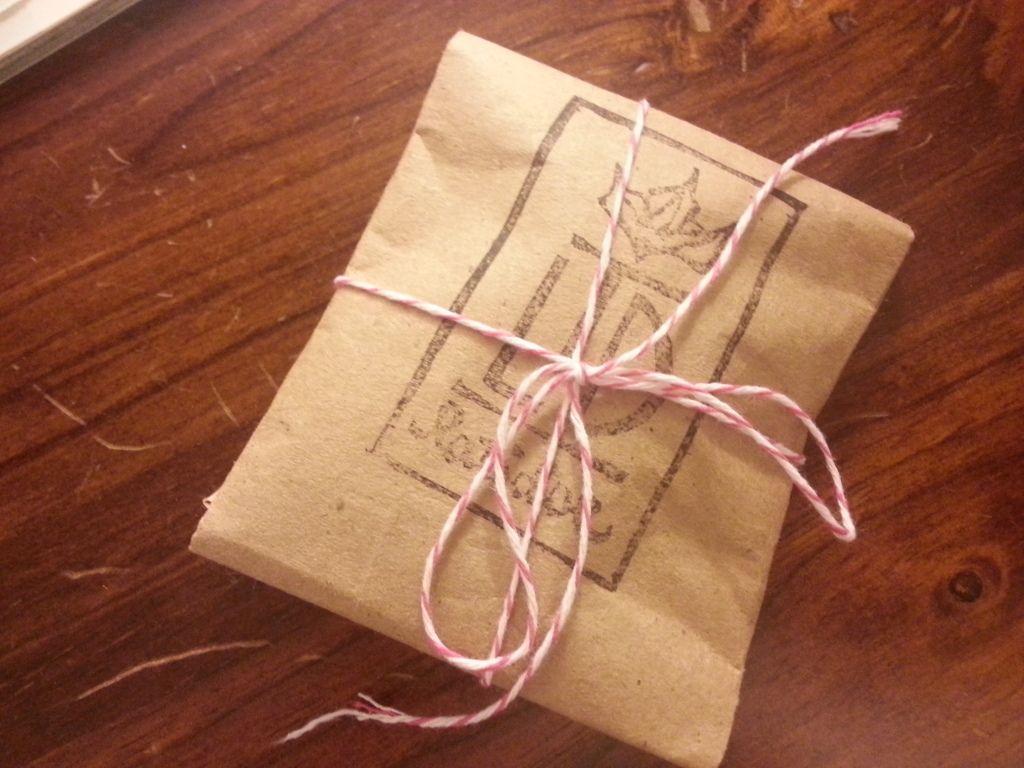
I'm still thinking up a presentable and cost effective way to package things. I like the simple brown paper look...so I might do something like this. 

Maybe down the line I'll start making and possibly selling handmade stamps...might be fun :)

July 30, 2014

Summer Collection for Latidoe Etsy Store In the Makings...

One word. Finally!!!
In part because this was supposed to be a summer floral collection and the summer is more than half way done. *Freaking out.* In part because I got this fortune in a fortune cookie at work and decided it's a very possible fortune to come true. 
Dear self, please muster up the motivation to get this floral collection you promised yourself moving...

Now off to see what happens when I listen to myself...so far so good :)

June 13, 2014

Growing a Mini Garden + DIY Garden Beds

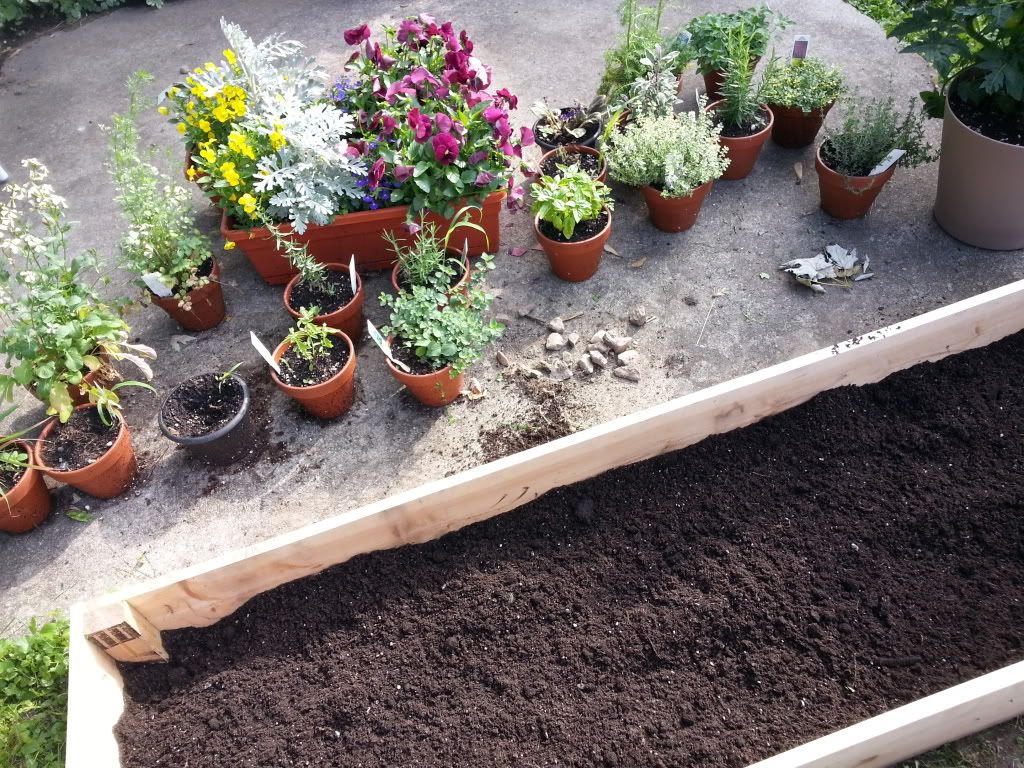
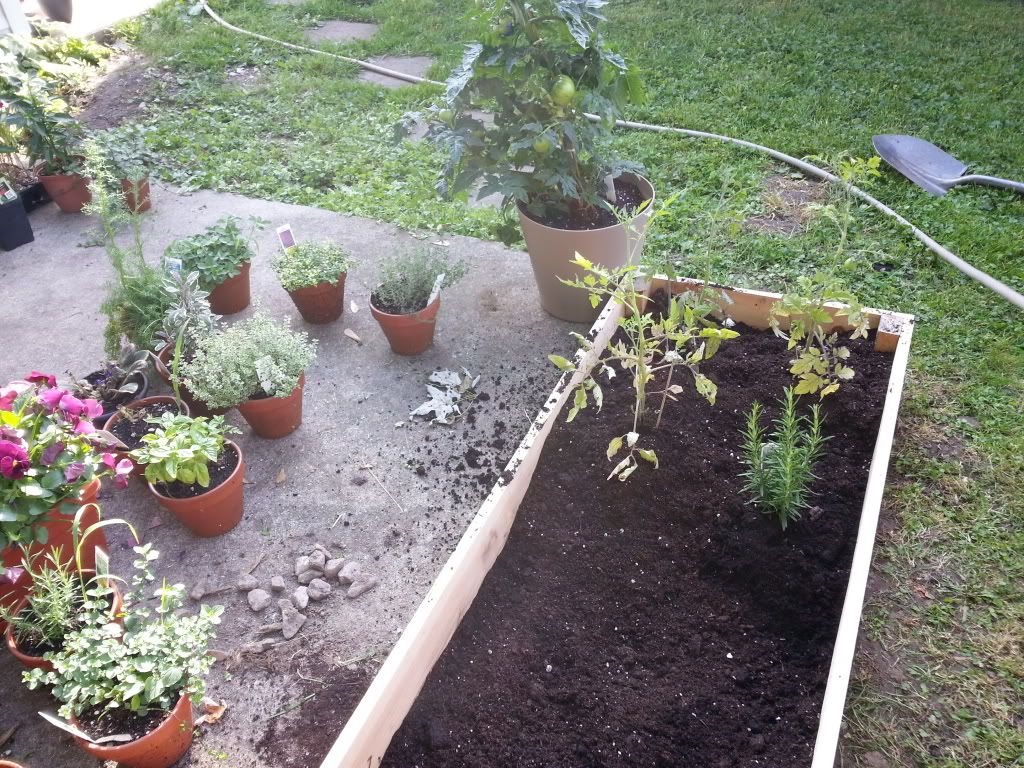
We finally got around to filling our garden beds with soil and transferring our nest of potted herbs and veggies into the beds. It was a mix of cold/unpredictable weather, rain storms, and procrastination behind all of the hold up. 
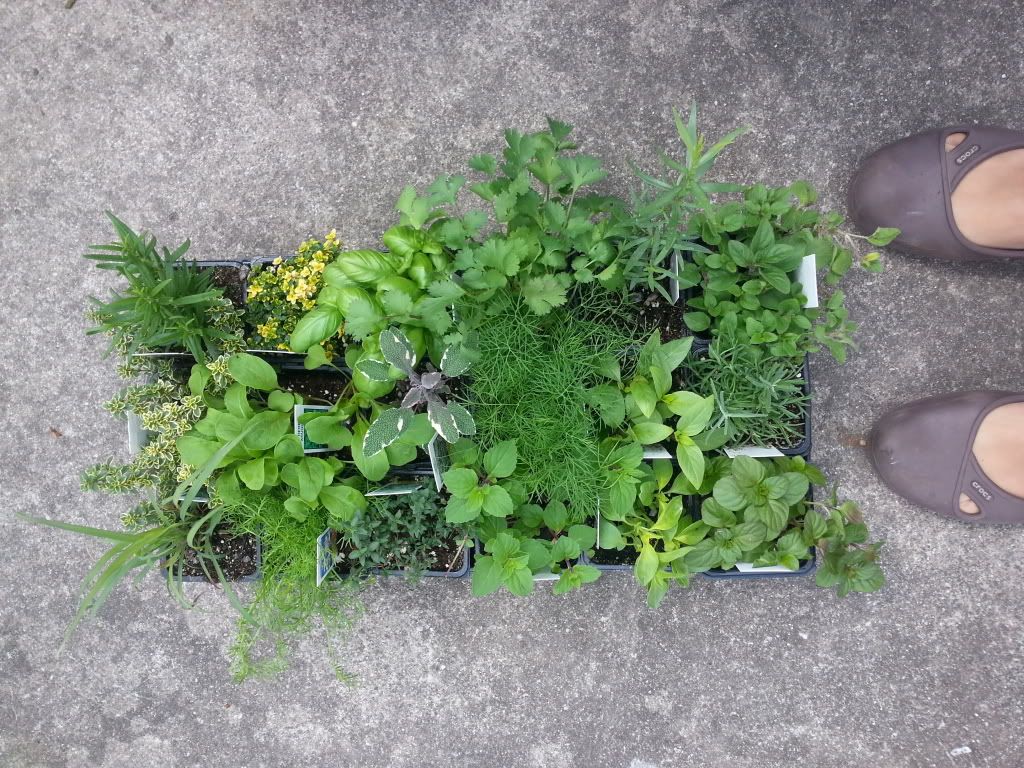
This is what we started with...a super good buy from Detroit Eastern Market! 18 plants for around $10. This collection eventually grew into flowers and then peppers and then tomatoes...and will probably continue to grow because even though we aren't pro gardeners...we are pro plant hoarders.

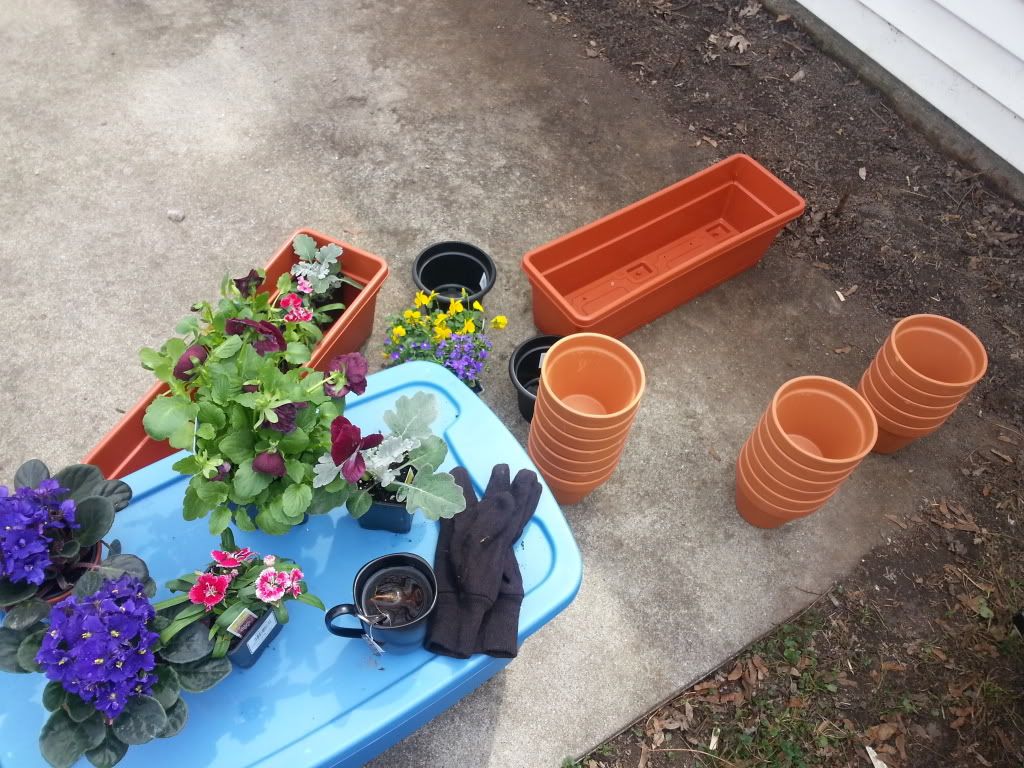
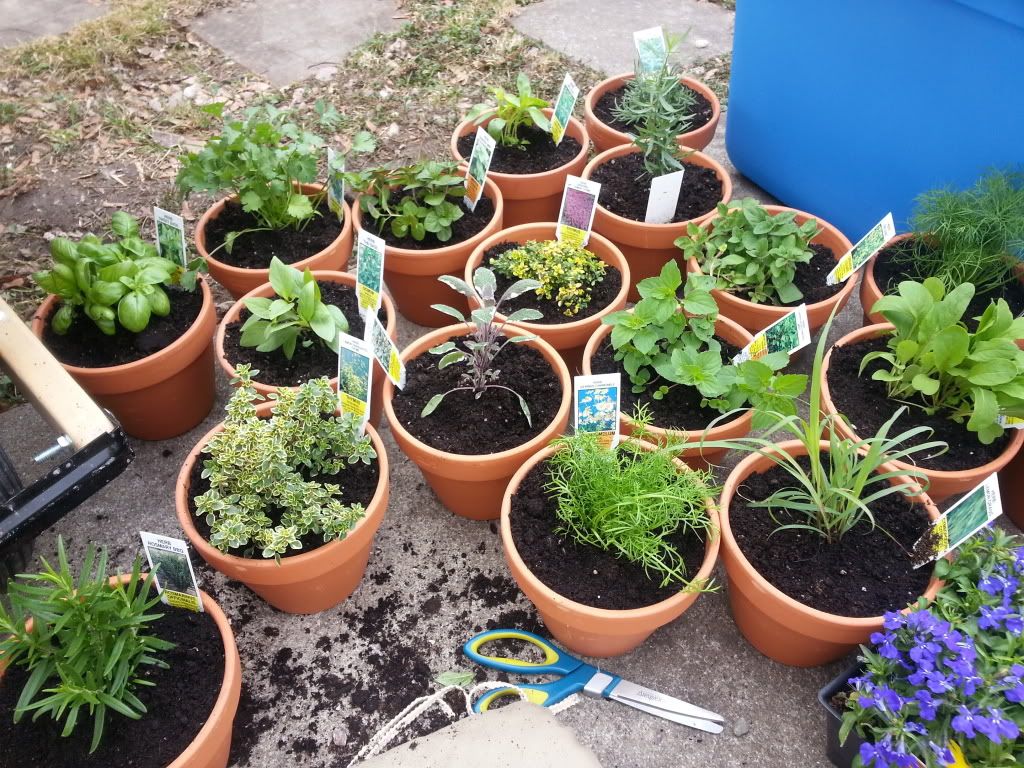
First we transfered them all to pots to grow a little more while we figured out where we wanted the raised beds.
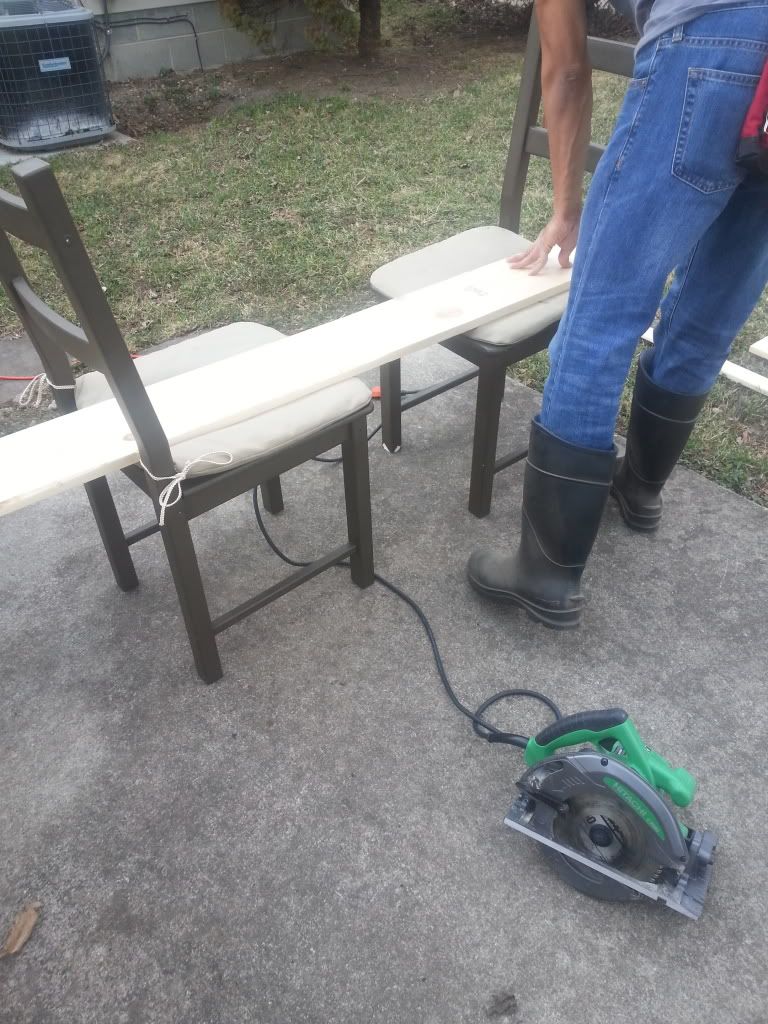
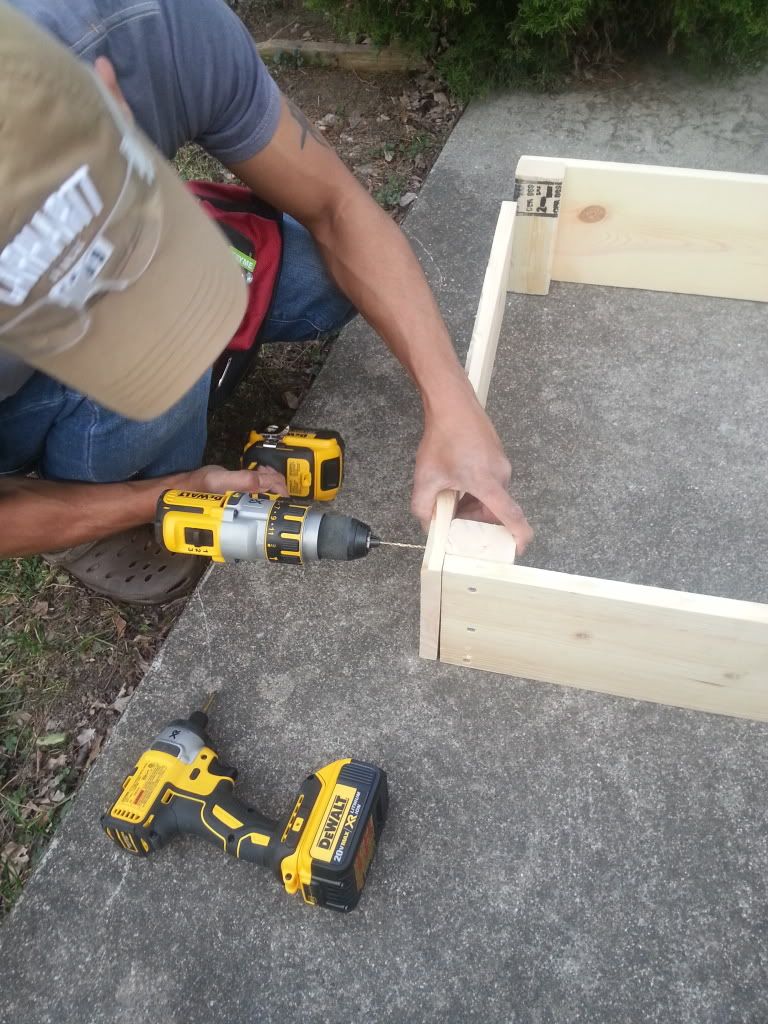
The bf was the tool master here...we just picked up a few 2x8 (or 2x10) pieces of wood then cut the lengths we needed at home (each 72")...according to our patch of cement where we wanted the garden to line. You kind of need a saw and electric drill/screwdriver to do this project. If you have these tools...it's very easy. 

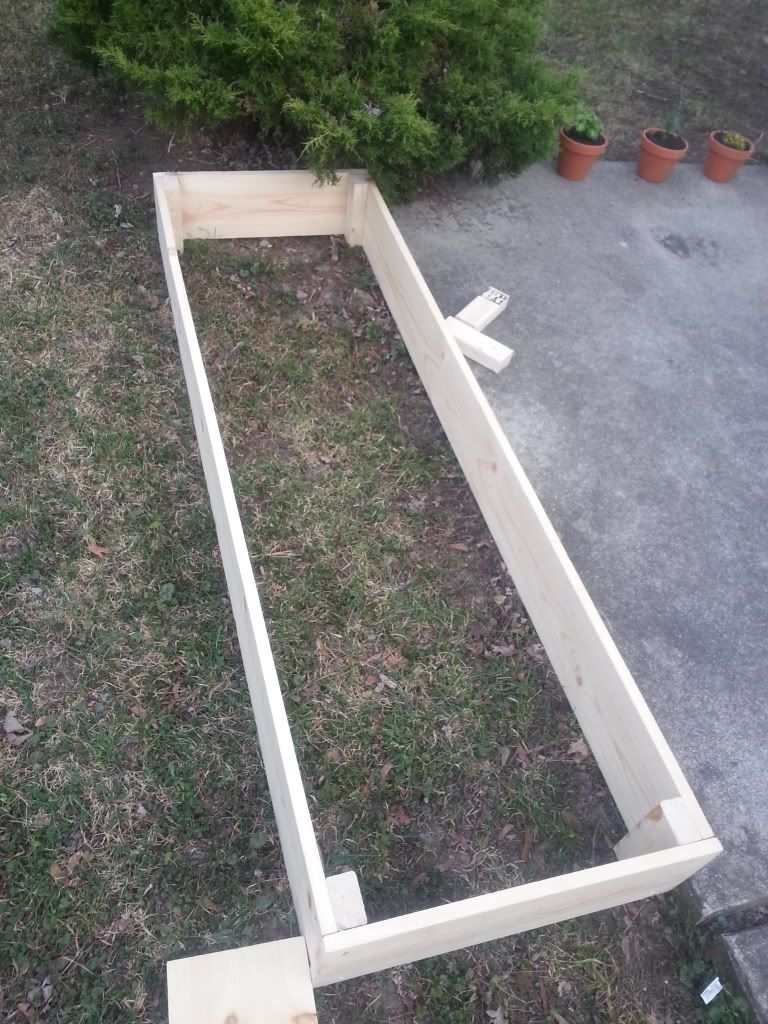
You want the beds to be at least 6 inches deep. 
You'll want to screw on a support block of wood to each end of either length side before screwing on the two ends to the support block. That sounds more confusing than it is. See picture. 
And ta da, you have a bed. We used cheap wood because we don't really care if this last for years or not. But if you want this to be permanent and long lasting, then go with a higher quality more expensive wood like cedar. 
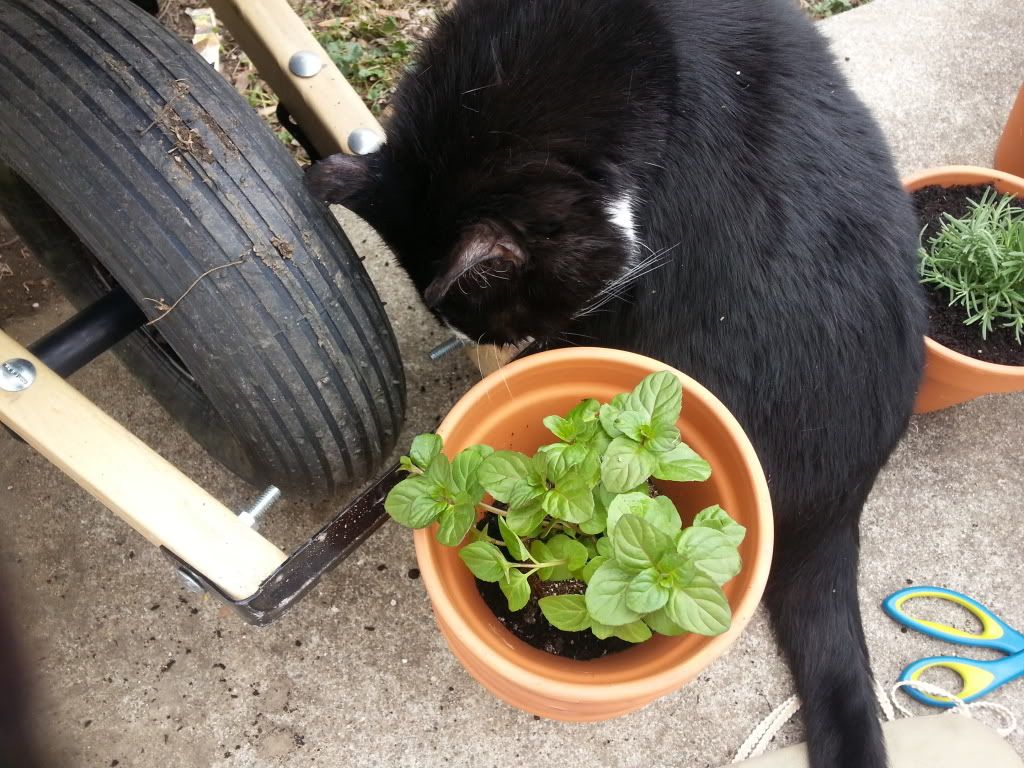
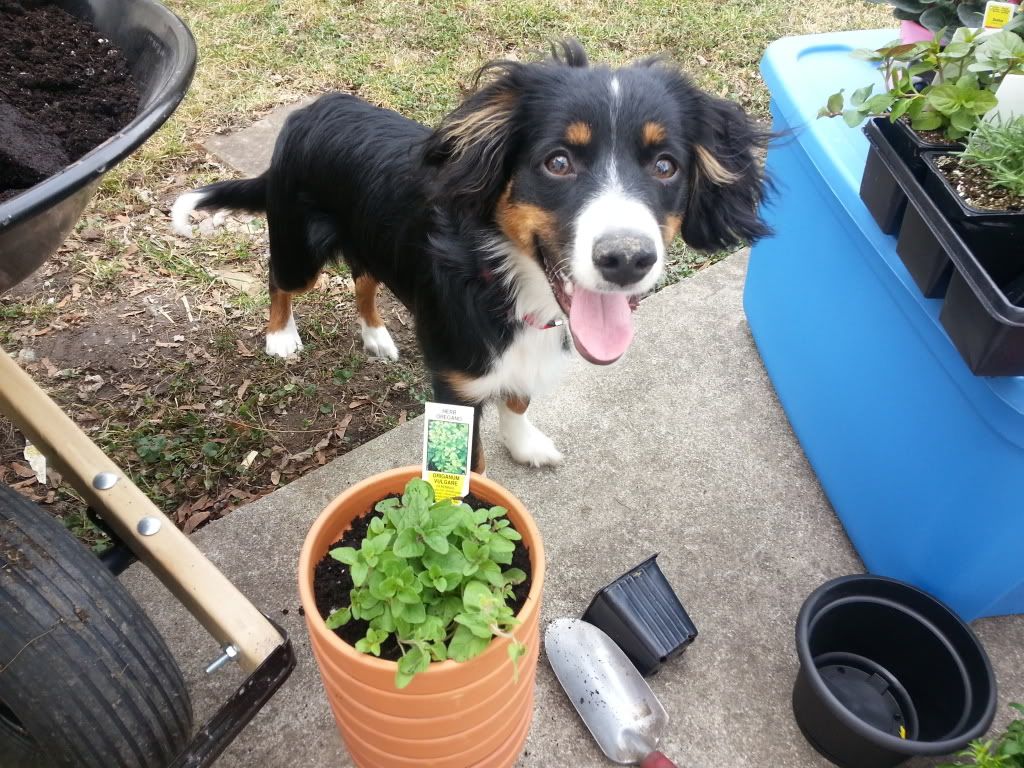
My two little fuzzy men helped the whole time, of course. 
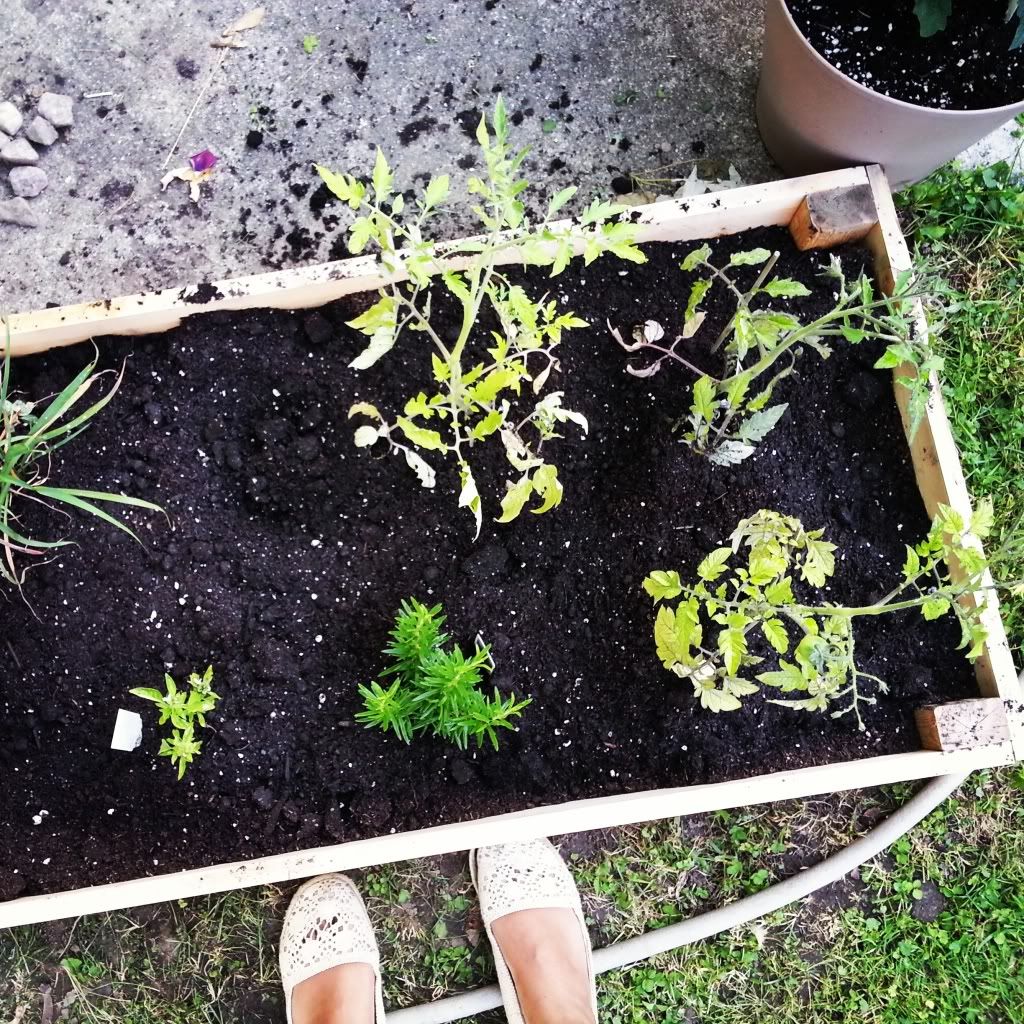
Before pouring in the soil, we took out the grass and turned/loosened all the dirt underneath. 
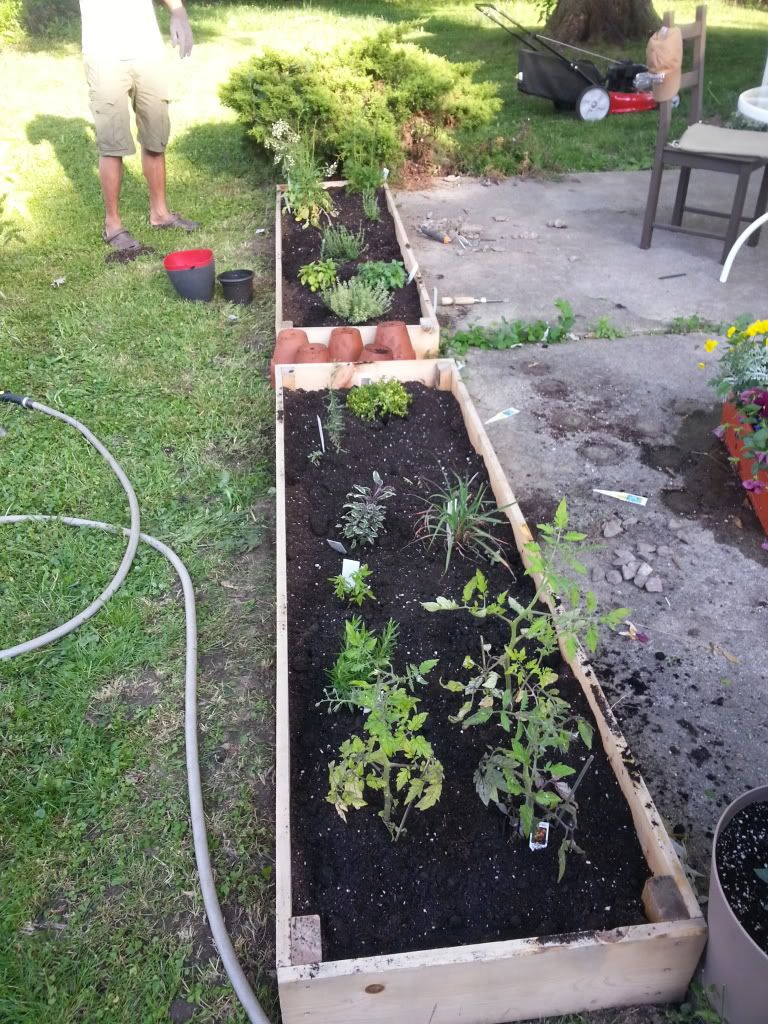
And then in went the baby plants :)
We are amateurs here...but are hoping to see some veggies soon! And to finish the backyard/patio area...which we plan on building a pergola for along with adding in some more (minor) landscaping and finding some patio chairs...there's always a lot on the to do list.

June 2, 2014

New York City + East Coast Nostalgia for the Home

I'm originally from the East Coast...born in NYC and then raised to (kind of) adulthood in New Jersey. I like Michigan...but I miss the East coast sometimes...and all of the people and places on that side of the country. Luckily, I visit fairly often. Going back this weekend!

Looking online for home inspiration, I keep stumbling into finds that make me miss (my first) home more and more. Here are a few favorites I'd love to scatter throughout my house:


New York City by Haptic Lab

I love how subtle this NYC map quilt is by Haptic Lab. I'd love to have something like this to drape over a couch...or even as a bed spread. Funny enough...this company also has a quilt of the Great Lakes of Michigan...


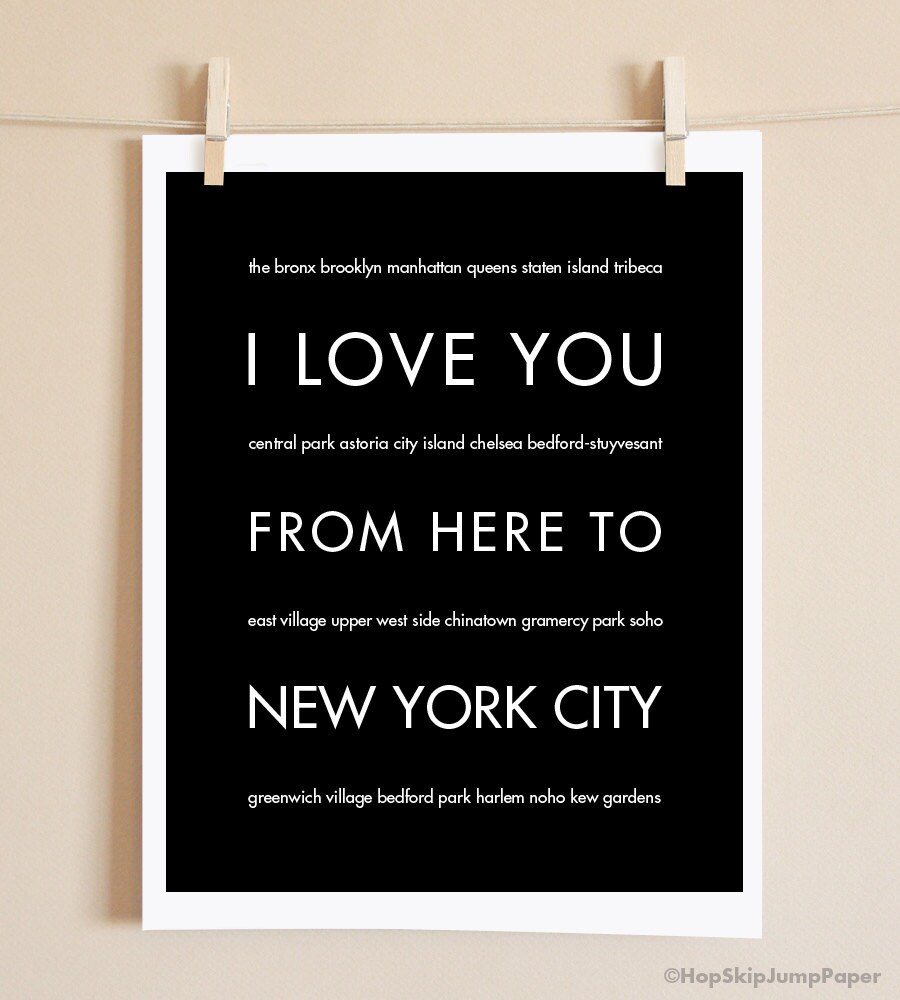
I Love You From Here to NYC

When I find time to finally finish the office...I definitely want to have a lot off wall art. Something nostalgic of the city will be included! I like this black and white print from HopSkipJumpPaper on Etsy. 


Cityscape  Wire Installation

Found this solution for "hiding" messy wires on Apartment Therapy. I like how it's decorative-meets-practical -- keeping ugly wires off of the floor and making wall art at the same time! I think the NYC sky line is perfect for this...Now I need to find a wire long enough. 


DIY Landmark Wall

I may try this DIY project I found on eye-swoon on one of my walls...using buildings/landmarks from NYC + places I've traveled. Salvation Army (and even the dollar store) always have decent frames - you can always paint/stain mix and matched frames to be more cohesive. You can use your own images to make these more personal or just print outs or magazines. I'll probably be using my own :)


My boss introduced me to Cartoloji -- a super modern/chic line of map art. Both on prints and pillows. I like the prints, but I especially like the pillows. It would be fun to throw one of these in the living room. A little pricey, but nothing's too pricey for a wish list :)

I always keep an eye out for home decor ideas...sometimes I get lazy for ideas and in those instances...Pinterest is my dear friend.