July 20, 2015

Burt's Bees Hair Repair Shea & Grapefruit Deep Conditioner


Last time I went to buy a refill on conditioner, I only thought I was, but when I got home, realized I actually bought shampoo. So instead of turning around to buy conditioner like I meant to, I instead decided to stretch the little conditioner that I had left as far as I could.

And my hair did not like that.

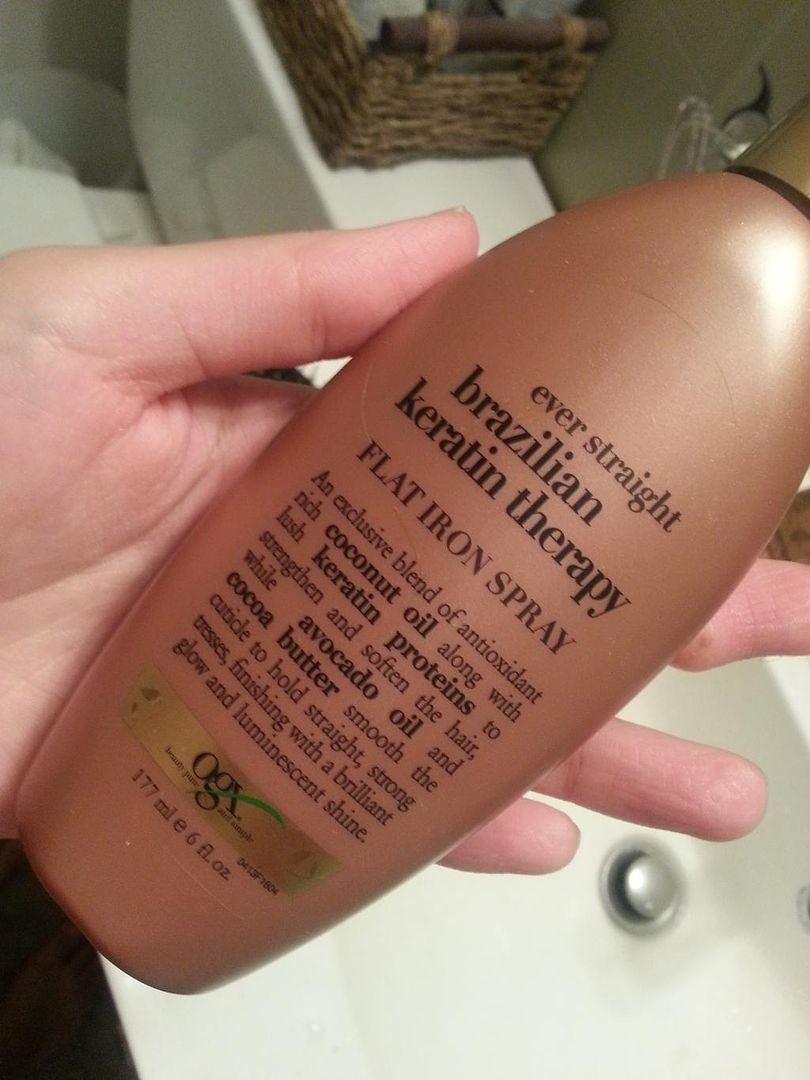
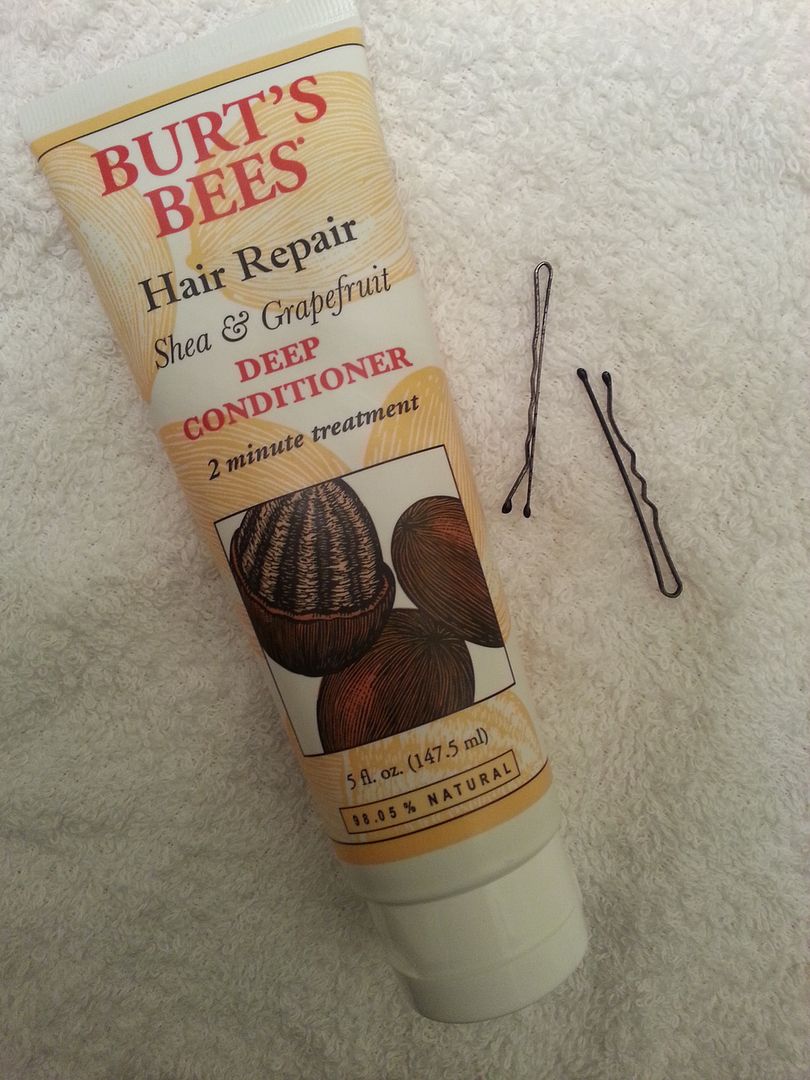
So when I finally did go to buy more, this tube of Burt's Bees caught my eye. I liked that it was a '2 minute' deep conditioner as opposed to 10 min or more because it's short enough that I don't have to step out to of the shower or wait forever for the full effect (yeah, 10 min = forever).

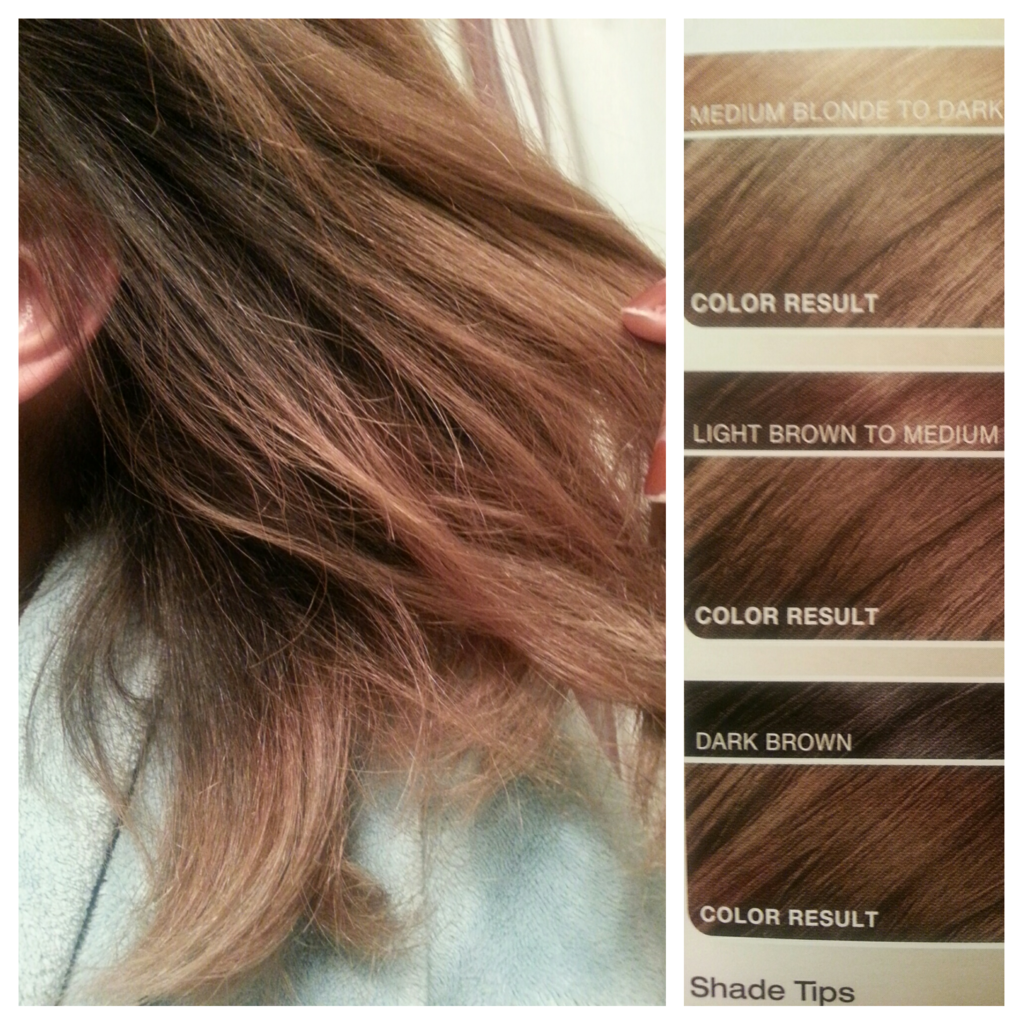
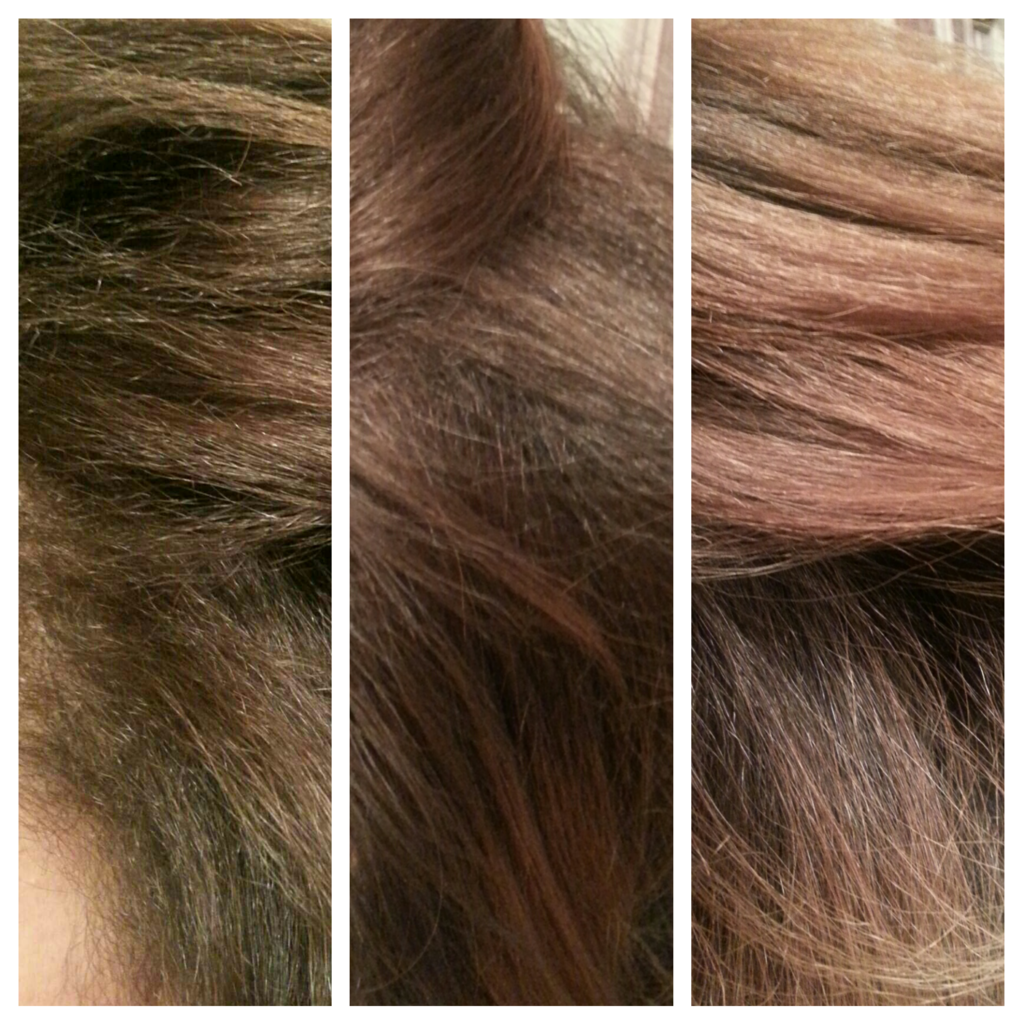
I guess, to get straight to the point, I LIKE this product, I don't LOVE it. It made my hair feel stronger but not necessarily more soft or moisturized. But I feel like at the core, it did work. And often times the 'smooth soft' feel of conditioners is only surface level anyway. Whereas this product seems to work more like a keratin treatment...stronger hair, as opposed to silkier hair. And my hair has been breaking off like crazy since going blonde a year ago...I'm going through hair rehab at the moment since dying it back to black again.


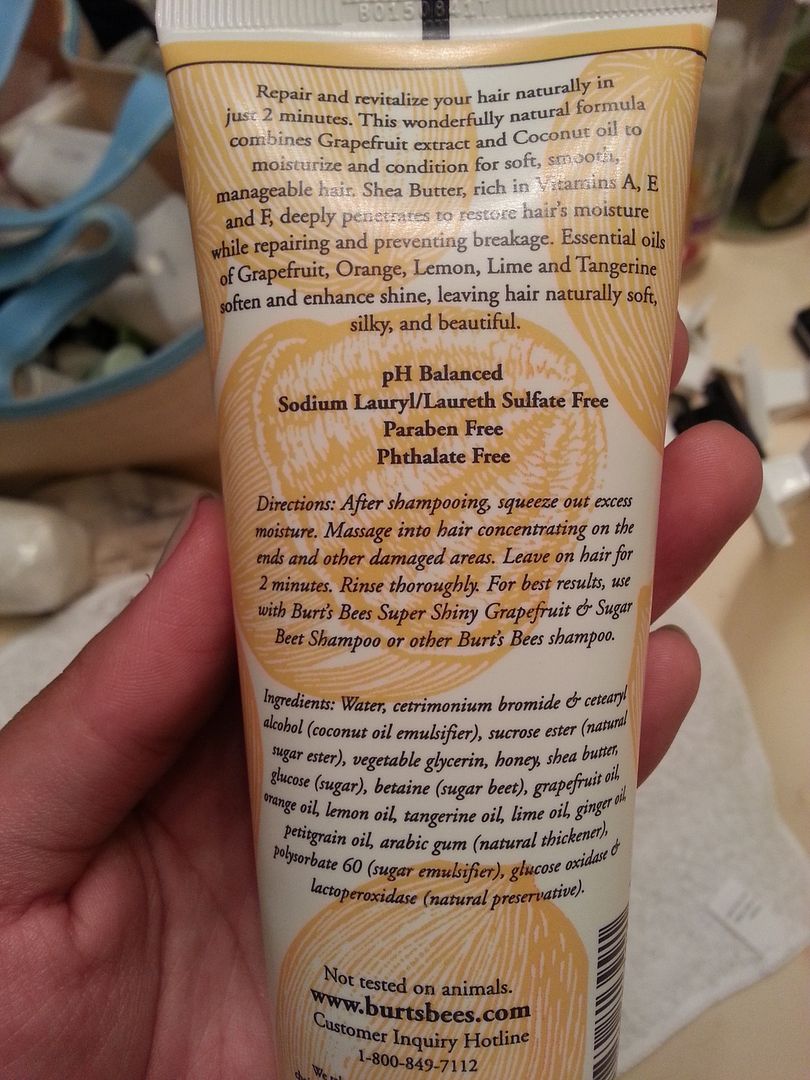
As to be expected with Burt's products, this has a very simple and shameless ingredient list full of botanical extracts with natural hair repair abilities...and in total is over 98% natural.

It's not cheap, as you only get 5oz of product but it's not ridiculously expensive either at a little under $7 at Target. I only wash my hair once or twice a week so this will last me over a month.


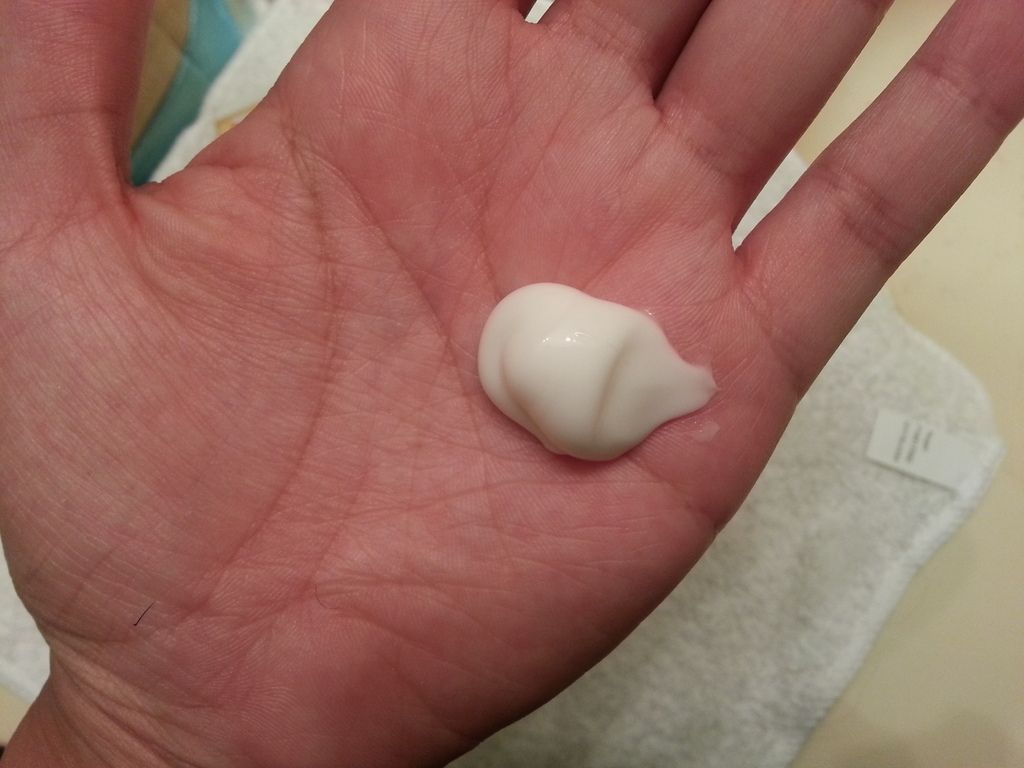
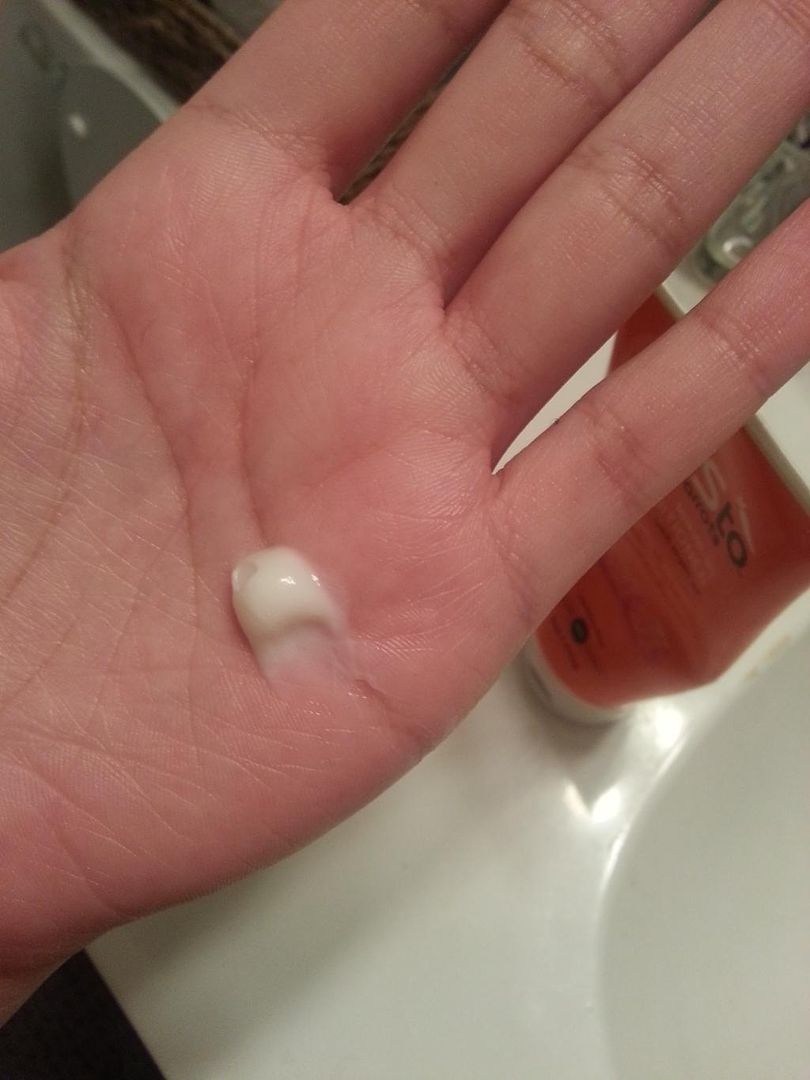
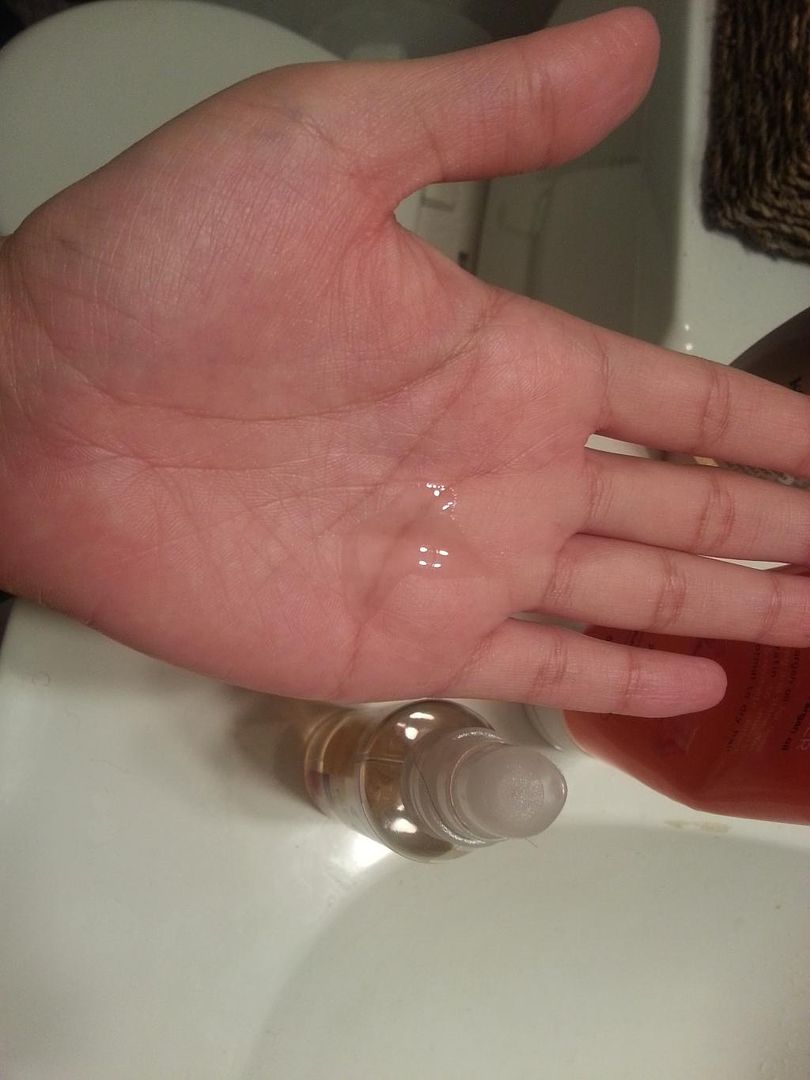
The texture is rich, thick and creamy like Greek yogurt. So a little goes a long way.

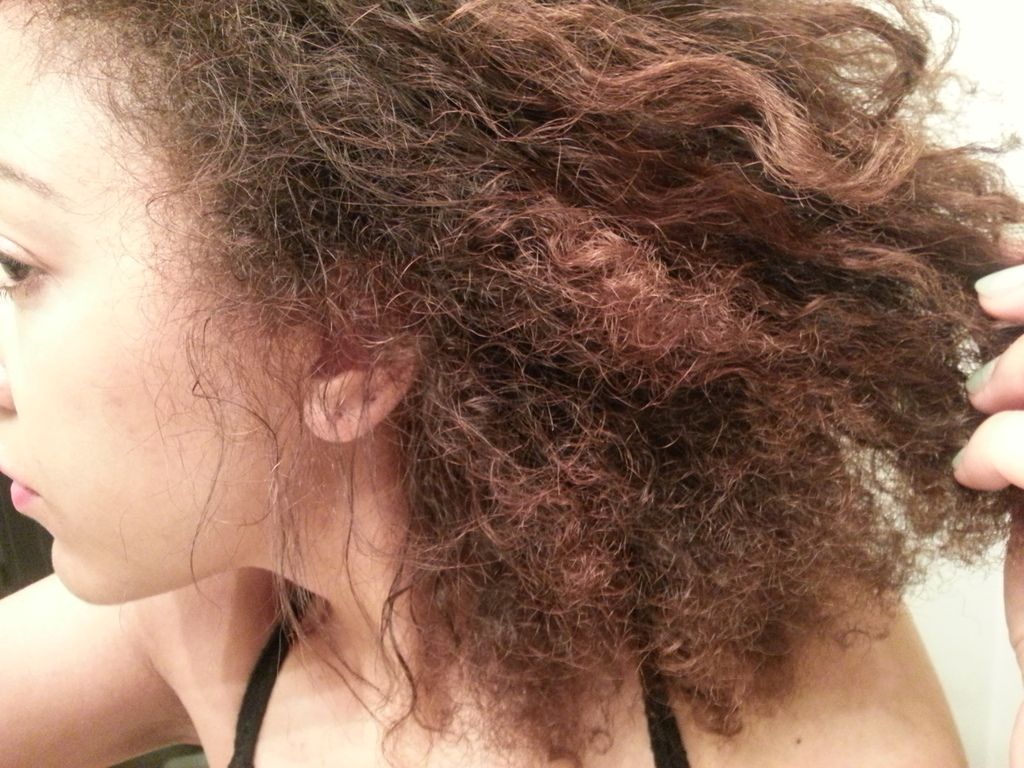
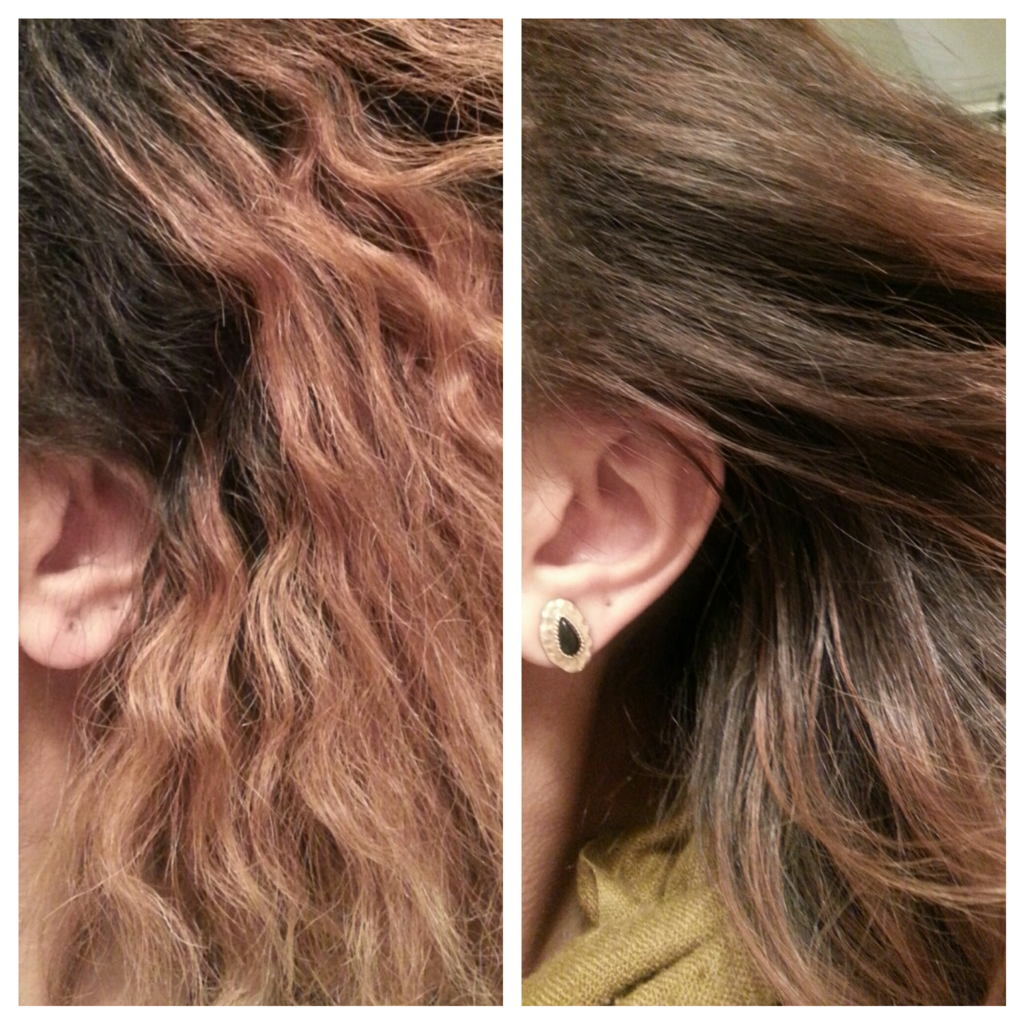
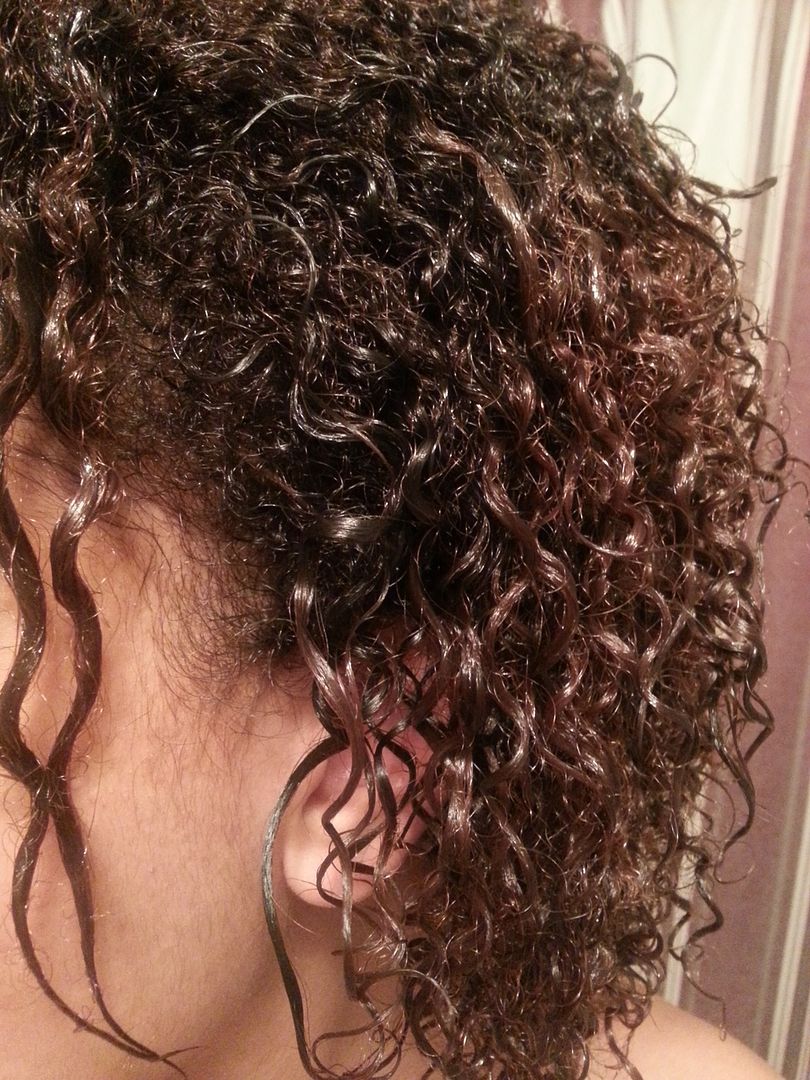
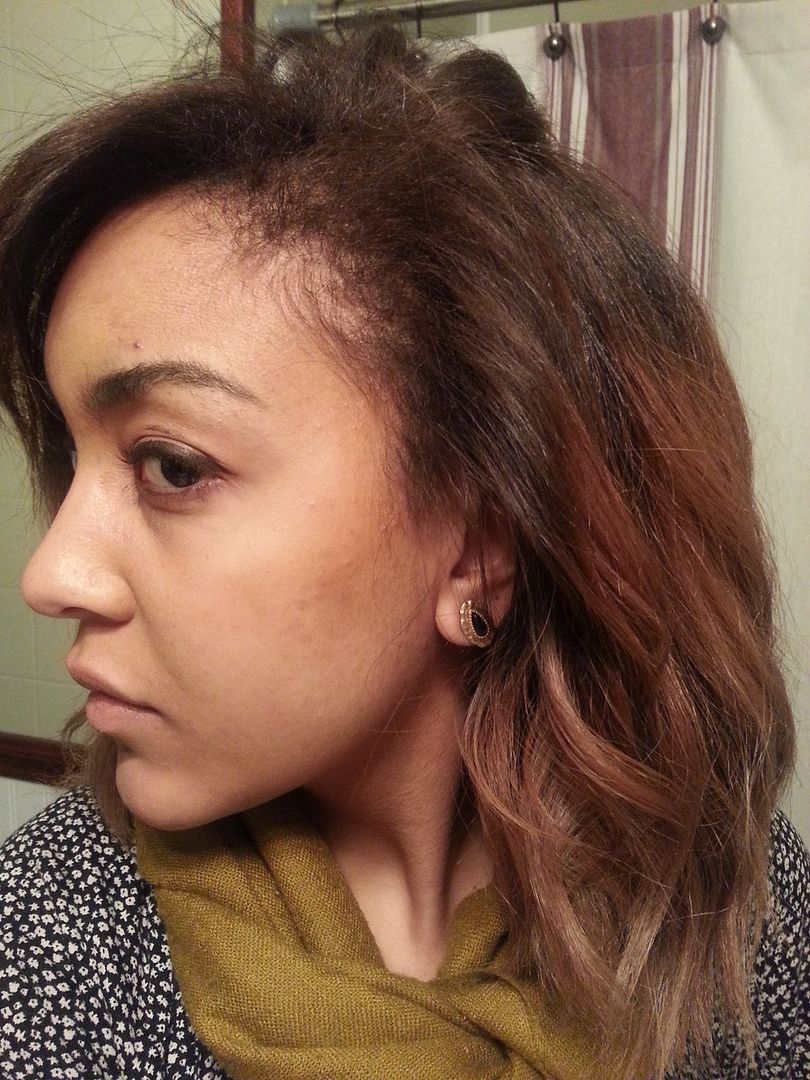
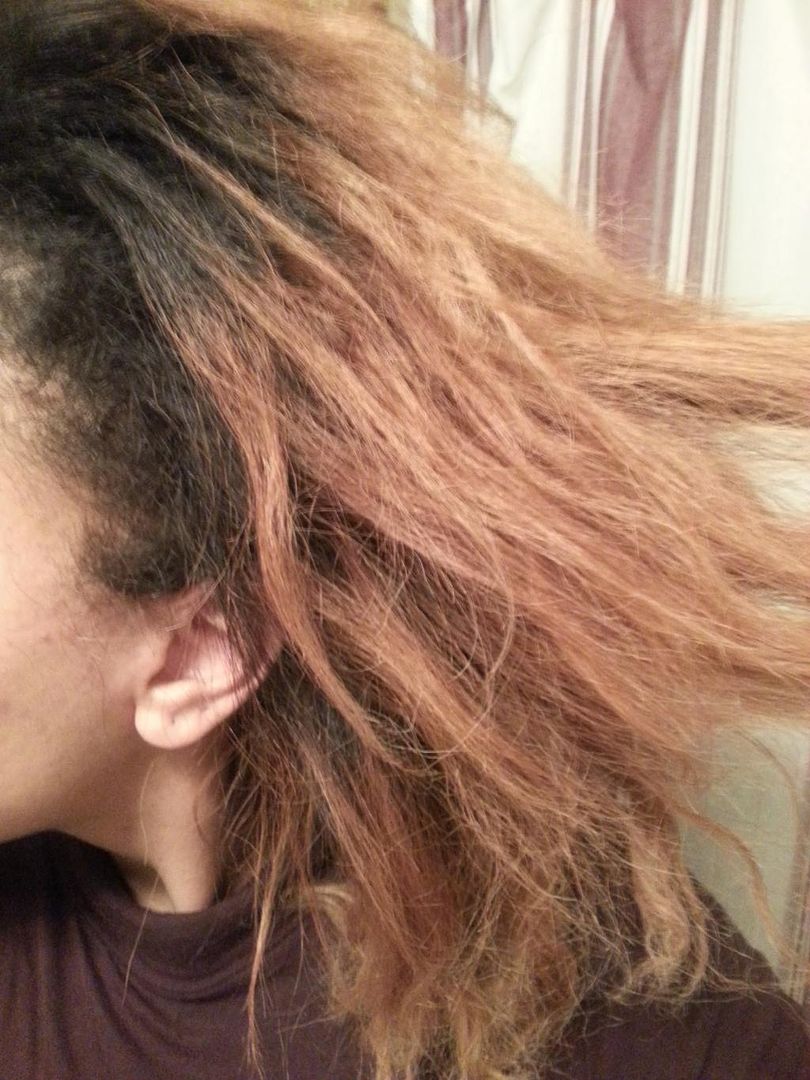
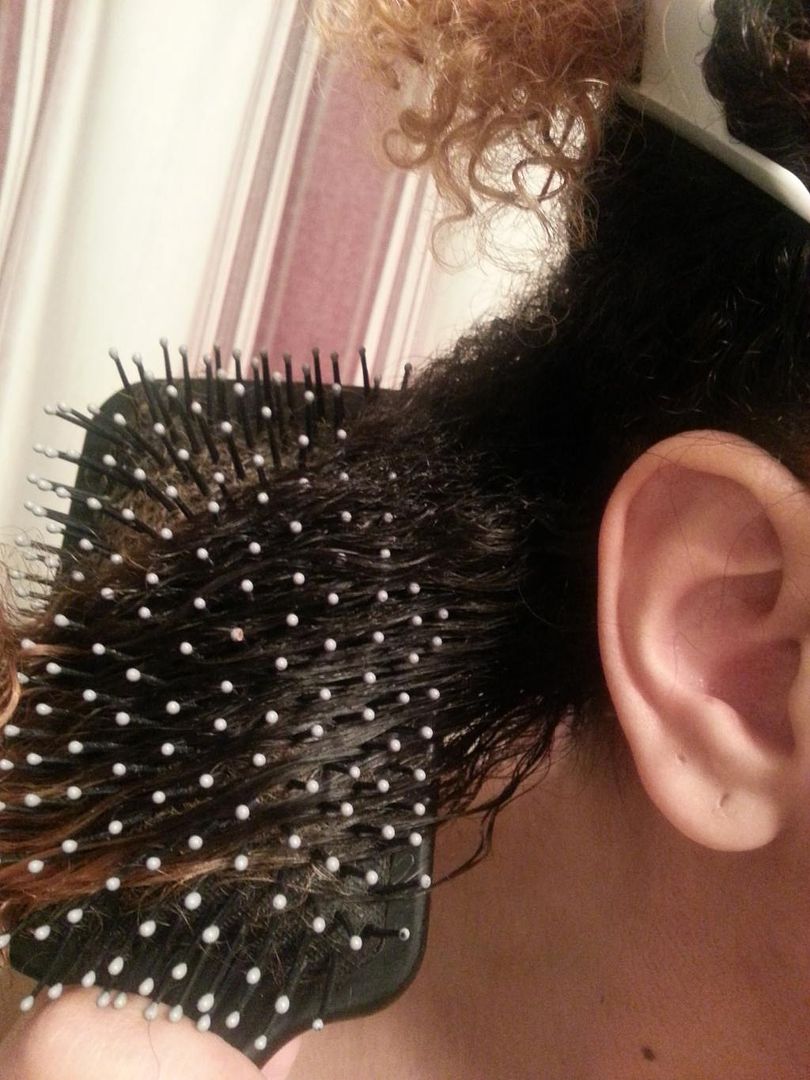
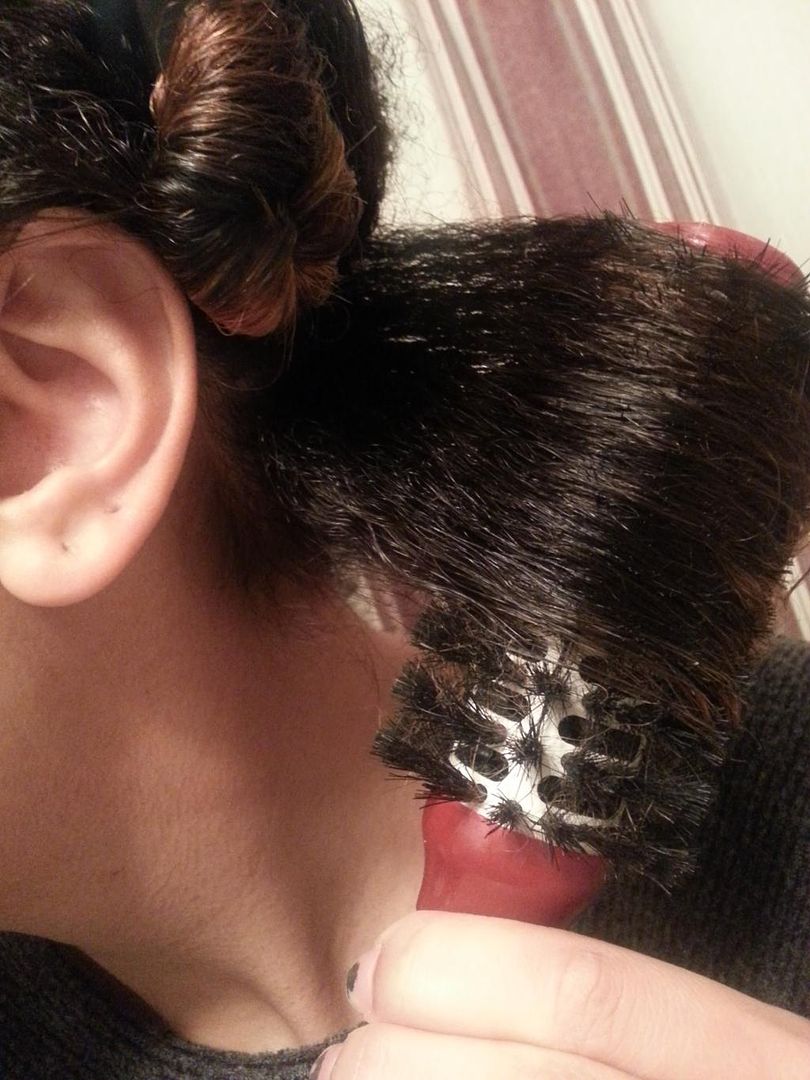
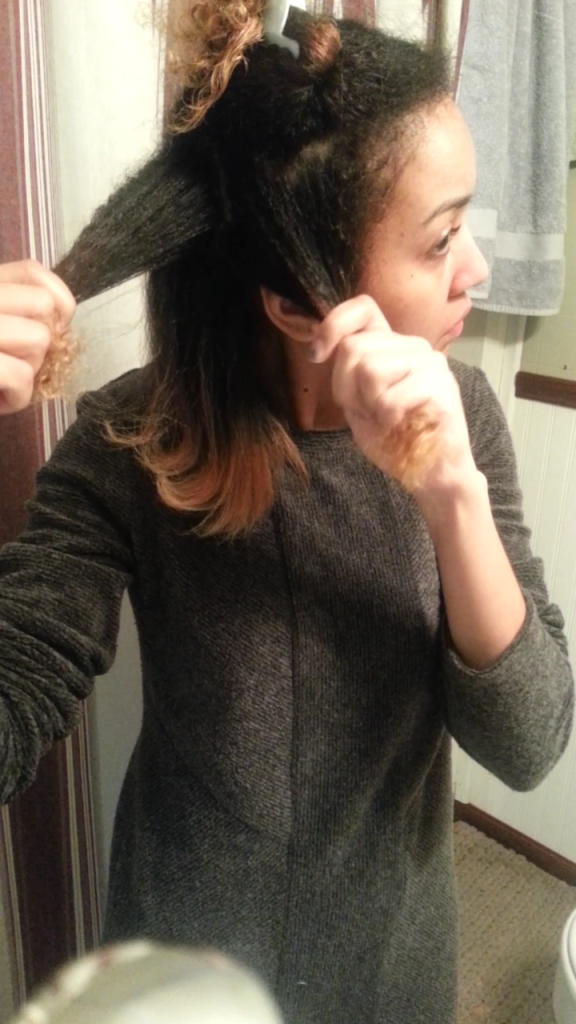
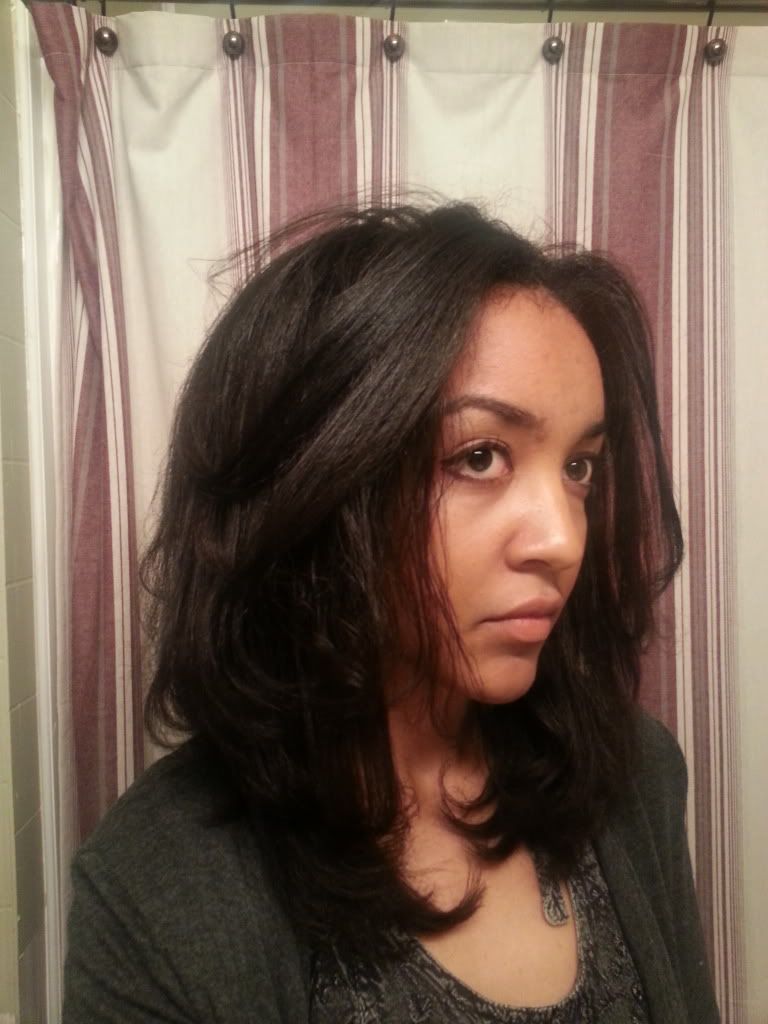
This was my hair beforehand...actually, this picture is deceiving because it looks soft and moisturized. It wasn't. And you can sort of see heat damage in a few straight strands that won't curl anymore. I'm thinking I need another hair cut soon...

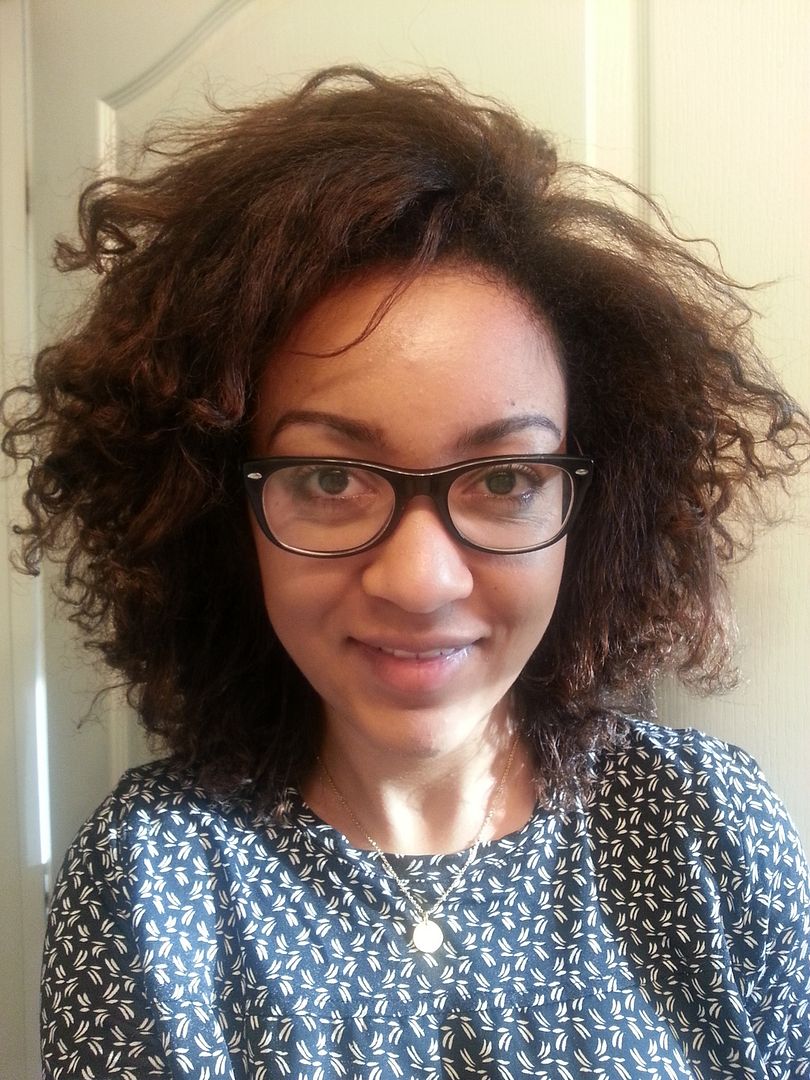
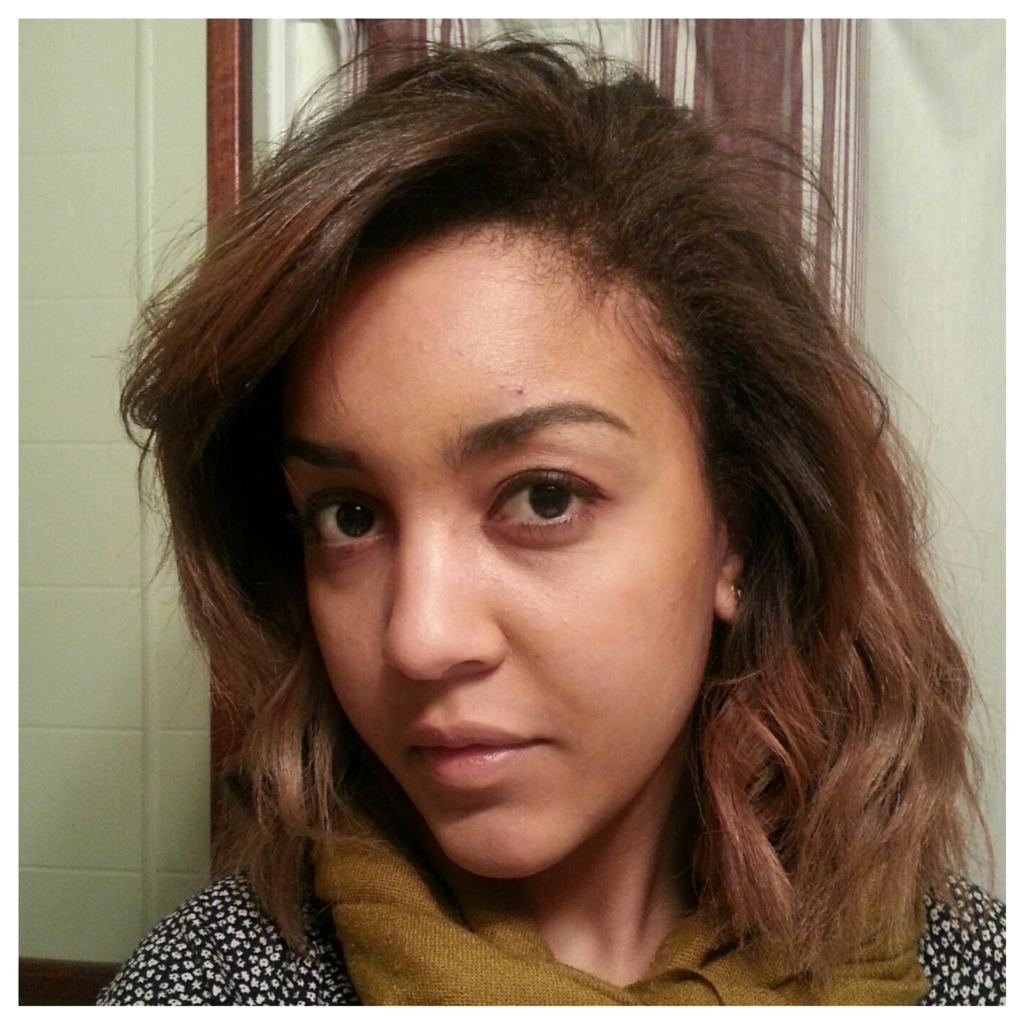
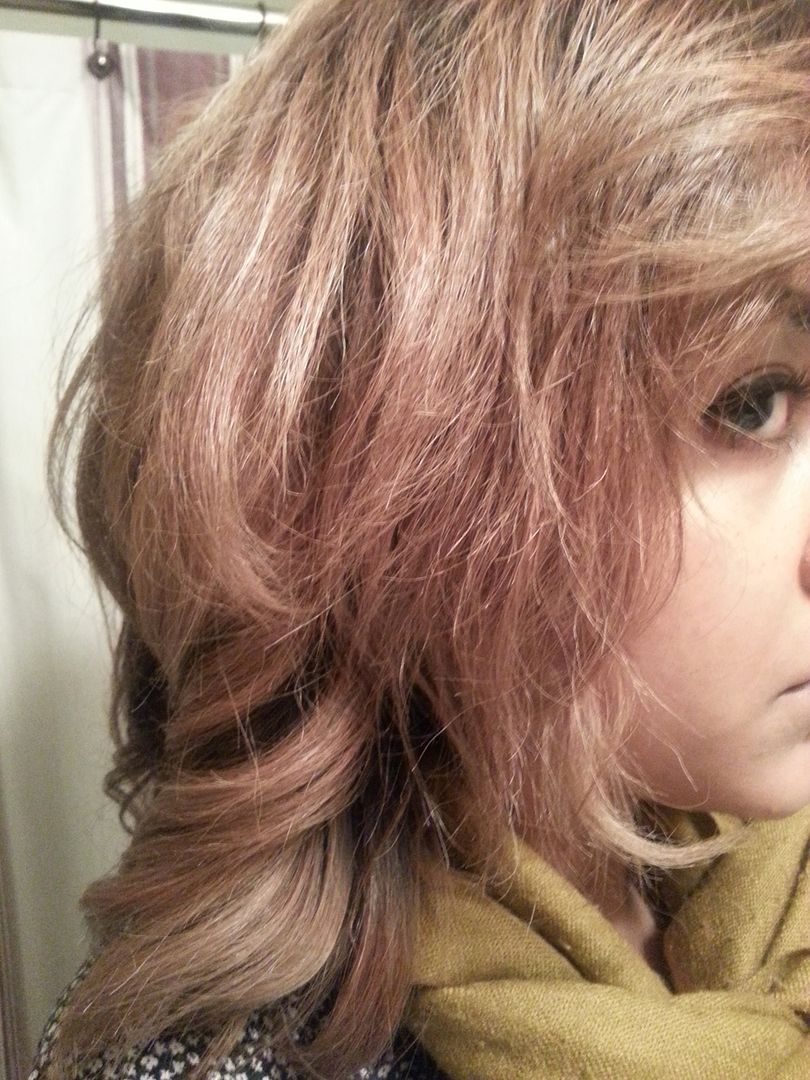
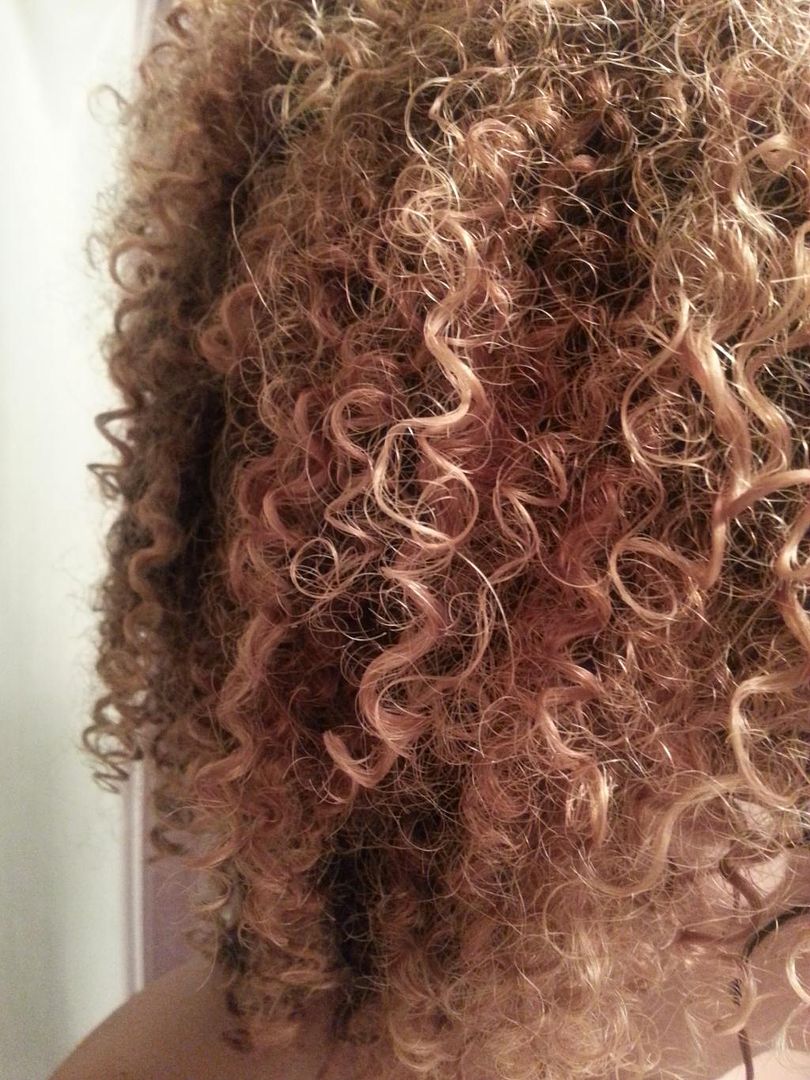
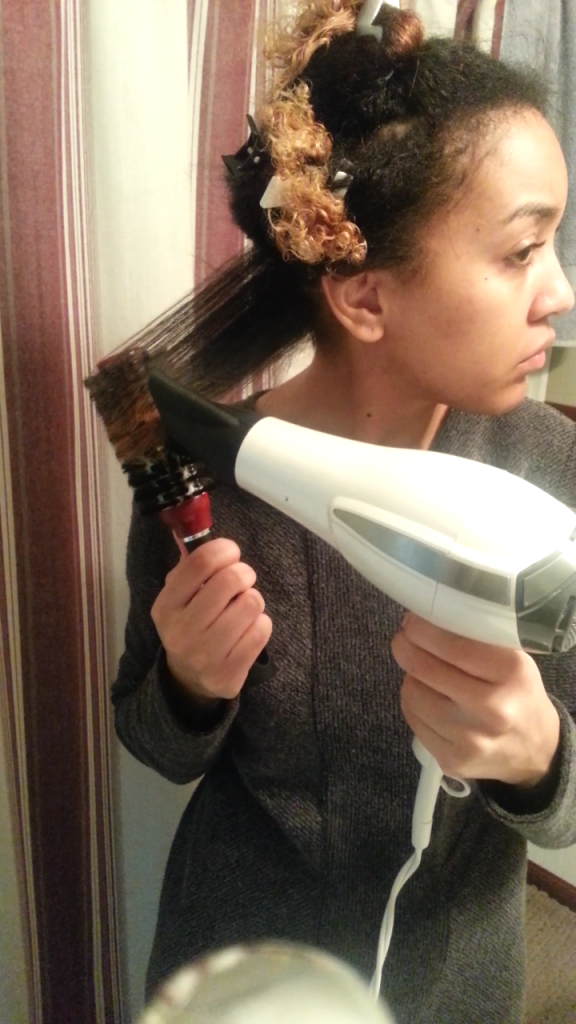
And this was my hair actually the next day (I forgot to take a picture of the result the day I conditioned...oops). But it was basically the same, just a bit softer and more defined. 

I'll definitely continue to use this product until I run out, but I don't know if I'd necessarily repurchase. I also think that may be because my hair is so damaged that it may just be damaged beyond repair...that if you use this product on undyed undamaged hair the results would be far better I'm sure! Overall, I do like it. If you're looking for high slip detangling ability this isn't for you. If you're looking for strength from the inside out, then I recommend!

May 27, 2015

That One Time I Dyed My Hair 6A Light Ash Brown

It's been exactly a year since the first time that I dyed my hair blonde...I suppose no huge regrets...but maybe little ones. It's definitely been a challenge. This post is actually a bit old news since I have since dyed it back to black. But I ended up really loving how this color turned out, and when it faded, I debated dying it back this color one more time before going black again. But, I was feeling antsy and black sounded more exciting at the time.

The reason I dyed it an ash brown was because I wanted to keep it light, without covering up all of the blonde entirely, but I wanted there to be more of a transition from my natural black roots to the blond ends and I wanted to especially tone out the brassy orange.

The biggest challenge of going blonde is definitely battling brass, orange and yellow tones. If you want warm colors, then it's easy...but I wanted a cool/ash blonde, which I'm discovering is near impossible...even with purple shampoo and toners. Sigh. Luckily, like I said, I really liked how the ash blonde turned out.

The Products: 
L'Oreal Superior Preference in 6A Light Ash Brown
+
L'Oreal EverPure Sulfate Free Moisture Conditioner 

The directions are very basic...mix, apply, wait for 25 minutes, rinse, condition (no shampoo). The challenge is getting the dye on your hair evenly. Since I have multiple hair colors to begin with, I wasn't too worried. Also, the box dye is around $10...verses going to a salon and paying 10x that amount. So even it isn't perfect, it's worth the $10. Last time I dyed my hair at a salon, I regretted it immediately after. I don't remember ever regretting box dye.
Mix the color and developer.

This is the hair I stared with. Orange ends. Black roots.

To make applying easier, I section my hair and start applying first to areas that are most visible like around my part, edges, crown...etc. Then I do the hairs underneath that are less visible. This way, the more noticeable areas will have more time for the dye to set.

My hair is fairly short, so one box is enough. If your hair is super long, then you might want two boxes so that you can completely saturate your entire head. Then, once the dye is evenly applied, wait 20-25 minutes. 

When time is up, rinse out all of the dye with cool/lukewarm water until the water runs clear. When all of the dye is mixed out, condition. I used the conditioner that came with the box and then some of my own L'Oreal conditioner. Just don't use shampoo on this wash (or maybe the next couple depending on how often you wash your hair) because it could cause the color to fade more quickly and is also extra drying on top of recently dyed hair.
Once my hair was washed, moisturized, blow dried...and straightened, this was my result. It's less noticeable in pictures, probably because of my lighting, but the results were pretty true to the box. My roots were lifted a couple shades lighter and my orange ends were toned down about a shade darker and were less brassy. 
Even with my bad lighting, you can see my results were pretty close--just a bit less drastic. So it felt more like a toner than dye...or somewhere in the middle
So I got the results I wanted -- slightly lighter roots, slightly darker and more toned ends, and a more gradual transition in between.
I'm going to hold off on dying my hair again for a long time, I hope. If my impulse control permits. At least, if I do dye it, I won't be lifting color, just depositing. 

So...next up is another  growth journey. Wish me luck!

March 3, 2015

How I Straighten 4A Natural Curly Hair Using the Blow Out Method

I think I've said it before...but I'll say it again. I have serious ADD when it comes to my hair. Hair color. Texture. Style. All of the above.

Lately I've been hung up on the texture -- probably going back and forth between straight to curly every week. Especially when I first got it cut, because it was a bit shorter than what I'm now used to for my curly hair but I loved how the cut looked straight. As you may notice (I do..) it's grown out a little bit. Just a couple of inches. When I did get it cut, my stylist got my hair straighter than I've ever seen it -- straight to the point where it didn't even feel like my hair anymore. And waves wouldn't even hold. I like a bit of texture even when straight...the tousled look. So I've adopted the blow out method when straightening because it is faster, gets my hair very straight, lasts through the week, and with the help of the right products I haven't noticed any extra heat damage. So when I straighten after a blow out, to give it added volume I add some waves. Also I'm just simply not as great as straightening my hair as she was clearly...which works in my favor because, like I mentioned...I don't love when it is bone straight. 

Anyway - these are the four products I used. One leave in moisturizer, one heat protectant, and one or two of your favorite dry/light oils sealants or serums.
1. Yes to Carrots Leave in Conditioner with Argan Oil

2. OGX Ever Straight Brazilian Keratin Therapy Flat Iron Spray

3. Herbal Essences Wild Naturals Oil Elixir

4. OGX Weightless Healing Dry Oil

As for tools...just the basics for a good blow out and straightening. Some clips, your blow dryer (best with concentration nozzle), a round brush with soft bristles (not hard plastic), your straightener, and a narrow tooth comb.
Hair I started with.
First wash your hair with your favorite shampoo and conditioner. Lately I've been using Head & Shoulders Dry Scalp Care With Almond Oil Shampoo and Ogx Awapuhi Ginger Repairing Conditioner. 
My towel dried wet hair.
Section your hair into 4-8 sections...depending on how thick your hair is. 
Apply a small amount of leave in moisturizer to each section, concentrating most on your ends.
Then spritz a generous amount of heat protectant spray. These don't leave your hair oily so you don't have to worry much about using too much. This one basically dries like water. 
Work the products through with a brush/comb and detangle each section.
Apply a light amount of sealant, dry oil and/or serum. Lately, I've been loving Herbal Essences Wild Naturals Oil Elixir. It's super moisturizing, non sticky, and really does feel like a 'dry' oil on your hands, skin, and hair, leaving it very soft but not necessarily oily. Just don't go overboard...use sparingly. 
Once the sections are moisturized and detangled, take out even smaller sections and blow each section out straight one at a time. 
Brush out smooth with the round bristle brush. The longer your hair...the wider the brush you should use. 
Smooth out the hair with the brush while blow drying simultaneously. Focusing the concentrator nozzle on the section, and follow your brush with the nozzle as you blow dry. Once the hair is 90% dry, for added smoothness and volume, roll your hair up with the brush, and blow dry for a few seconds while you hold in place (like above). Then unroll gently. 
This is the texture achieved with this style of blow out. 
Do this across your entire head. You may have to play around with different techniques depending on your hair texture and length to get your roots and ends as straight as possible. 
Be sure to section your hair into small sections. The smaller the section, the faster and more easily you'll be able to get that section of hair both dry and straight. 
My results from just the blow out -- it's already very straight! I owe that to my fairly new blow dryer and new products :) I think the non-oily heat protectant is a big help as well. Leaving the hair soft, fluffy but very straight without being oily to the touch. It also smells good! You could rock this textured blow out as a style...but if you want it to last longer, or want to add some soft waves, then straighten over it.
To straighten, I also work in very small sections. Combing each with a narrow tooth comb before going over a few times with my straightener. 
To add waves and texture, curl your wrist while you straighten. Since my hair cut has grown out a bit, I especially like to do this as it kind of masks my now uneven ends. 
My results after straightening! As you can see...I added in some waves. I don't love when my hair is actually bone straight. I prefer texture and volume. I may touch this up to add some more waves and volume every morning -- but it only takes a few minutes. I find that this method paired with these products really does last me through the week. 

Hope that helps! To check out other methods of straightening (besides blow out), try this bantu knot stretching technique I use sometimes before I straighten. Especially for when I had longer hair!


Let me know how it goes!

February 23, 2015

Twice Haul from LikeTwice.com


A little while back (as you can see...before my haircut)...I noticed, Twice was blowing up my Facebook page. So I caved in! And bought 4 dresses. So I'm going to go ahead and blame my impulse on Twice, not me.

It's ok -- because I'm a bit of a dress fiend anyway...I have a lot...but I do actually wear them, even in the winter, and they all turned out to be good purchases. Most of these are sweater dresses anyway. I've been curious about liketwice.com for a while  -- and so tried it out! Overall, I had an easy shopping experience, received good customer service...and the dresses arrived safe and sound within the estimated shipping time...all in good condition -- like new. 
Max Studio -- probably my favorite one.


My order totals BEFORE my first-time purchase 40% discount:

As you can see, they have very steep discounts...AND offer additional discounts when it's your first order. At the time I ordered, the promo was 40% off -- so it brought my total of $132 to $66. So essentially, I felt like I bought 4 dresses for the price of 1 (nice) dress. 

Some of these were risks...like the bright, bright red. And the French Connection dress that from the description sounded like it might be a bit too small...and it definitely is a little snug. But luckily (with affirmations from friends...) it just looks like it's supposed to be -- not like I'm trying to squeeze into something I shouldn't be. :) But with prices so cheap...(Some dresses I was considering would have been as low as $10) it's not much of a risk. And one of the dresses that I didn't love (Max Studio Gray Solid Sweater Dress) -- because the neckline is too low to wear by itself -- I gave it to my little sister. And SHE loves it. 

So perhaps...it's a shopping experience with people who are 1. on a buget, 2. not extremely picky, and 3. have siblings or friends who are a similar size that they can use as back up in case they don't like something. 


I guess...the only stressful thing about shopping here is that you know that if you see something you really like one day, you should buy it now, otherwise it may not be there the next day. (That happened to me...) But on the flip side, you know if you don't see anything that great, check the next day. If I were to shop here again...I'd probably go a little more bold with my choices. Because why not?