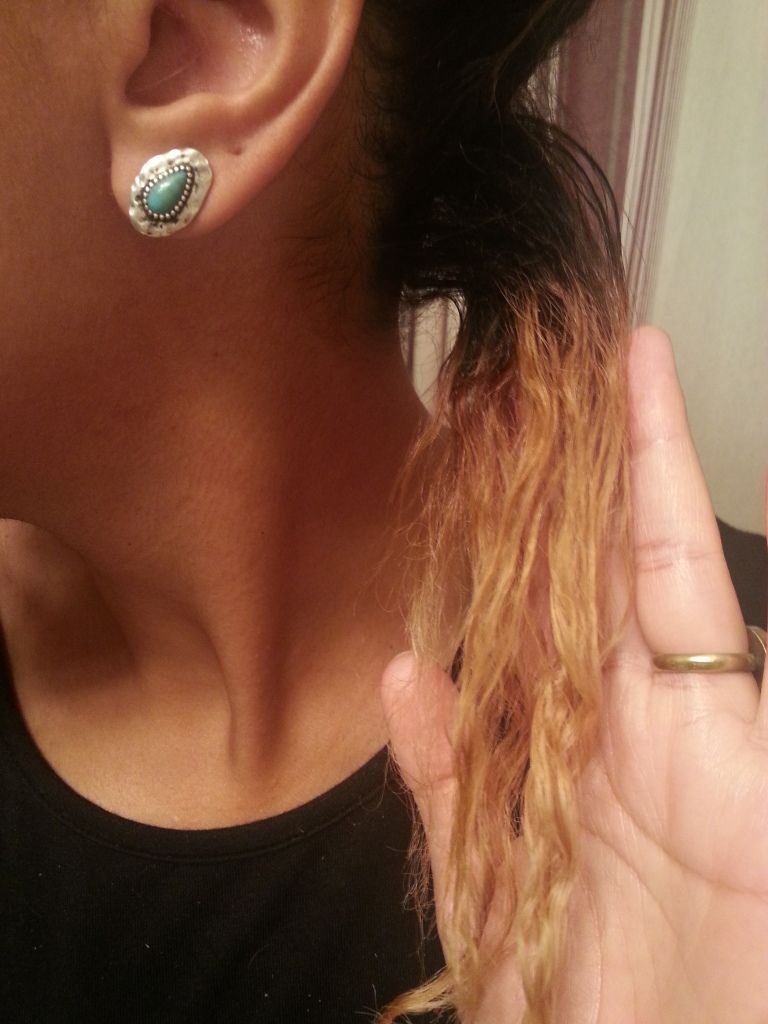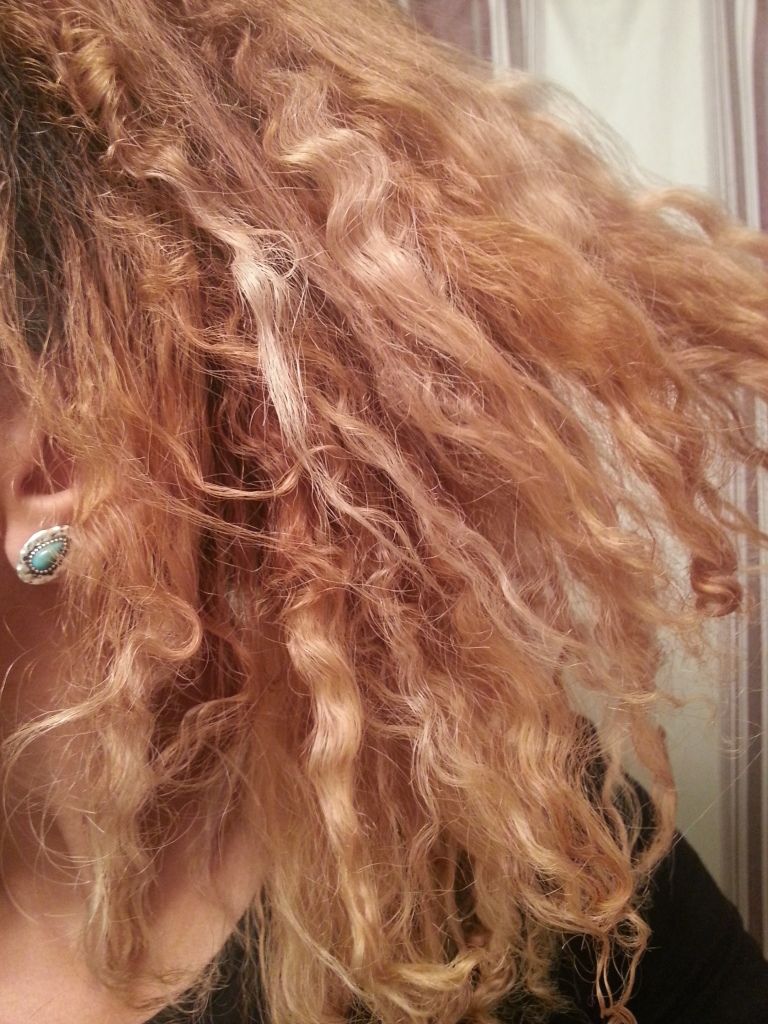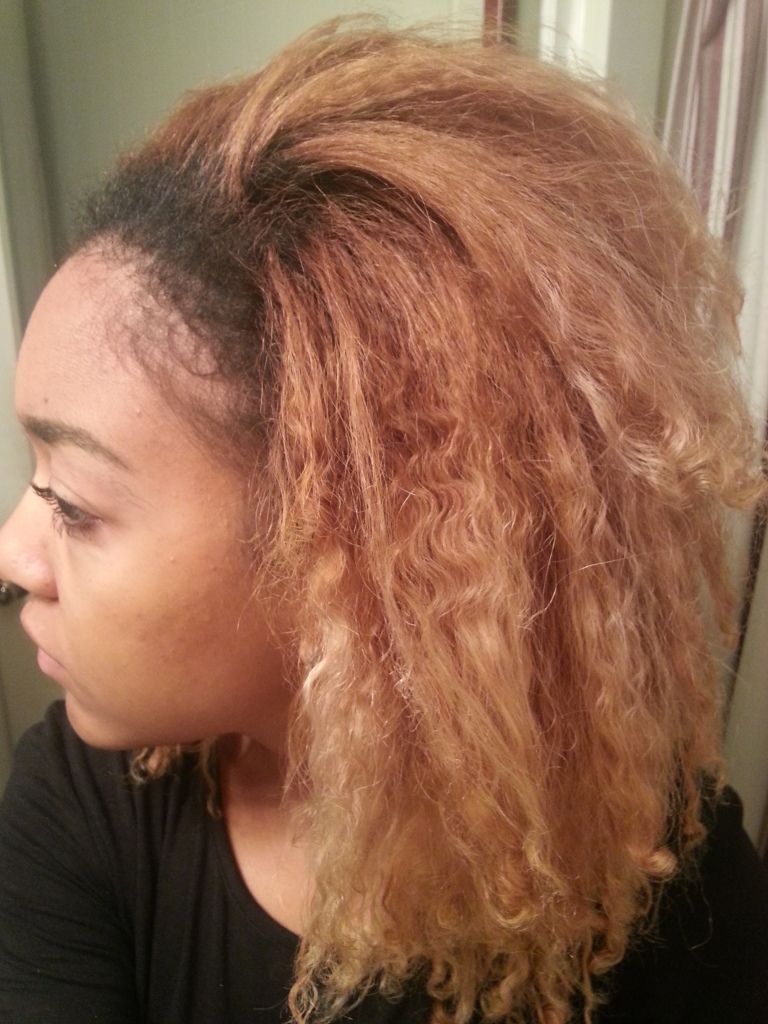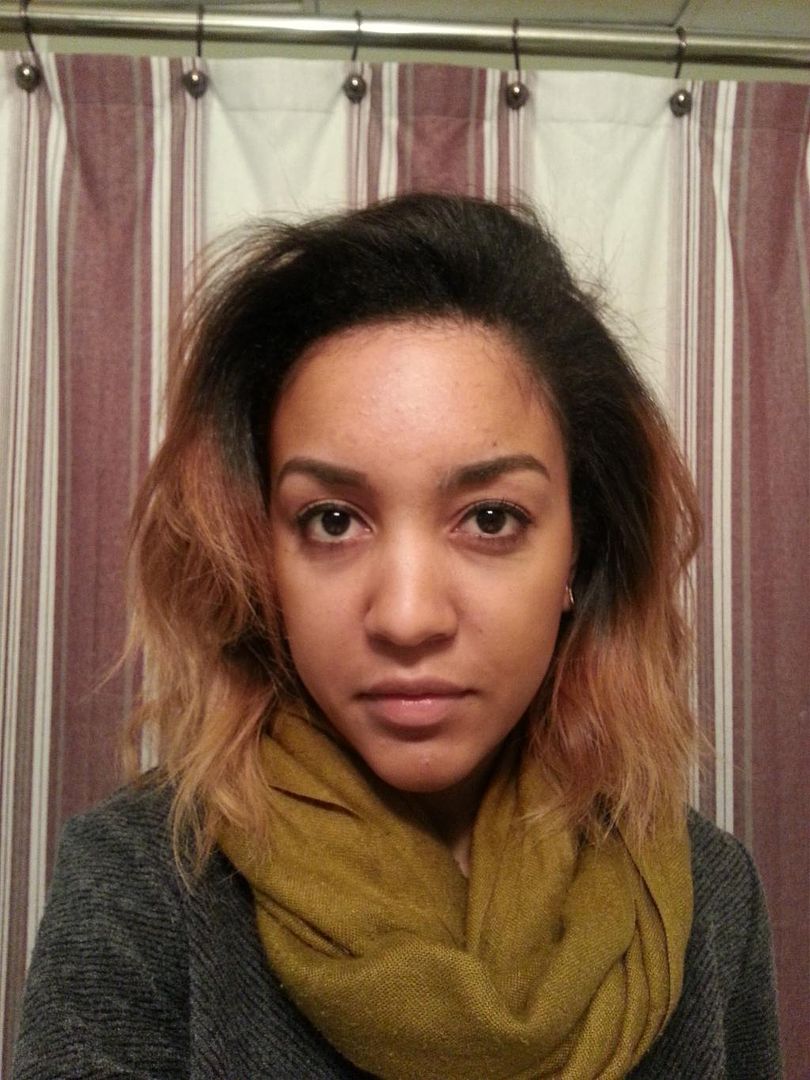
Showing posts with label strands. Show all posts

March 3, 2015

How I Straighten 4A Natural Curly Hair Using the Blow Out Method

I think I've said it before...but I'll say it again. I have serious ADD when it comes to my hair. Hair color. Texture. Style. All of the above.

Lately I've been hung up on the texture -- probably going back and forth between straight to curly every week. Especially when I first got it cut, because it was a bit shorter than what I'm now used to for my curly hair but I loved how the cut looked straight. As you may notice (I do..) it's grown out a little bit. Just a couple of inches. When I did get it cut, my stylist got my hair straighter than I've ever seen it -- straight to the point where it didn't even feel like my hair anymore. And waves wouldn't even hold. I like a bit of texture even when straight...the tousled look. So I've adopted the blow out method when straightening because it is faster, gets my hair very straight, lasts through the week, and with the help of the right products I haven't noticed any extra heat damage. So when I straighten after a blow out, to give it added volume I add some waves. Also I'm just simply not as great as straightening my hair as she was clearly...which works in my favor because, like I mentioned...I don't love when it is bone straight. 

Anyway - these are the four products I used. One leave in moisturizer, one heat protectant, and one or two of your favorite dry/light oils sealants or serums.
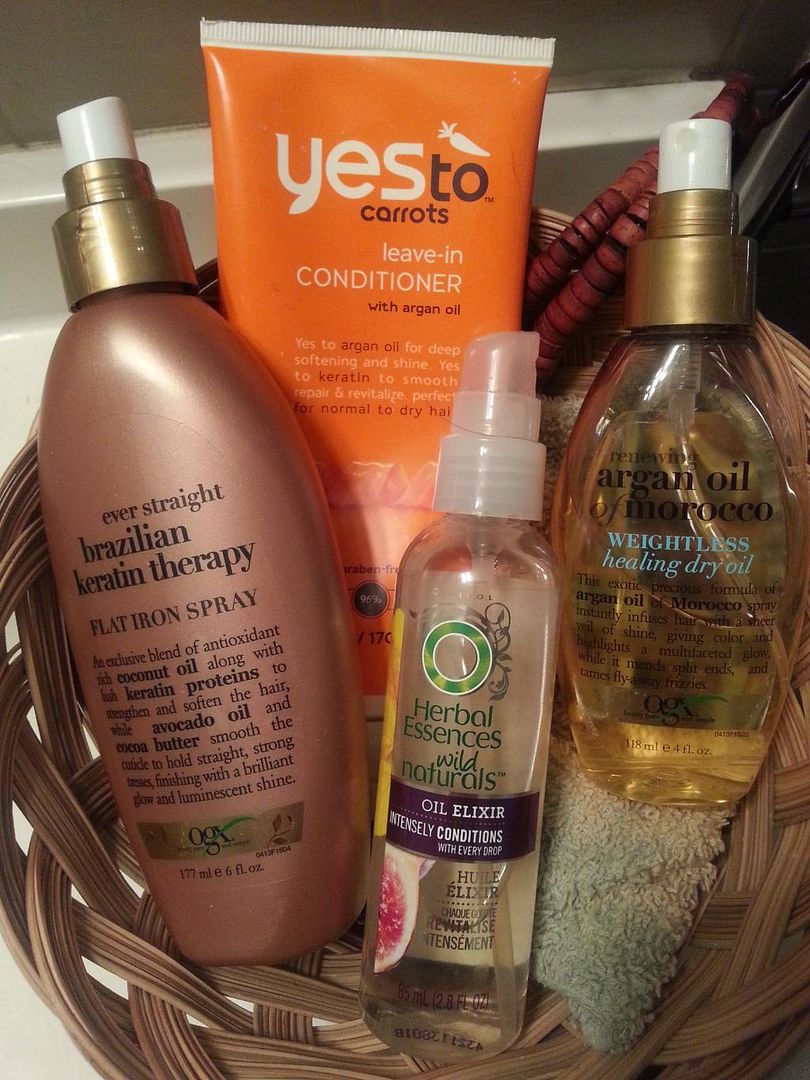
1. Yes to Carrots Leave in Conditioner with Argan Oil

2. OGX Ever Straight Brazilian Keratin Therapy Flat Iron Spray

3. Herbal Essences Wild Naturals Oil Elixir

4. OGX Weightless Healing Dry Oil

As for tools...just the basics for a good blow out and straightening. Some clips, your blow dryer (best with concentration nozzle), a round brush with soft bristles (not hard plastic), your straightener, and a narrow tooth comb.
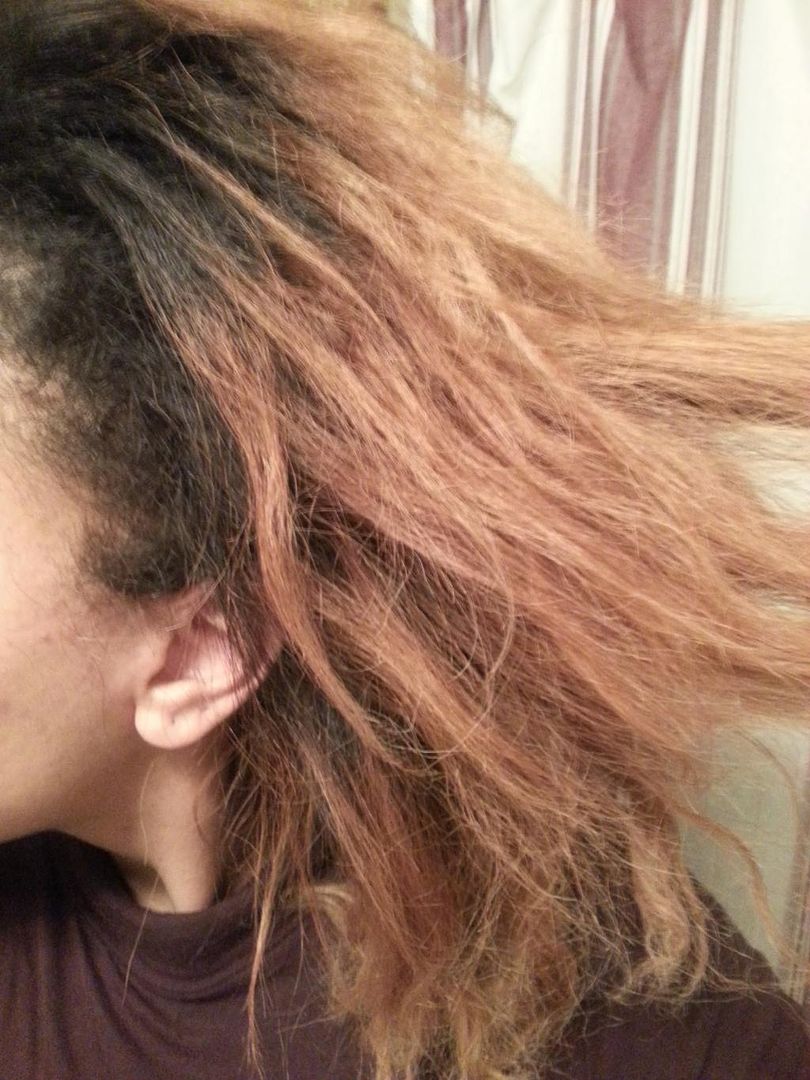
Hair I started with.
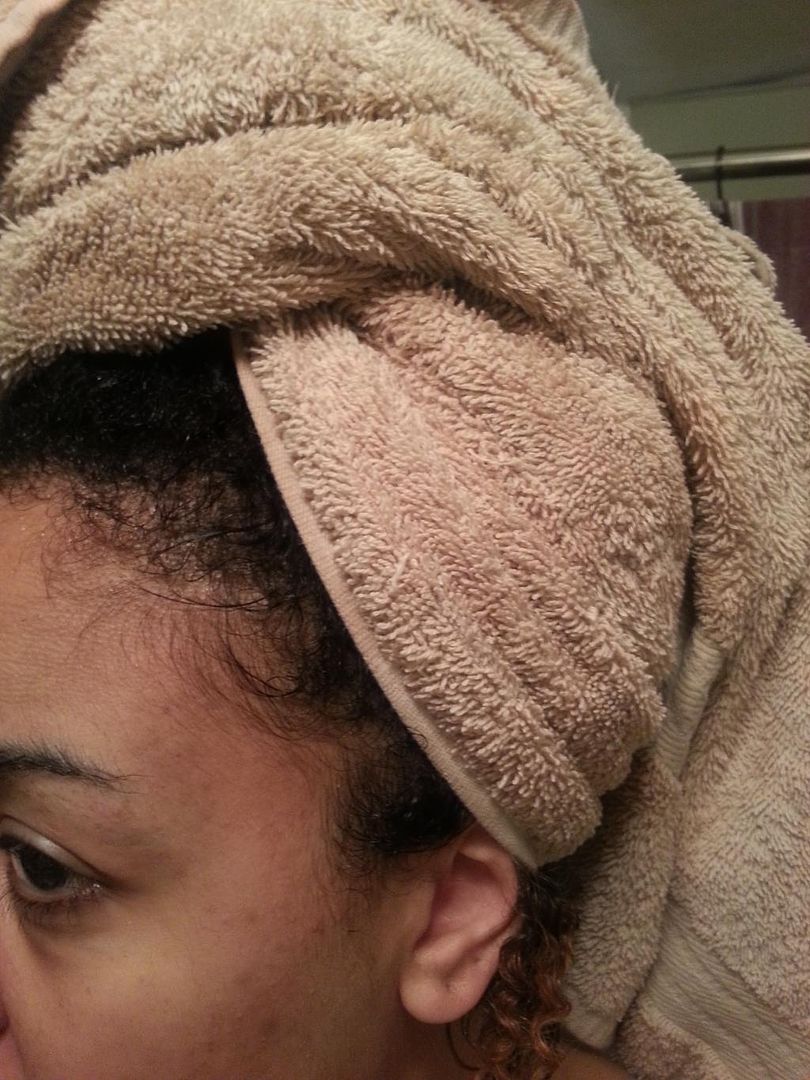
First wash your hair with your favorite shampoo and conditioner. Lately I've been using Head & Shoulders Dry Scalp Care With Almond Oil Shampoo and Ogx Awapuhi Ginger Repairing Conditioner. 
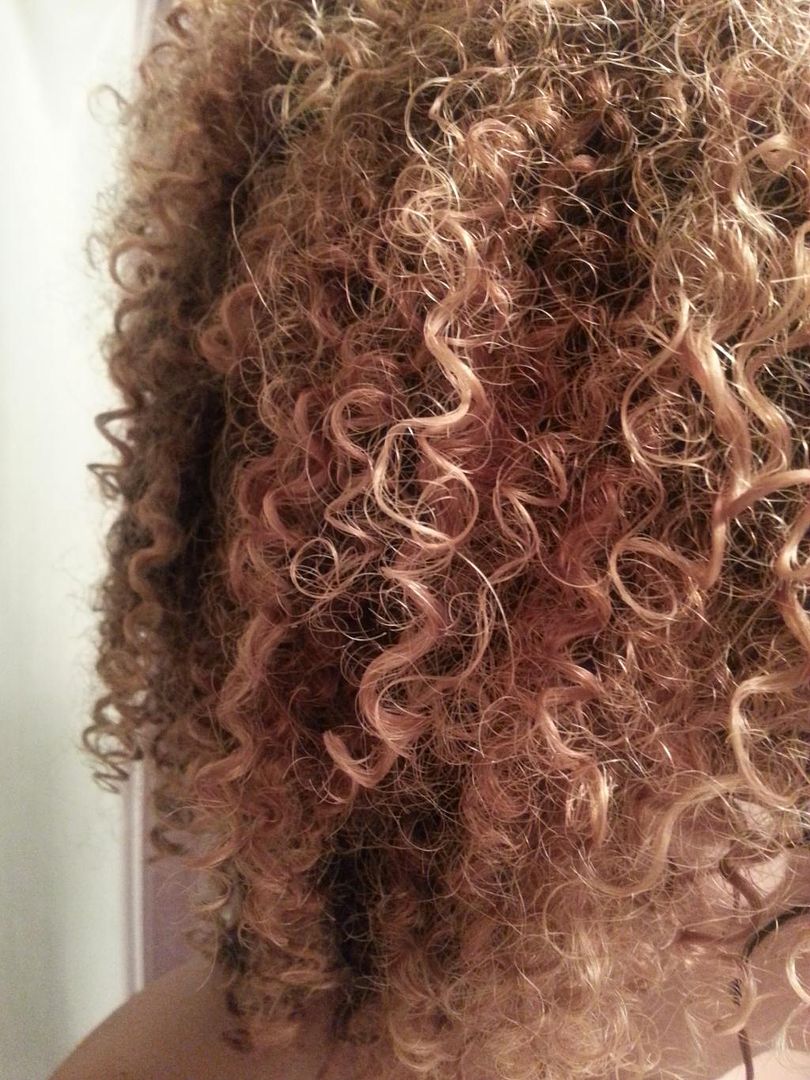
My towel dried wet hair.
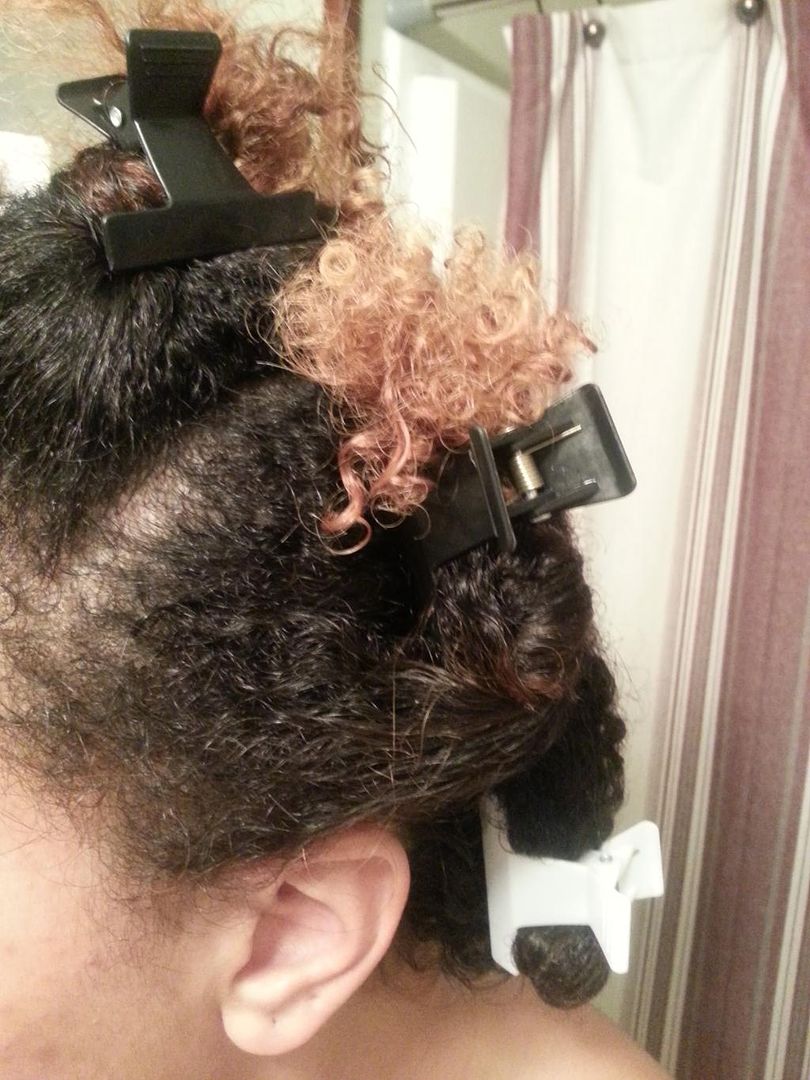
Section your hair into 4-8 sections...depending on how thick your hair is. 
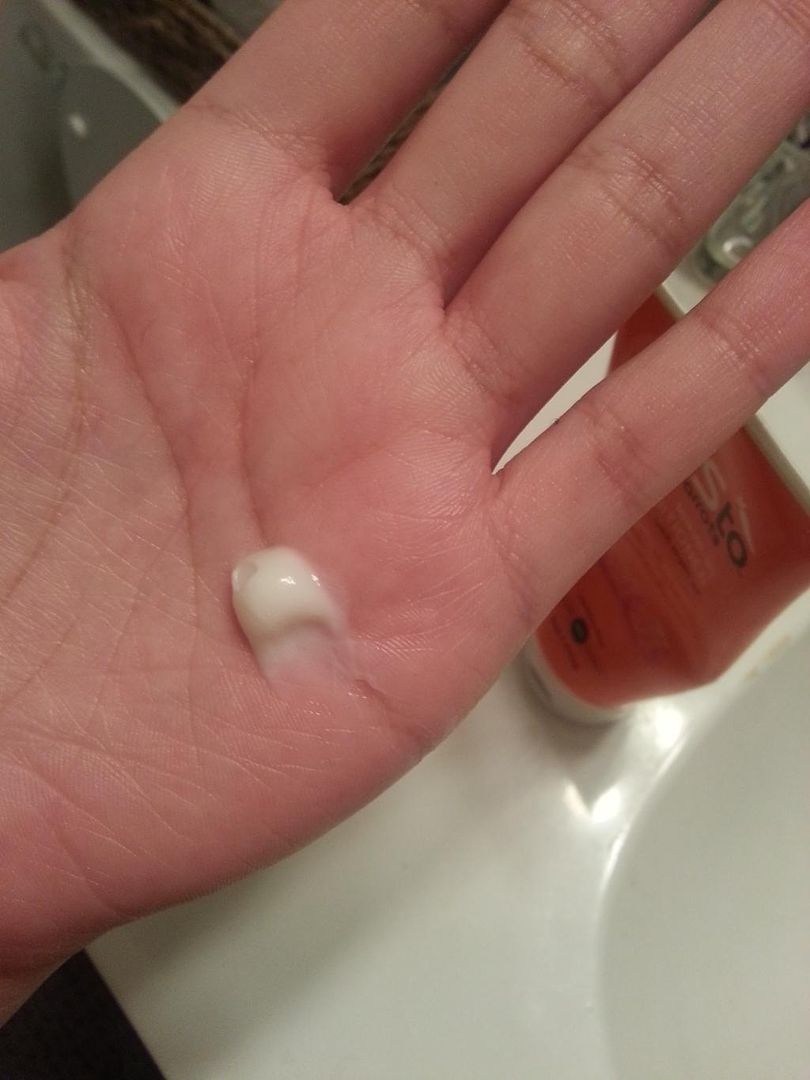
Apply a small amount of leave in moisturizer to each section, concentrating most on your ends.
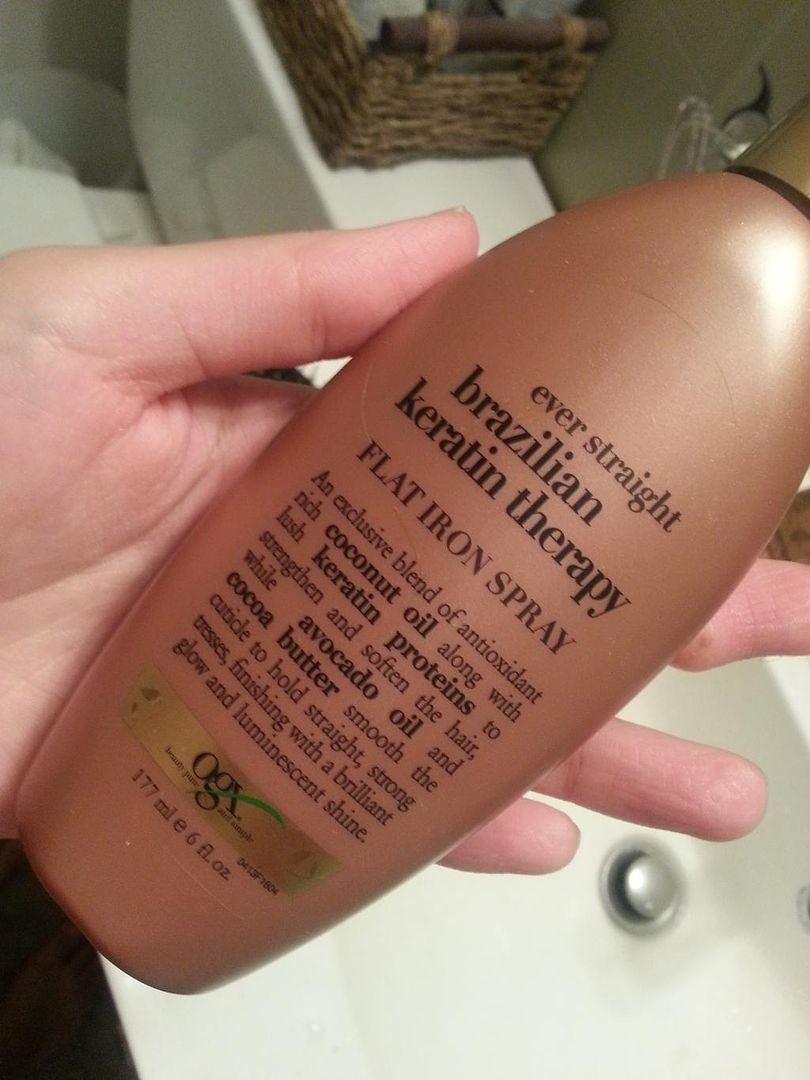
Then spritz a generous amount of heat protectant spray. These don't leave your hair oily so you don't have to worry much about using too much. This one basically dries like water. 
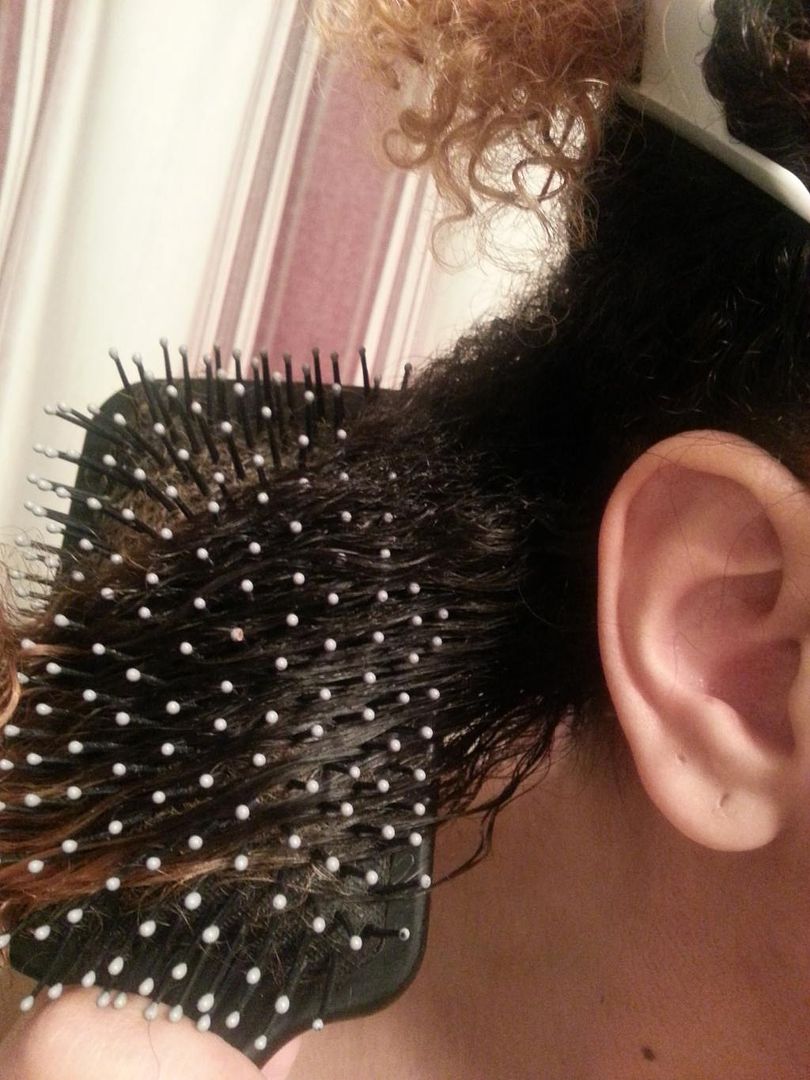
Work the products through with a brush/comb and detangle each section.
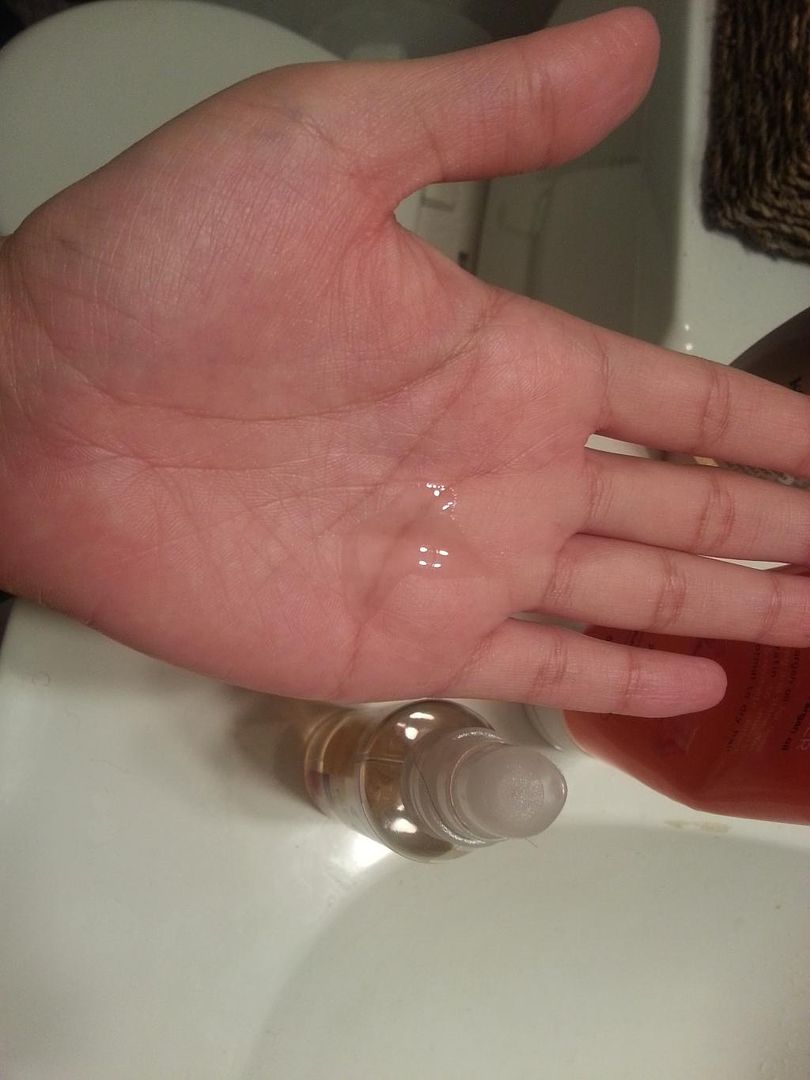
Apply a light amount of sealant, dry oil and/or serum. Lately, I've been loving Herbal Essences Wild Naturals Oil Elixir. It's super moisturizing, non sticky, and really does feel like a 'dry' oil on your hands, skin, and hair, leaving it very soft but not necessarily oily. Just don't go overboard...use sparingly. 
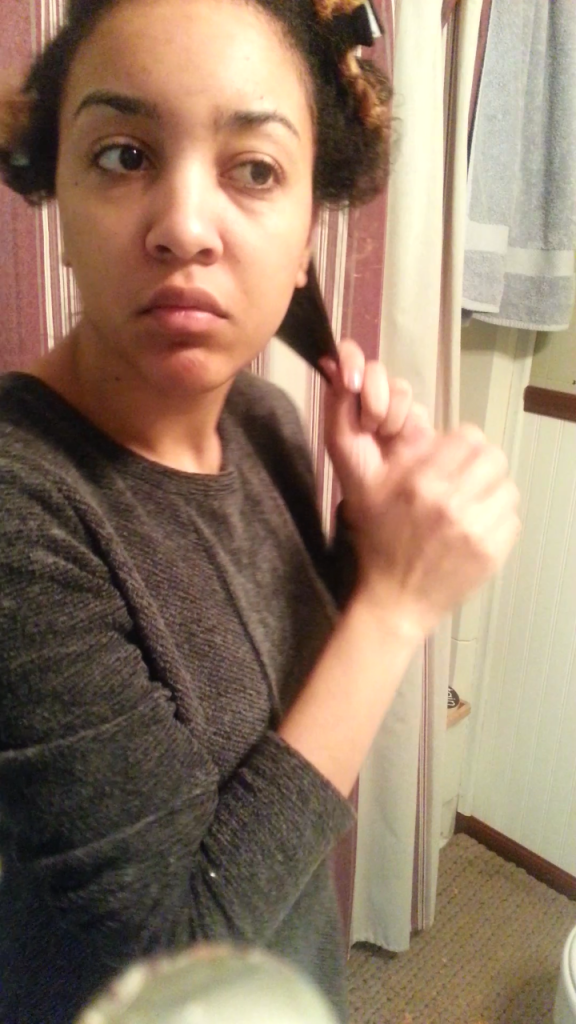
Once the sections are moisturized and detangled, take out even smaller sections and blow each section out straight one at a time. 
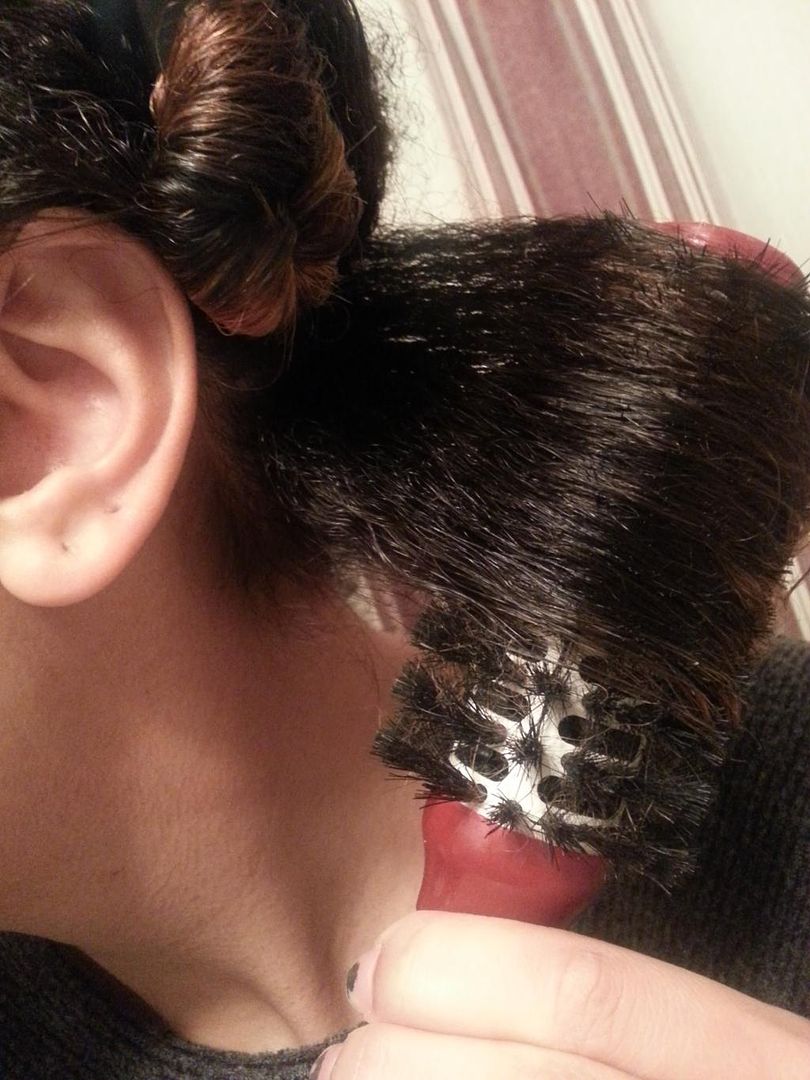
Brush out smooth with the round bristle brush. The longer your hair...the wider the brush you should use. 
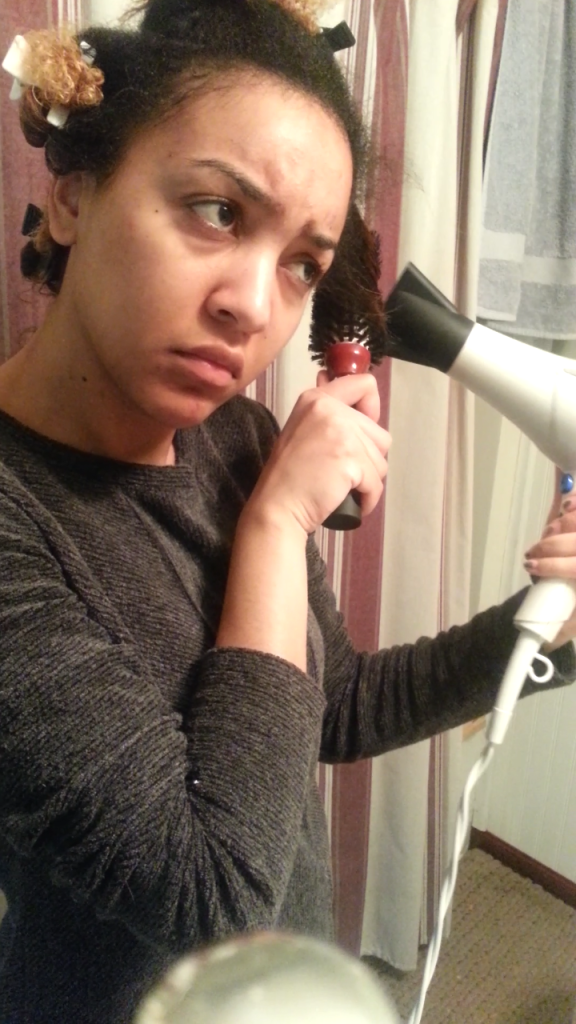
Smooth out the hair with the brush while blow drying simultaneously. Focusing the concentrator nozzle on the section, and follow your brush with the nozzle as you blow dry. Once the hair is 90% dry, for added smoothness and volume, roll your hair up with the brush, and blow dry for a few seconds while you hold in place (like above). Then unroll gently. 
This is the texture achieved with this style of blow out. 
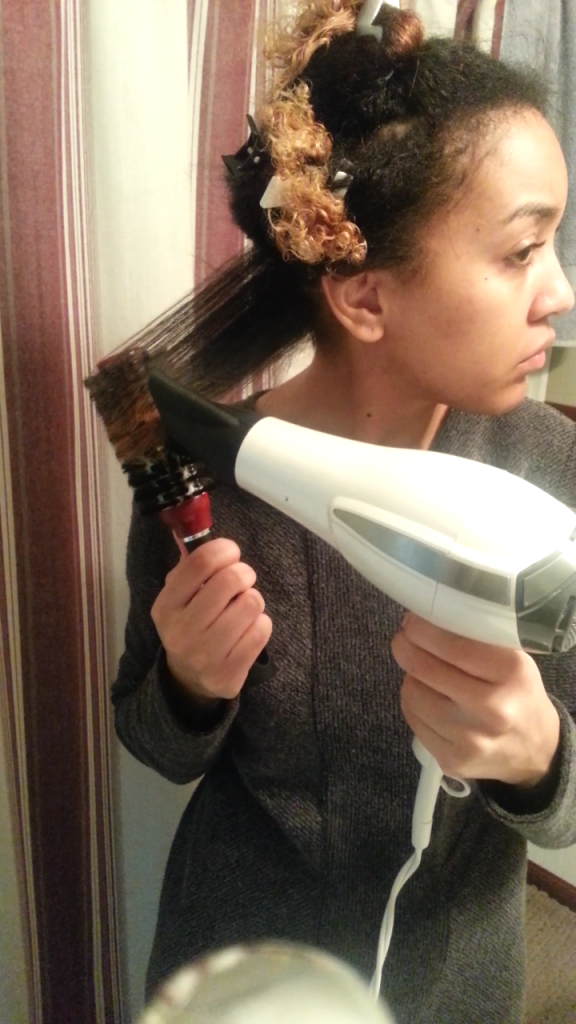
Do this across your entire head. You may have to play around with different techniques depending on your hair texture and length to get your roots and ends as straight as possible. 
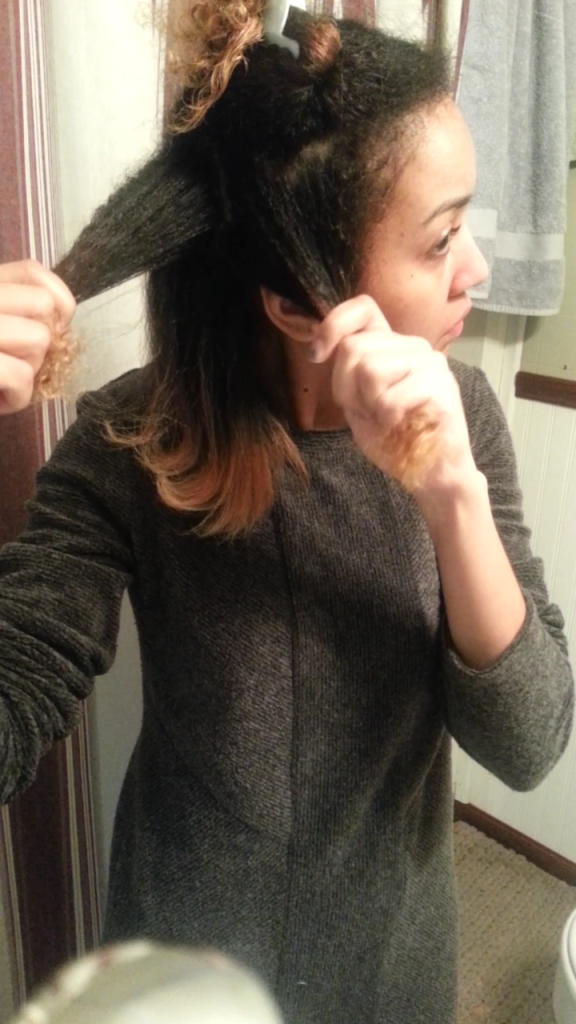
Be sure to section your hair into small sections. The smaller the section, the faster and more easily you'll be able to get that section of hair both dry and straight. 
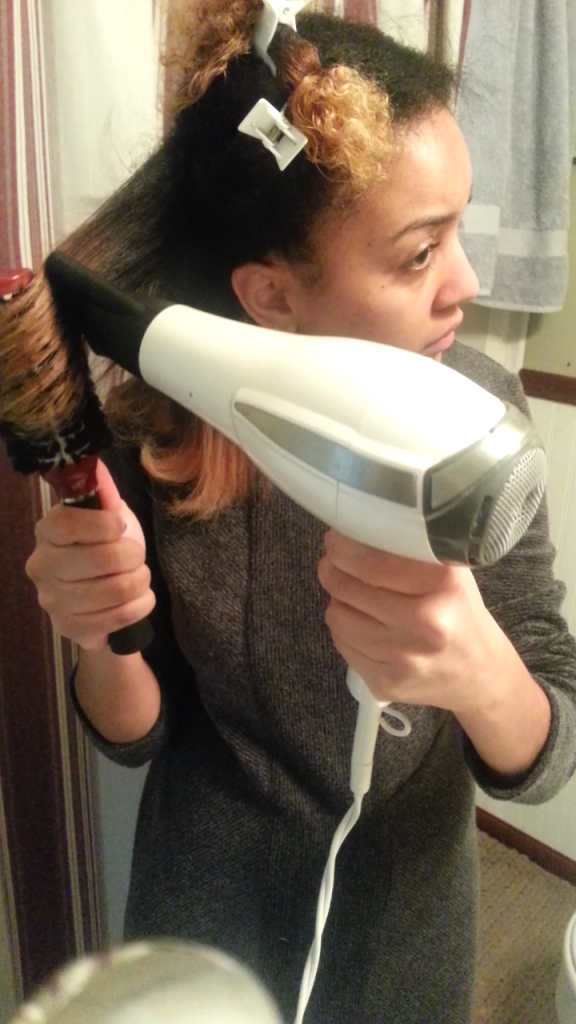
My results from just the blow out -- it's already very straight! I owe that to my fairly new blow dryer and new products :) I think the non-oily heat protectant is a big help as well. Leaving the hair soft, fluffy but very straight without being oily to the touch. It also smells good! You could rock this textured blow out as a style...but if you want it to last longer, or want to add some soft waves, then straighten over it.
To straighten, I also work in very small sections. Combing each with a narrow tooth comb before going over a few times with my straightener. 
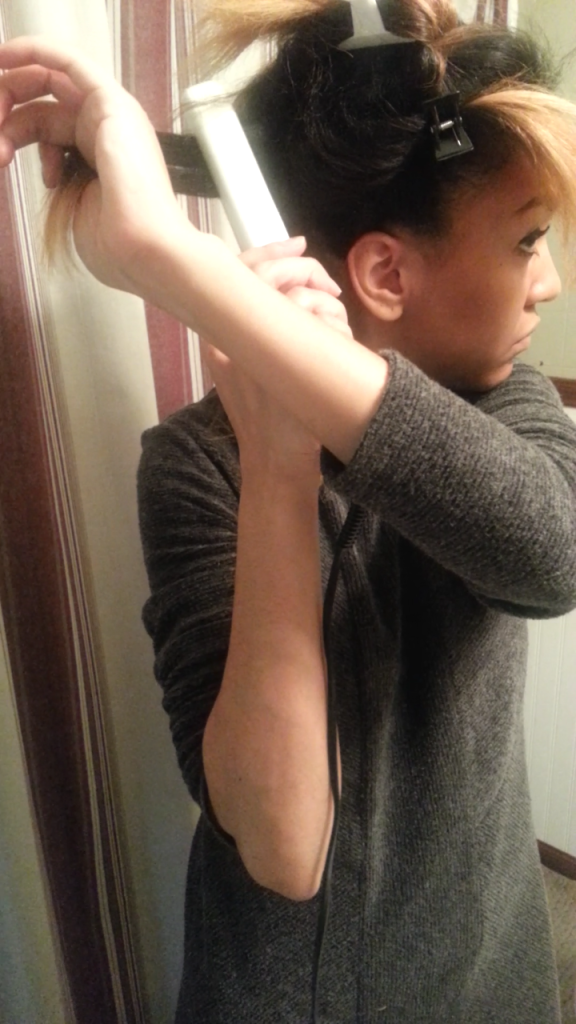
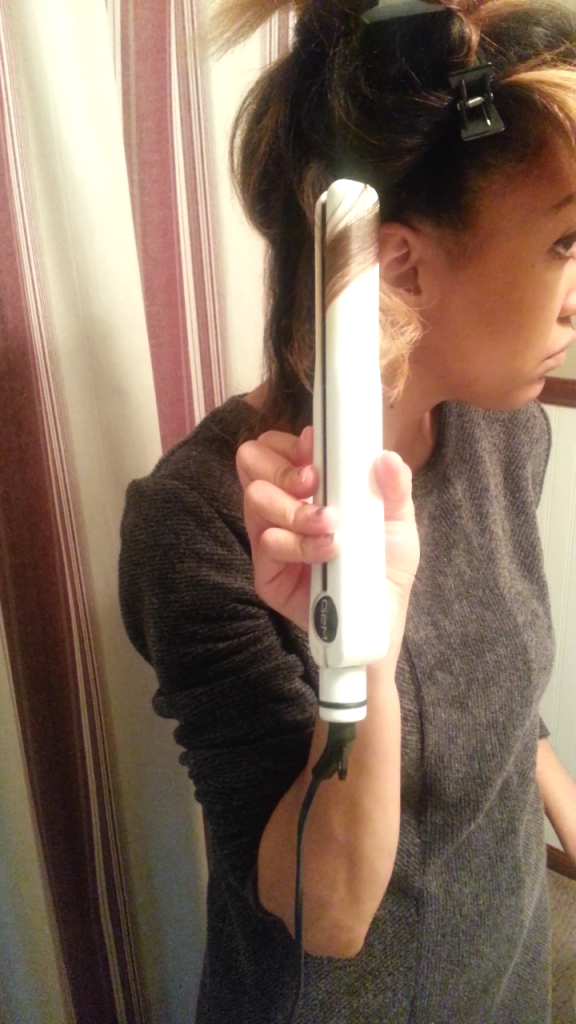
To add waves and texture, curl your wrist while you straighten. Since my hair cut has grown out a bit, I especially like to do this as it kind of masks my now uneven ends. 
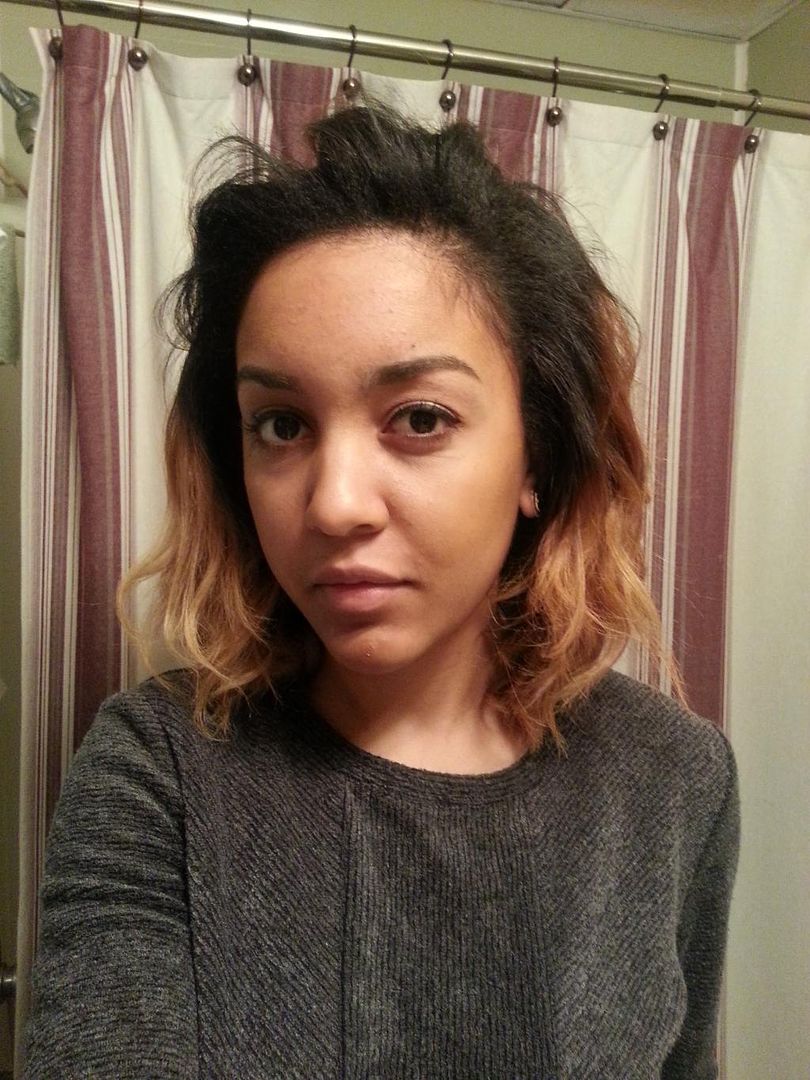
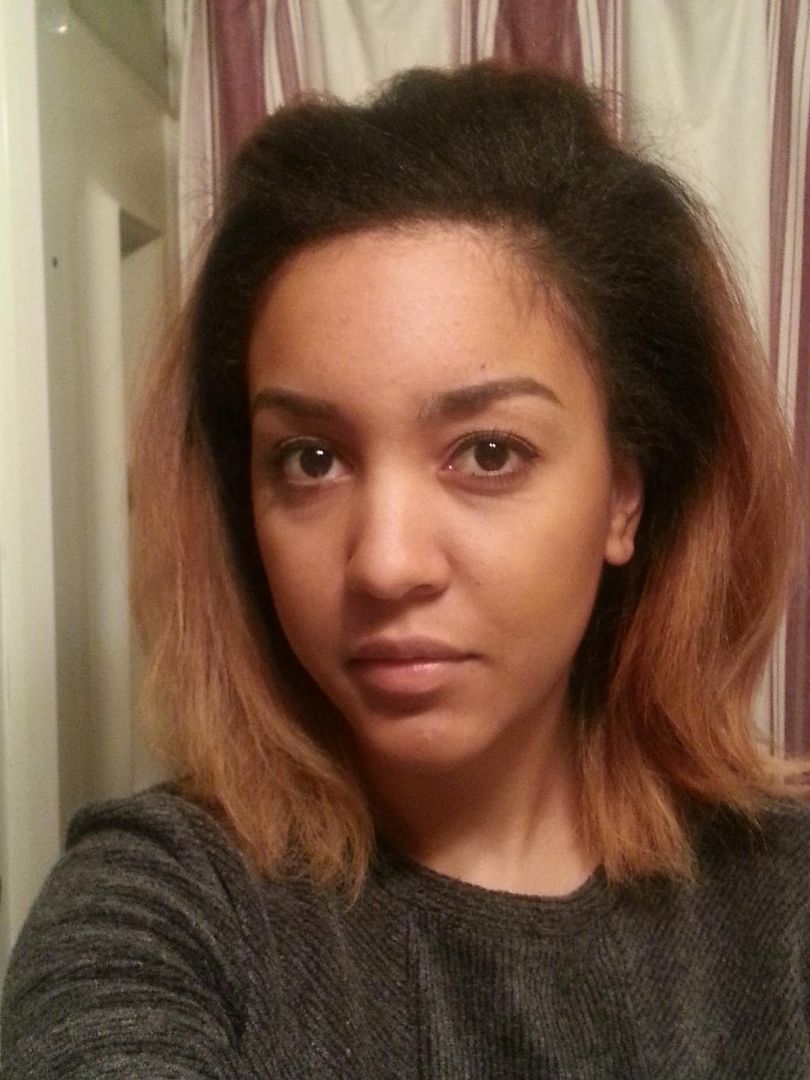
My results after straightening! As you can see...I added in some waves. I don't love when my hair is actually bone straight. I prefer texture and volume. I may touch this up to add some more waves and volume every morning -- but it only takes a few minutes. I find that this method paired with these products really does last me through the week. 

Hope that helps! To check out other methods of straightening (besides blow out), try this bantu knot stretching technique I use sometimes before I straighten. Especially for when I had longer hair!
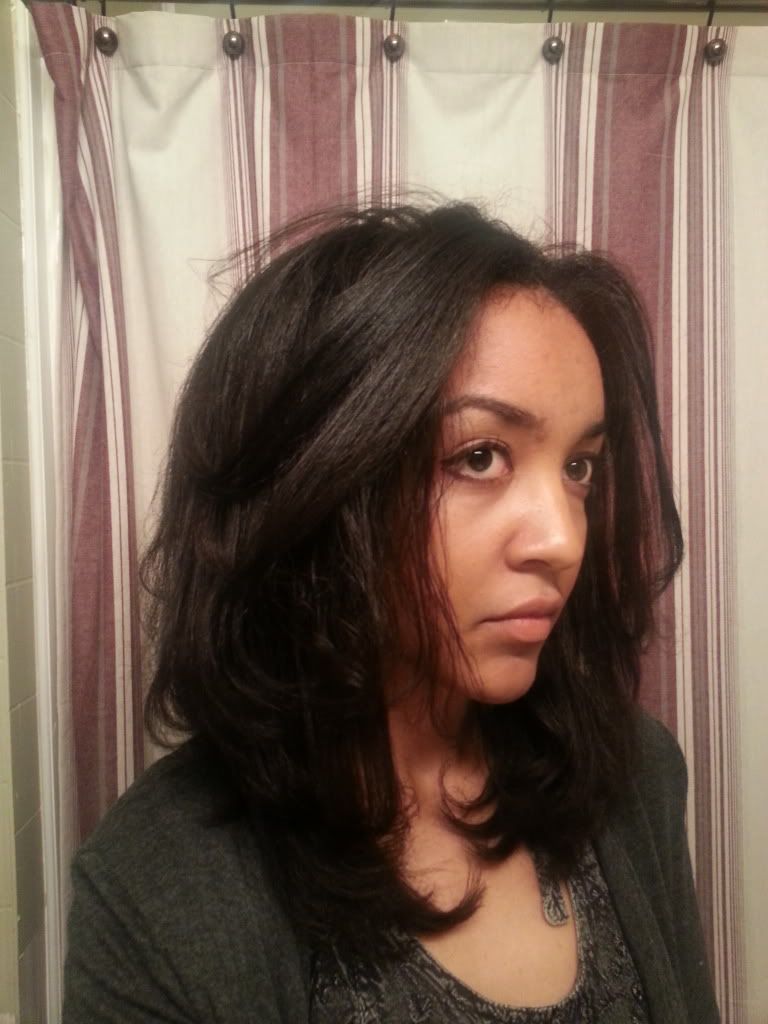


Let me know how it goes!

February 13, 2015

Lazy Day Twist and Pin Updo For Natural Curly Hair

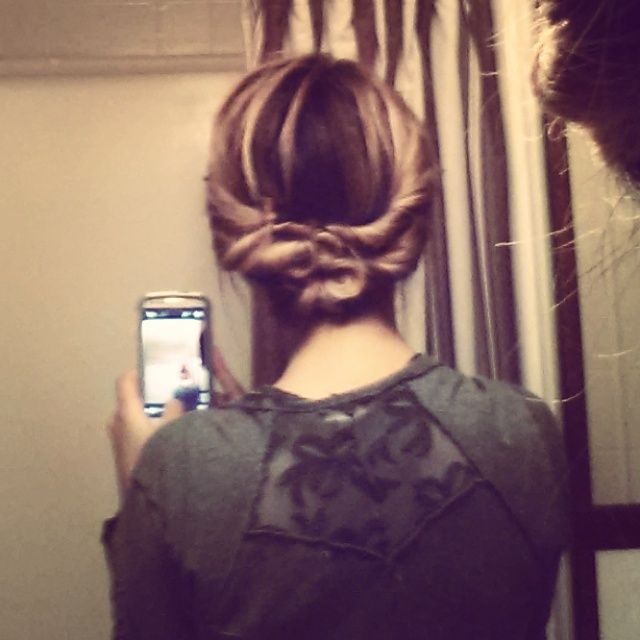
Count on Pinterest for hairspiration (am I right?)...I have a few go-to natural hair styles for lazy days. But recently, I found this seemingly simple and effortless twist and pin updo from Hair Romance and decided to try it out!

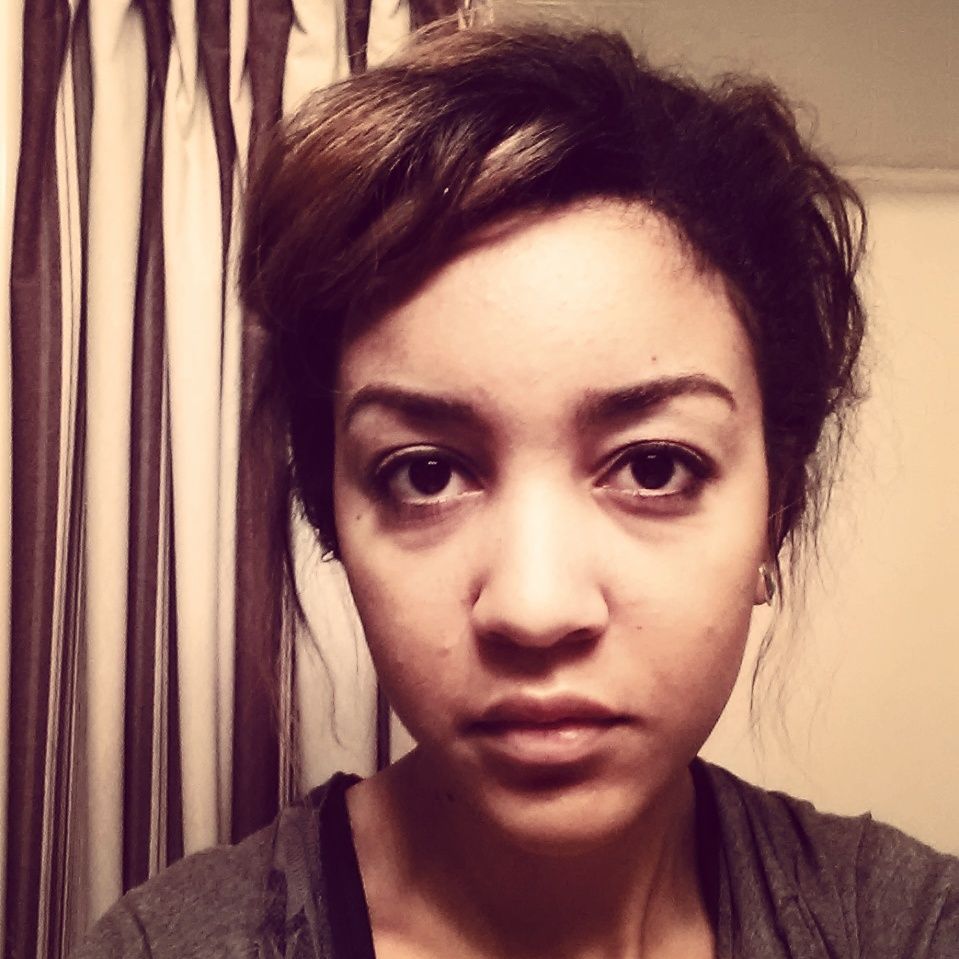
Admittedly, the front could use some work. But if a messy and tossled look is what you're going for...it works. Check out the full tutorial here. This style works best if you have medium-to-shoulder length hair -- but it can work on short hair, too (just not too short). 

I especially like how it looks with the blonde highlights -- I've been considering dying it dark again. But styles like this are making me second guess...

January 26, 2015

New Hair Cut from DYE Salon, Ferndale Michigan

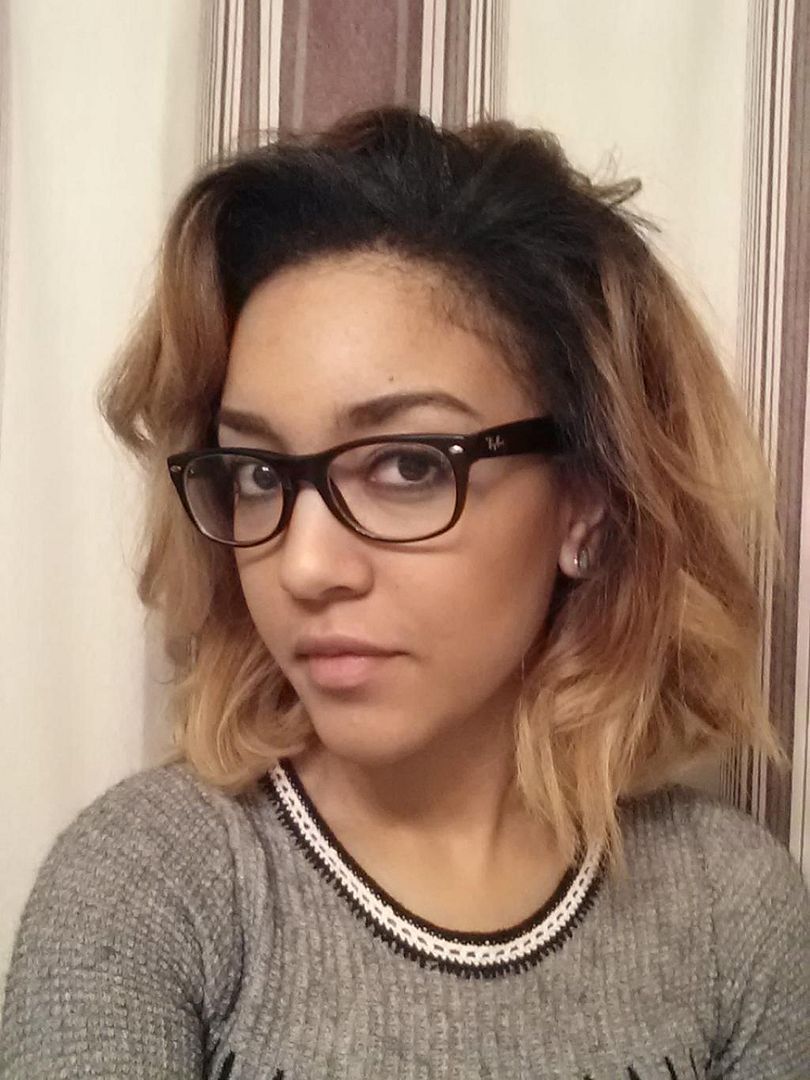
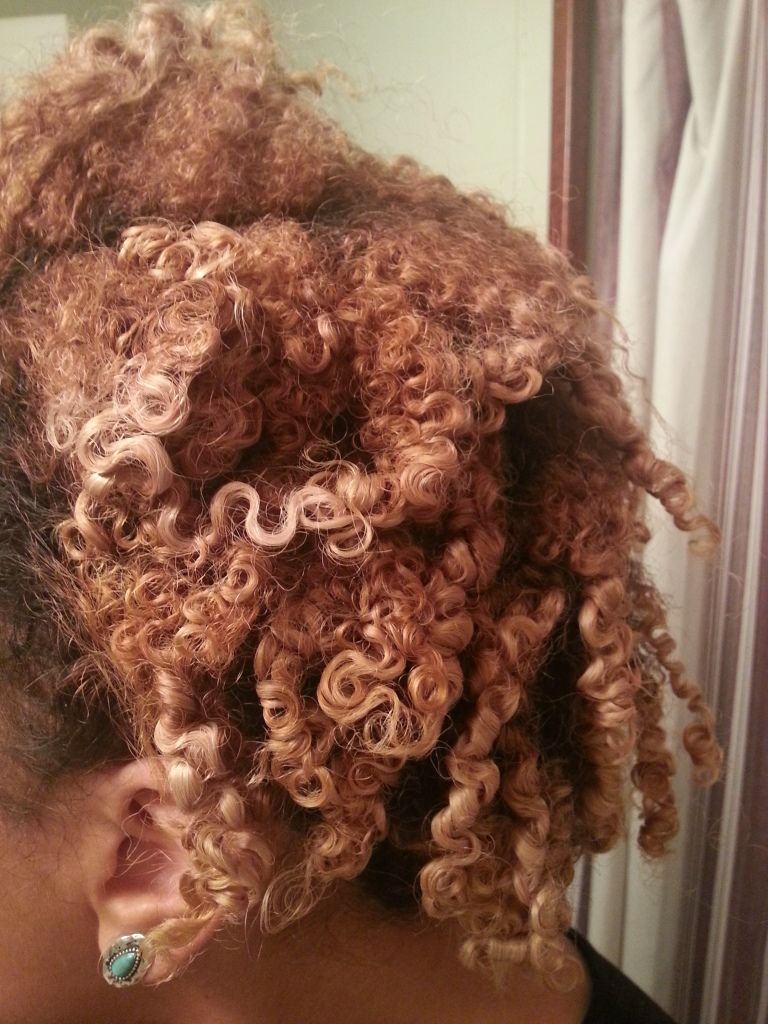
New hair cut! After I washed and restyled at home.

I need to stop being so sporadic with my blogging. Get it together. And post more often. 

That being said...this is WAY overdue--but I could not NOT post about my last hair cut...no matter how long ago it was (late November 2014--it's been a few months). Especially considering I blog about hair...and that I rarely trust anyone to cut my hair. And considering that basically every time I've ever walked into a hair salon during my lifespan, I have more often than not walked out on the verge of tears...

This time, there were no tears! I actually was very happy with the result. My friend (who has wavy/slightly curly hair) recommended DYE Salon in Ferndale. It's not far from where I work and it has a nice environment. DYE is also special because they let you select one of several additional services that you get free with the purchase of any service. I chose a free makeup application...because it happened to be a Friday and I had plans to go out after.  So I was really hoping it would turn out ok...and it did.

This was very spontaneous. But I had the urge to do something with my hair after having a hair conversation with a friend earlier that day. I was in the area and swung by...and they happened to have an opening and fit me in within the hour with very little wait time. 

To make this whole thing less risky, I decided to get a straight style done. I think this may be the trick from now on...because I'm very particular when it comes to curly styling. I really don't like when my curls are too short. I feel like what is the point of having hair that looks 2 inches long when it's actually 10 inches long? Might as well just do a TWA again...so if it's curly, I always stretch my curls. And I think most stylists (outside of natural hair salons...which I've never experienced) likely don't know how to do that. So now I know...straight styling at a mainstream salon is always safer. 

My goal was to get a short hair cut / long bob. Not that I look anything like T Swizzle...but I wanted a haircut similar to this (minus the short bangs):

My services included:
  • Hair cut/style -- $55
  • Blow out/style -- $10
  • Deep conditioning treatment -- $20
  • Makeup application -- $0
So my total damage was about $90 with tip. Kind of a lot...but really not too bad considering I was very happy with the cut, got a free service, and my hair hadn't felt as healthy in a long time. The stylist was also very nice and got my hair straighter than I probably ever could. I'm not sure how much the deep treatment made a difference, but my hair felt very soft and very healthy. In retrospect...I should have asked which products she used to style. But I forgot. Sorry...


before:
A few weeks before salon visit. My ends were so fried.

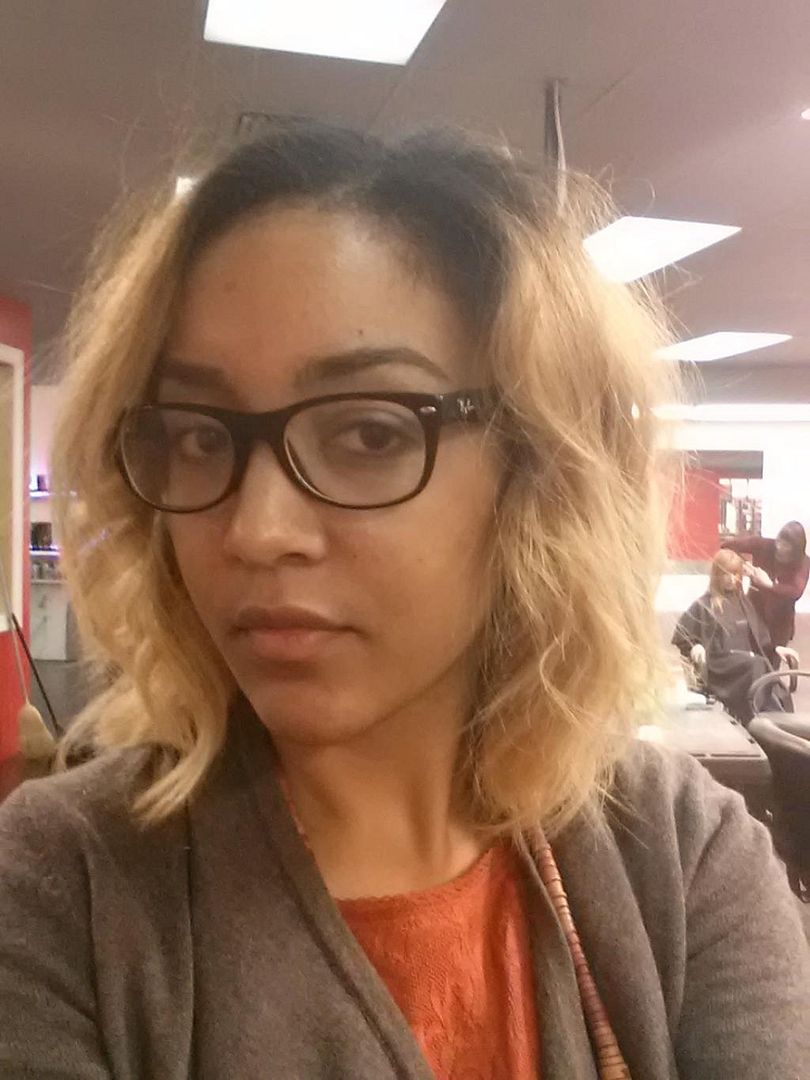
after:
At the salon, right after being styled.

Personally, I felt like it was a little bit flat. I like a lot of volume and the stylist got my roots so straight that my hair was very flat on my head and so ridiculously soft and slippery it didn't even feel like my hair. Once she put some curls/waves in it, I liked it a bit better. But I like it better, actually, when I style it...for the volume (picture at the top). 

Also, after watching her straighten my hair...I kind of changed my straightening method. I can post a tutorial later. But how I straighten 4A hair is definitely quite different now! Tutorial coming soon...

If you're looking for a good haircut...I recommend DYE in Ferndale! 


October 15, 2014

Get the Look of Curly 3B Natural Hair with No Gel, Just Moisturizer and a Little Heat

This is a new technique I've been trying out on my VERY fried bleached blonde 'natural' hair (not so natural since it's bleached...). 

Instead of twisting, I just run my straightener over my natural curl pattern to calm frizzies and smooth my texture a little bit. It's really weird because you would think that straightening damaged hair would make it more damaged...but I find that when I straighten my bleach damaged hair it actually becomes much smoother, stronger, less brittle and softer. 

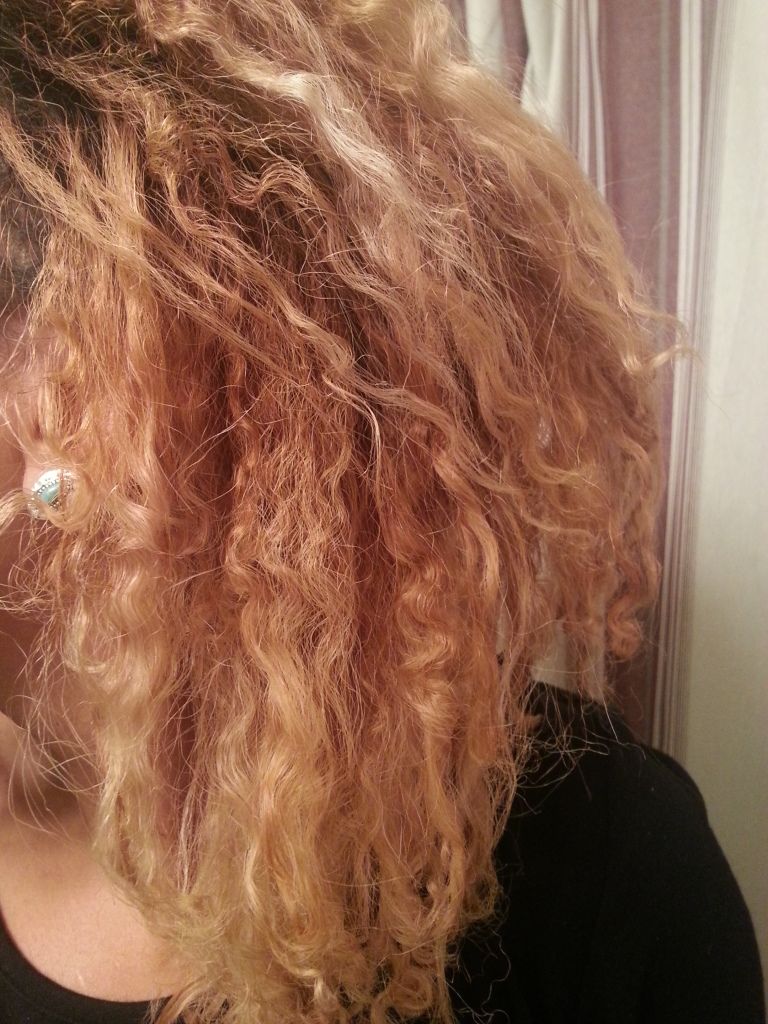
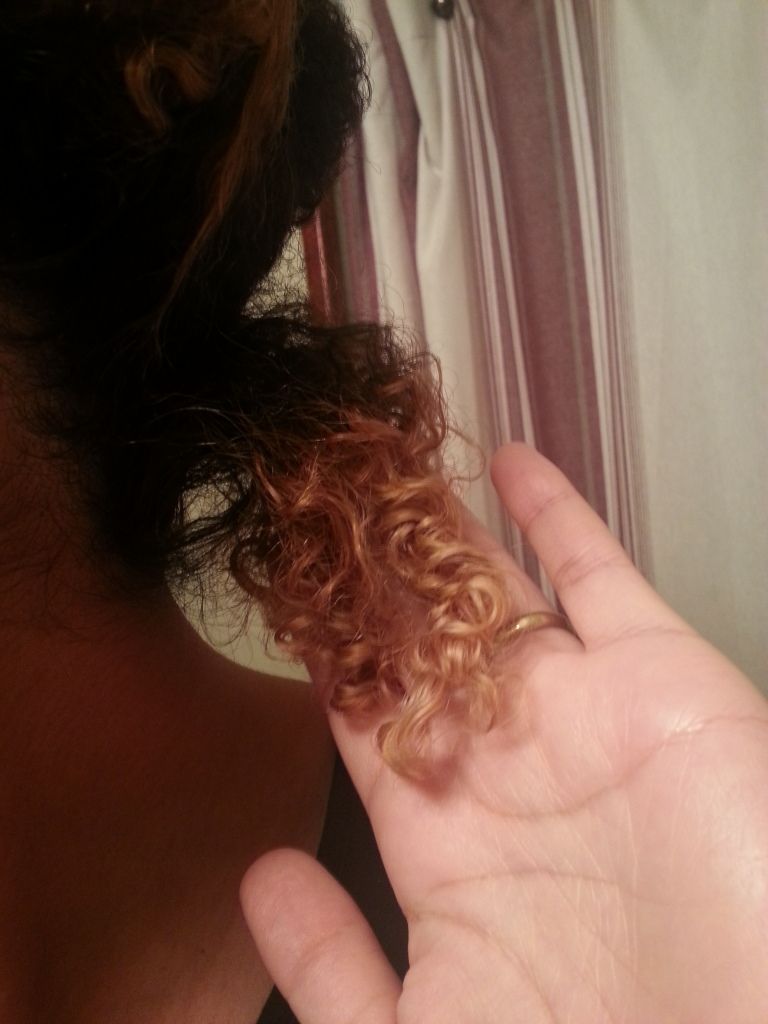
How I style my hair from this:
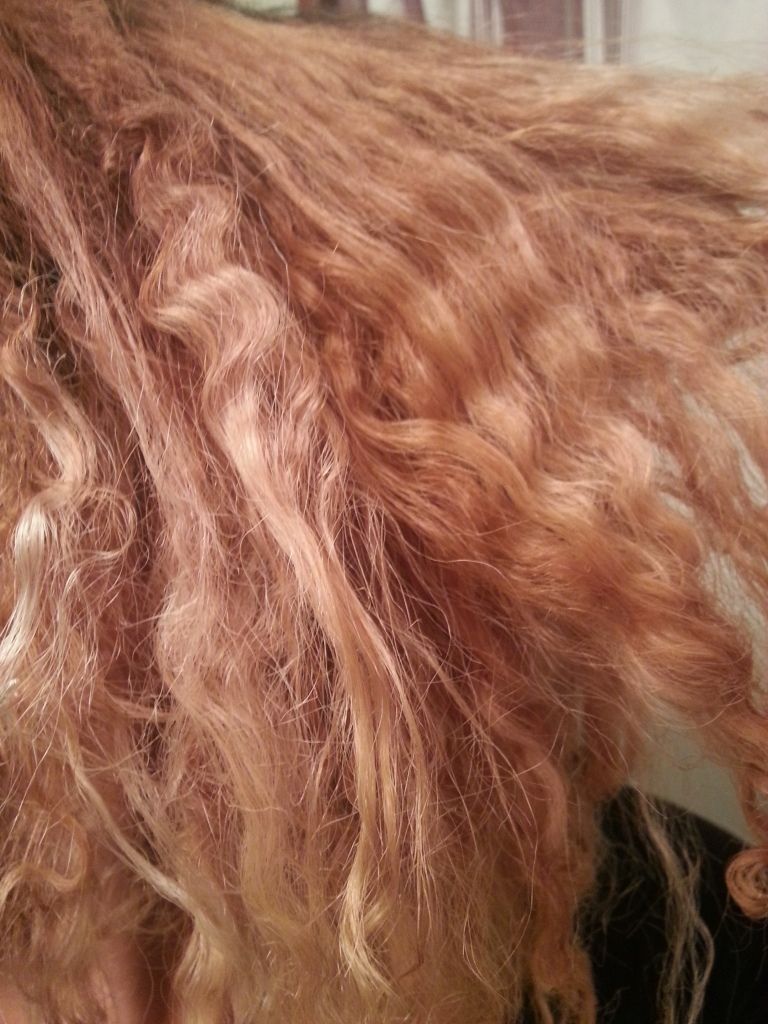
(Frizzy, brittle, dull)

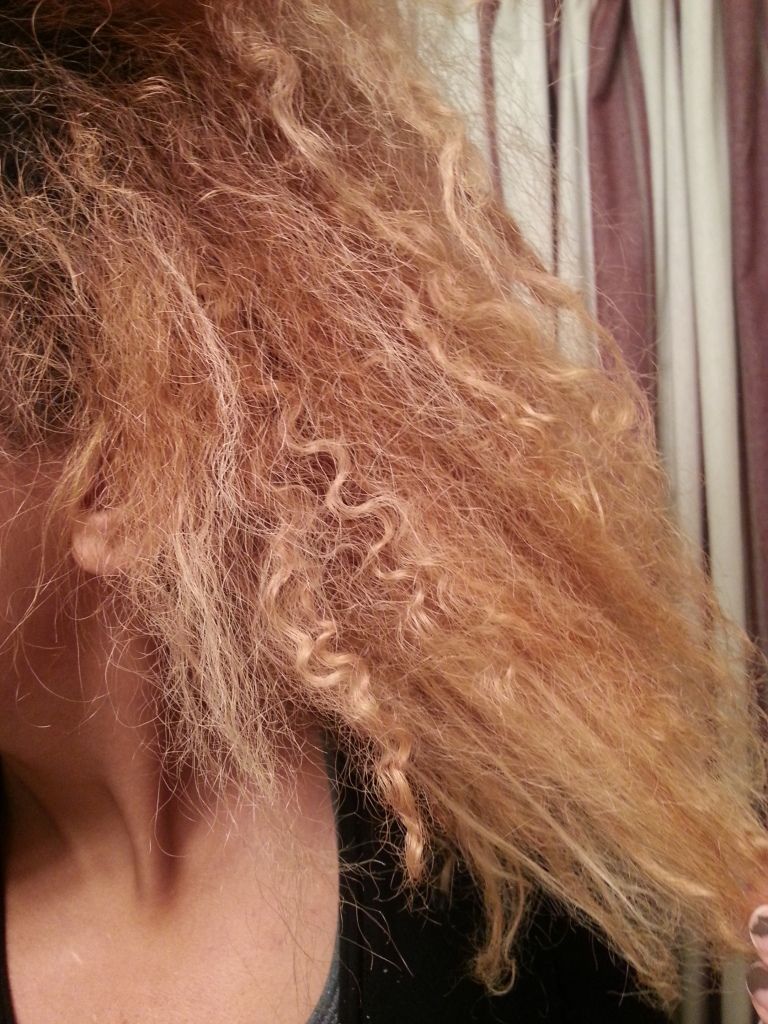
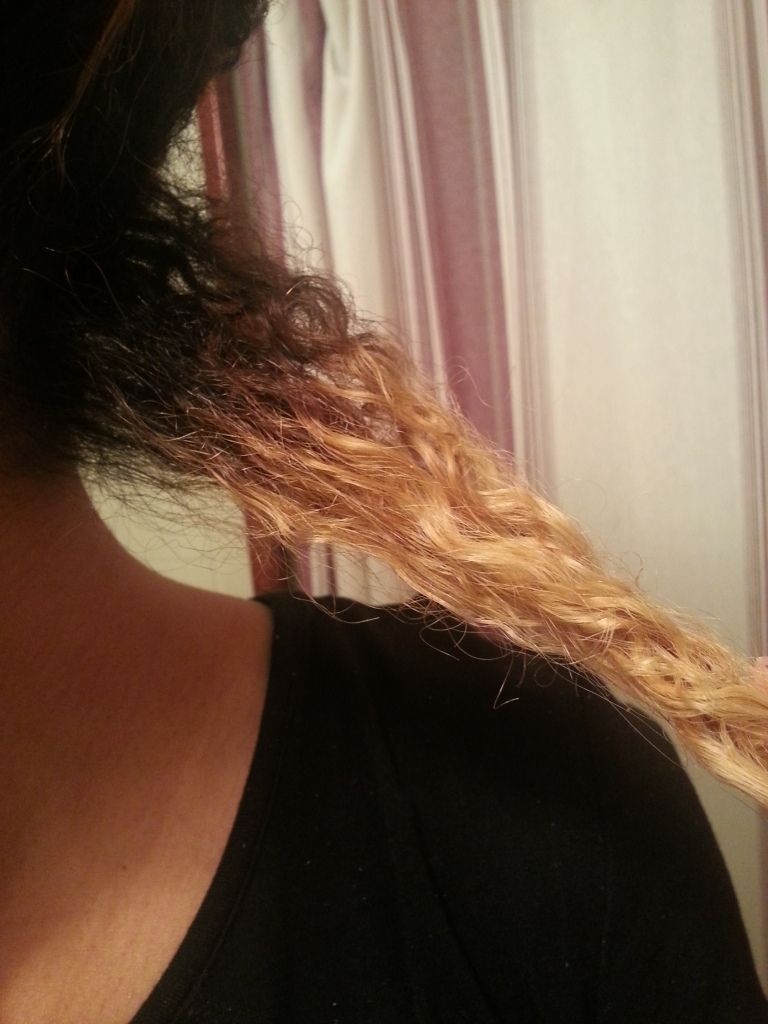
To this:
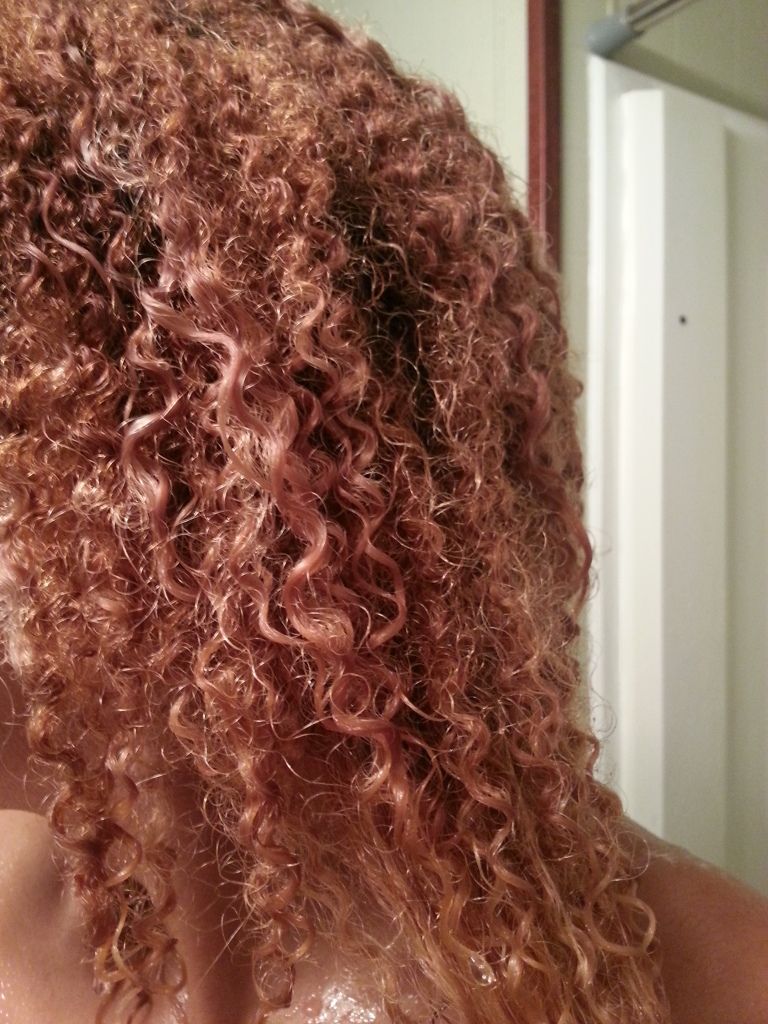
(Smoother, softer, shiny)

As you can see, this method of styling resulted in much softer, tamer, and smoother curls and waves--and I didn't use ANY gel! As you may know...my new natural hair tool kit favorite is Yes To Carrot's leave in conditioner. It is super creamy and moisturizing and leaves my hair feeling very soft. To get this look I do use heat--though if you are opposed to heat styling, you can stretch your hair using the wrapping or pony tail method. You could also twist or braid and then pull until taught, bobby pinning the ends.

As you can see, my natural hair is totally fried and breaking off little by little. It's a nightmare! But I am coping as best as I can...not to be overly dramatic...and Yes to Carrots has been a big help. I love the conditioner and shampoo as well...but that will be another post!

The Process:

First I washed my hair using a purple shampoo and Trader Joe's Nourish Spa Conditioner.
Then I separated my hair into about 4-6 sections.
I re-spritzed each section with water.
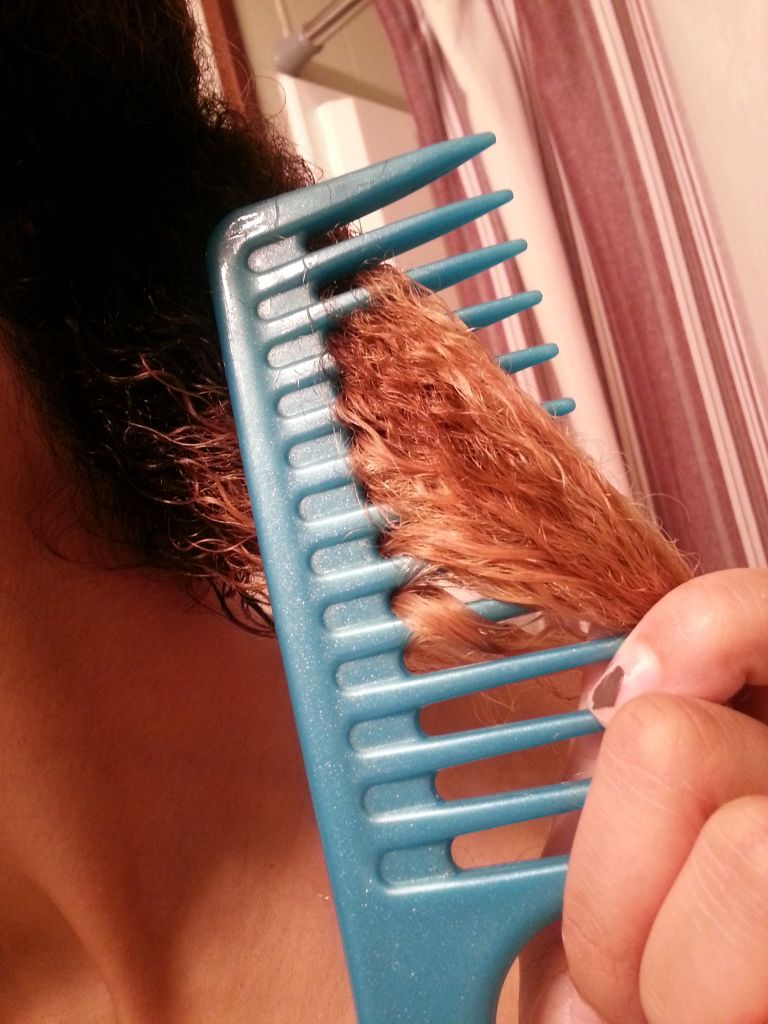
Then detangled.
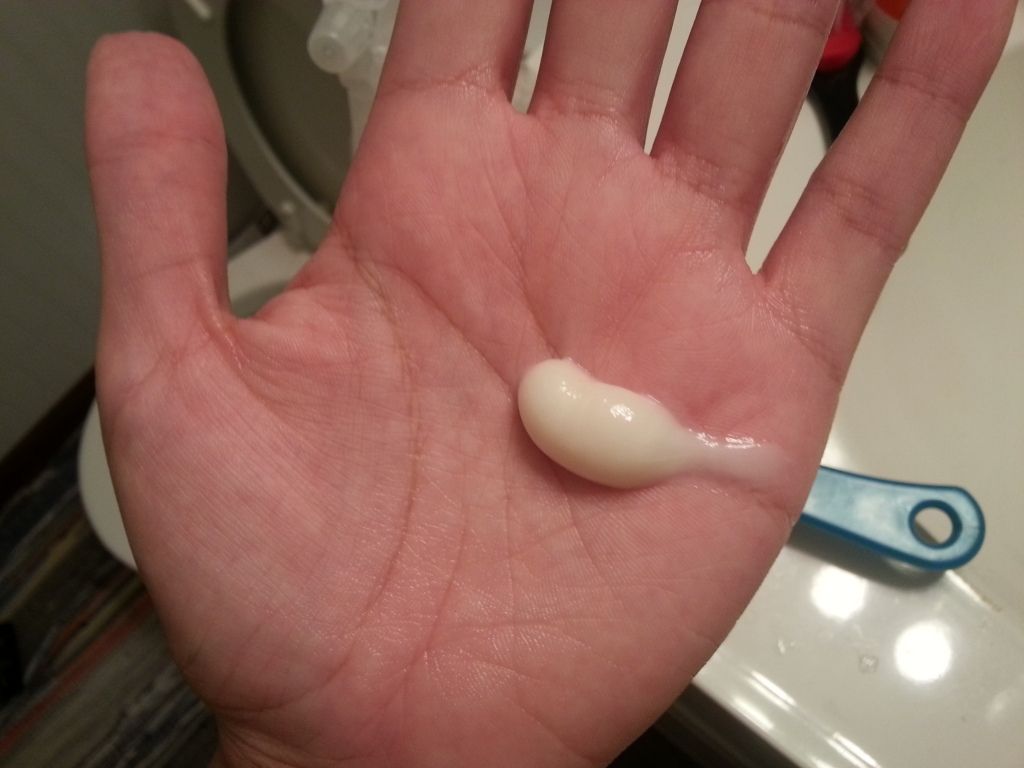
Then used a dime size amount of Say Yes to Carrots Leave In and distributed the product throughout each section. 
To further distribute product and help clump my curls, I brushed through using my Denman brush.
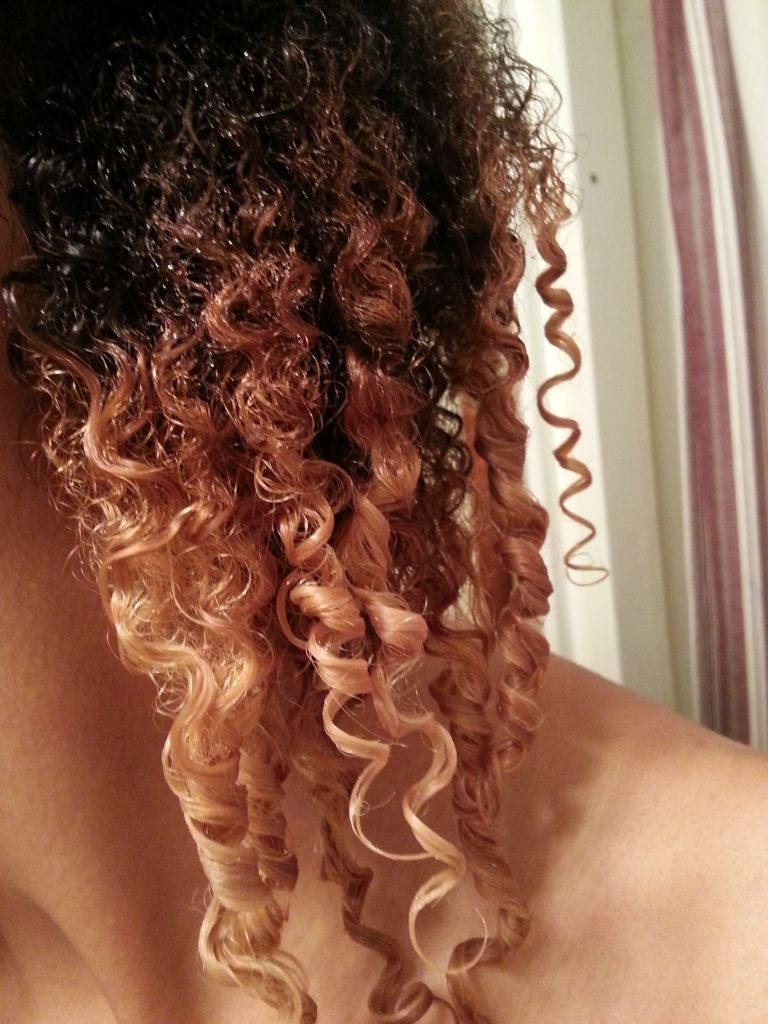
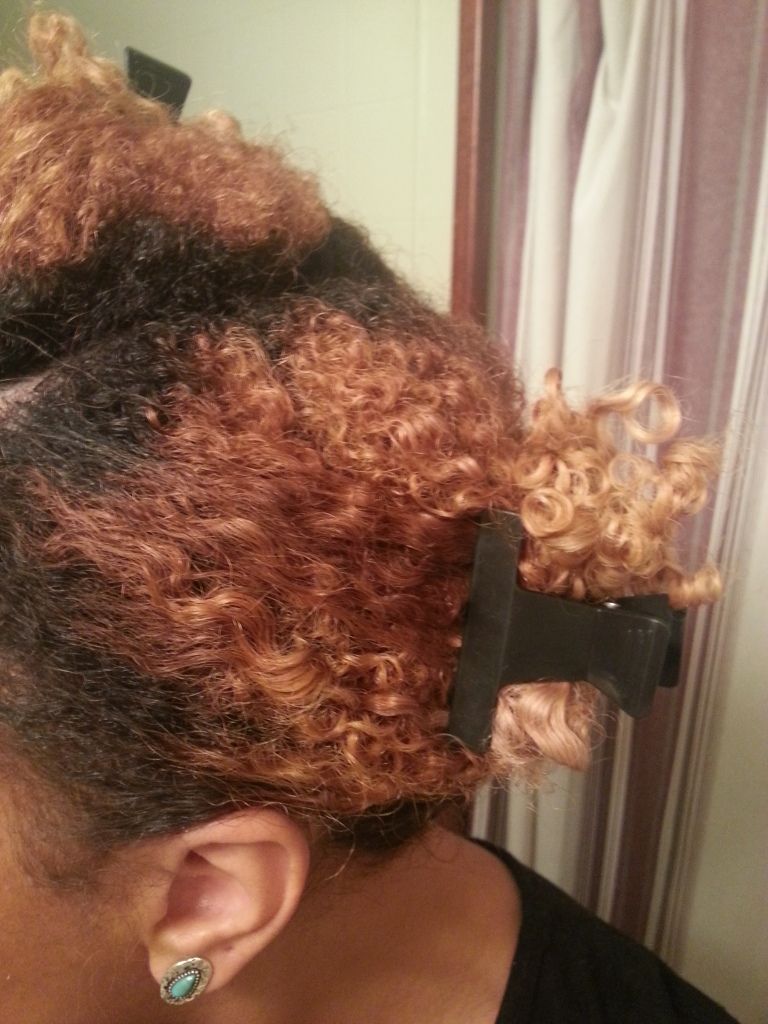
After that process, each section looks something like this.
Repeat this process throughout your whole head.
After the Say Yes to Carrots Leave In was evenly distrubited throughout all of my hair...I sat under my bonnet dryer for about 45 minutes until my hair was about 85-95% dry.
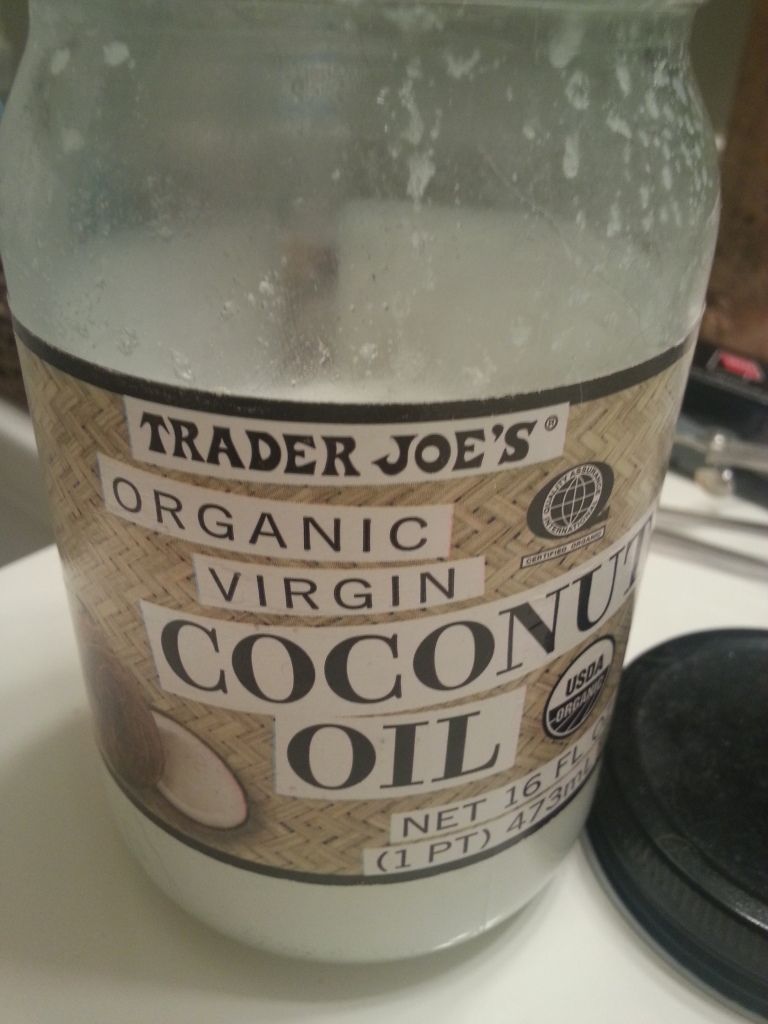
For extra moisture and shine, I rubbed a quarter size amount of Trader Joe's Organic Virgin coconut oil into my ends.
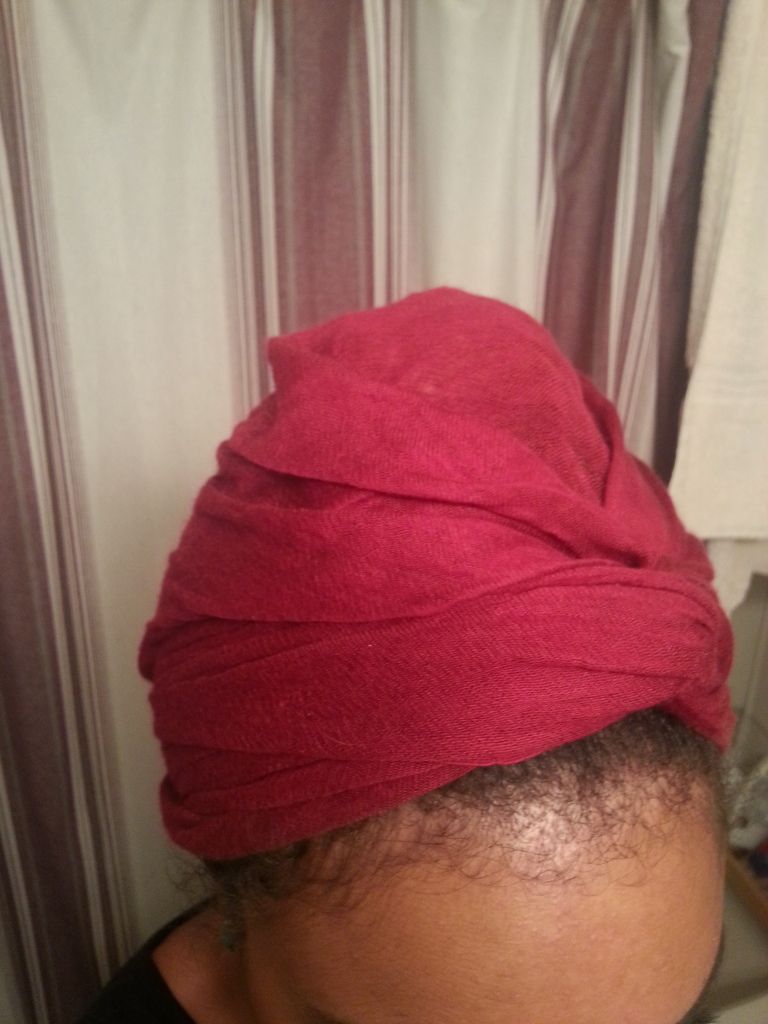
Then, I covered my hair in a scarf and slept on it overnight letting it dry completely and allowing the coconut oil to absorb.
The next morning, I sectioned my hair again into workable sections. 
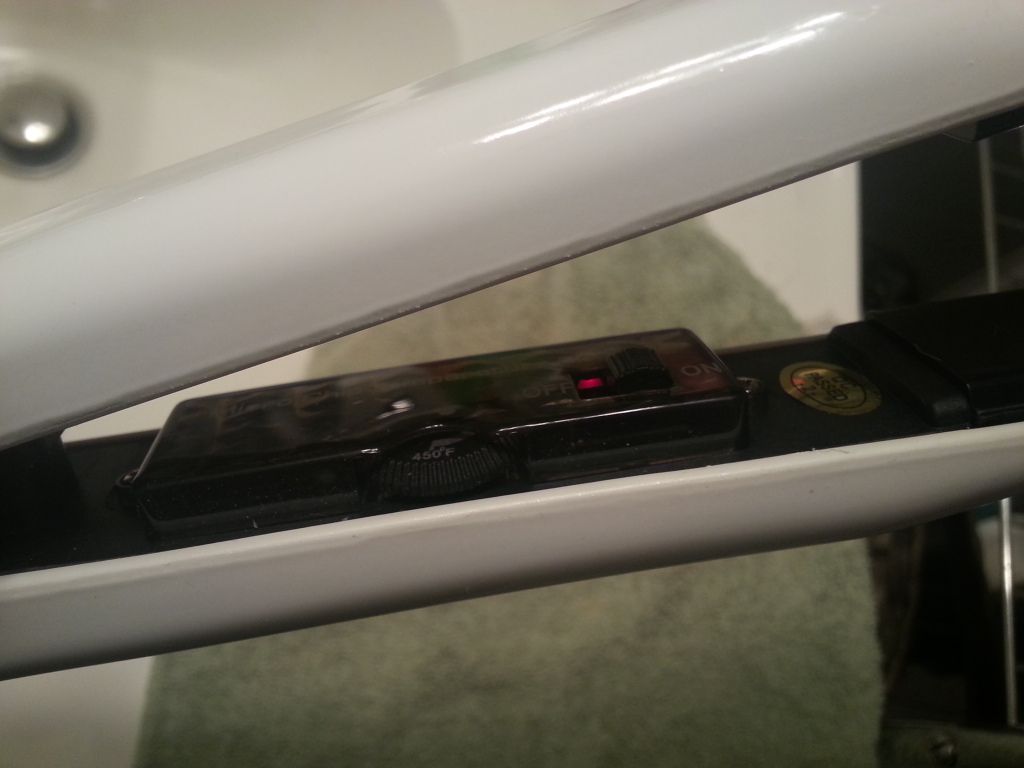
You don't need to set your straightener to the highest heat level--but the hotter the straighter, the less time you'll need to run the straightener over your curls. You want to be careful not to STRAIGHTEN your hair -- just stretch your hair. 
This is how short my hair is with shrinkage! It shrinks to about a third the length. Sometimes even less! 
As you can see...my hair is actually much longer. You want to stretch out the small section of hair with your fingers...
And then quickly run your straightener over the section. The longer you let the straighter stay on your hair, the smoother and less curly it will be. I focus the straightener more at the roots and less on the ends. 
Then repeat this throughout your whole head -- focusing a little more on the roots and then running the straightener on high heat more quickly along the rest of the hair and your ends.
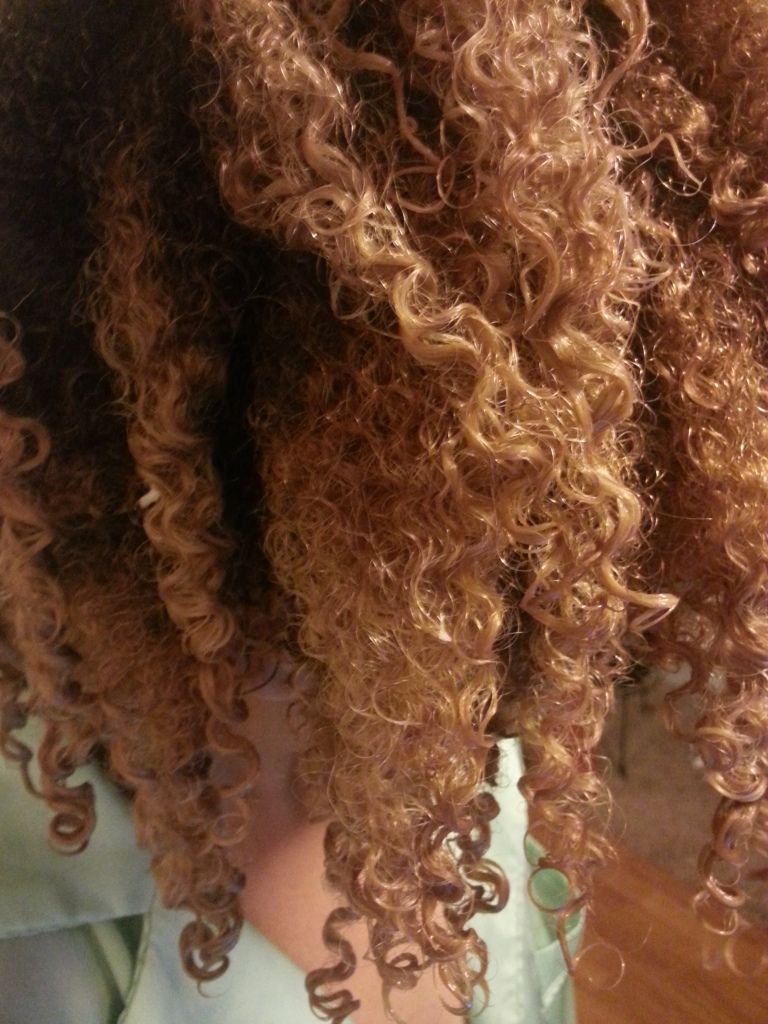
This is the result! I didn't use ANY gel or styling product -- only Yes to Carrots Leave in Conditioner. If you do use a gel on top of this, the curls will likely be a bit tighter and will probably last a day or two longer. So that is up to you -- but this just shows that even if you do have very tight curls, you can get away with ditching sticky and/or crunchy styling gels. 
This style lasts me 1-3 days until it starts to frizz. I usually touch up again with a straightener or twist it throughout the week. I find that using a straightener to stretch my curls, rather than a blow dryer, leaves my hair less frizzy and helps reduce shrinkage. Though I still like using my blow dryer on days when I want more volume. I guess it just depends on your style and what you like! But if you have very tight curls (like I do) and want to get the 3B curl/wave look--this is a good method!

Let me know how it works for you!