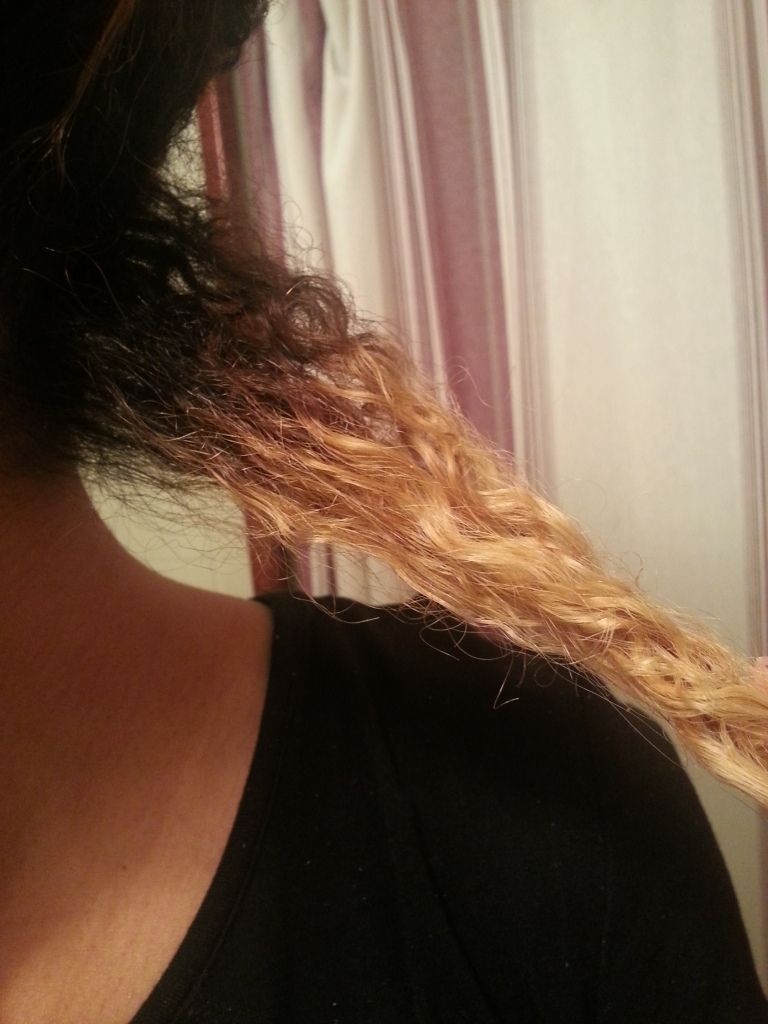
This is a new technique I've been trying out on my VERY fried bleached blonde 'natural' hair (not so natural since it's bleached...).
Instead of twisting, I just run my straightener over my natural curl pattern to calm frizzies and smooth my texture a little bit. It's really weird because you would think that straightening damaged hair would make it more damaged...but I find that when I straighten my bleach damaged hair it actually becomes much smoother, stronger, less brittle and softer.
How I style my hair from this:
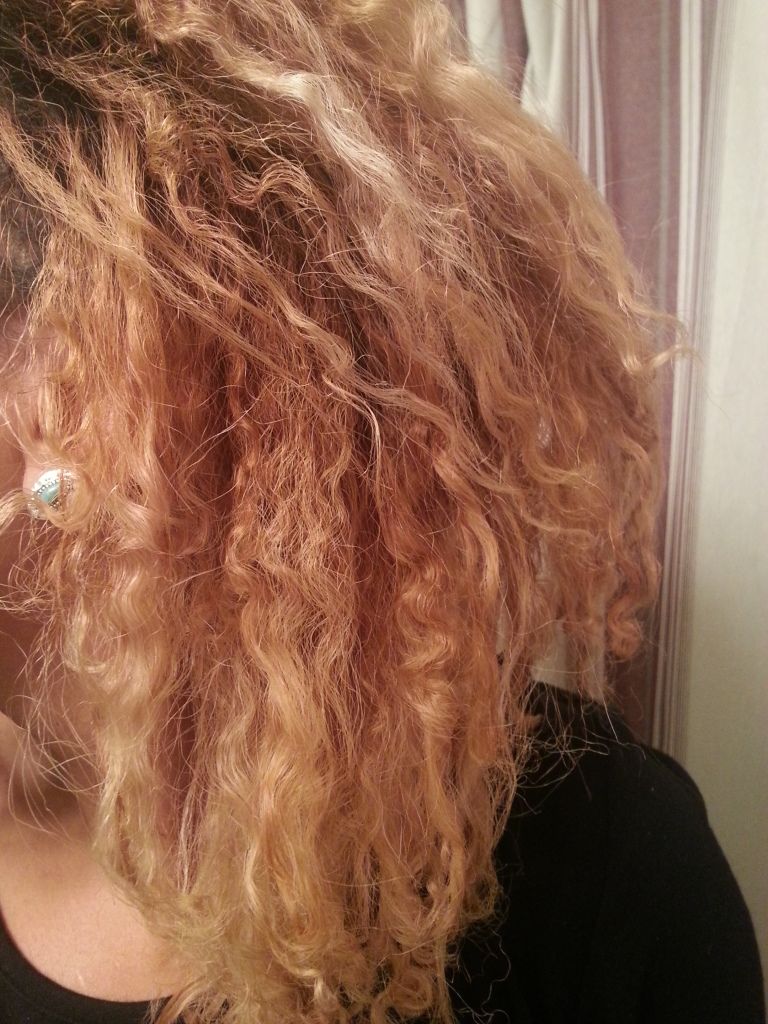
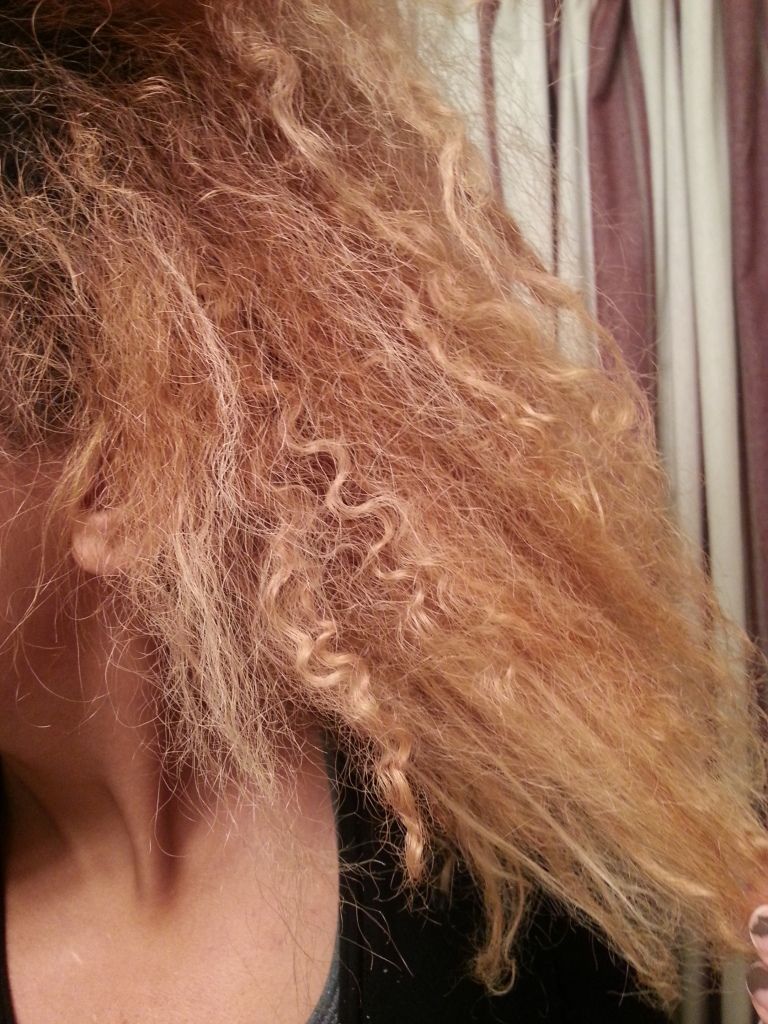
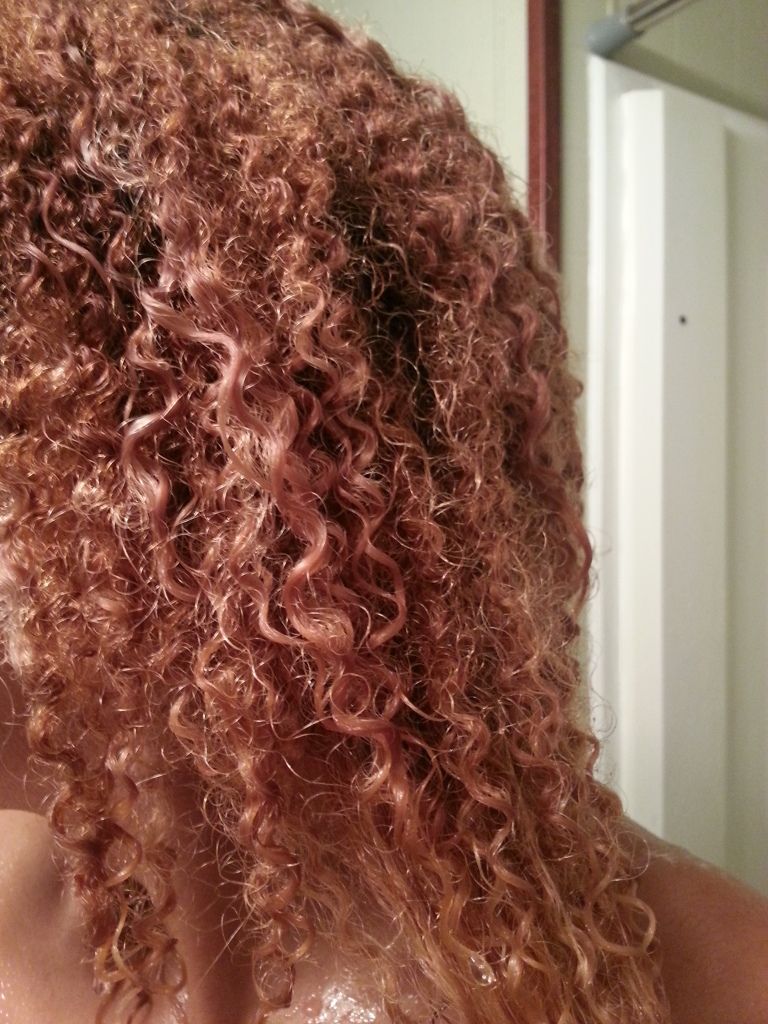
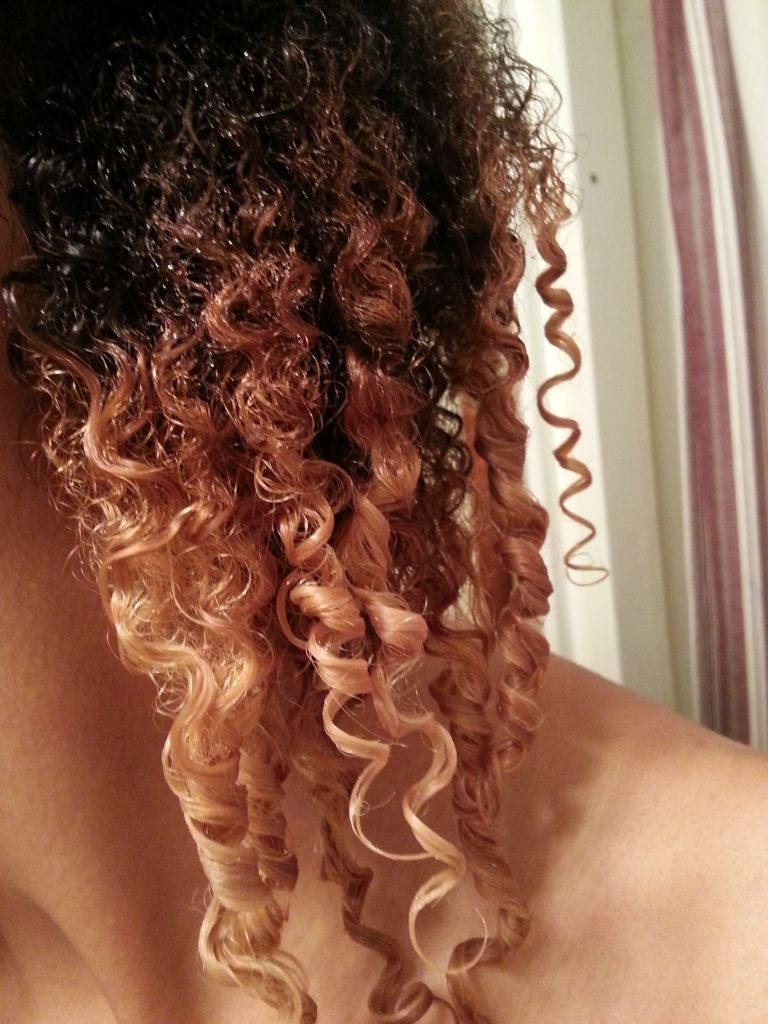
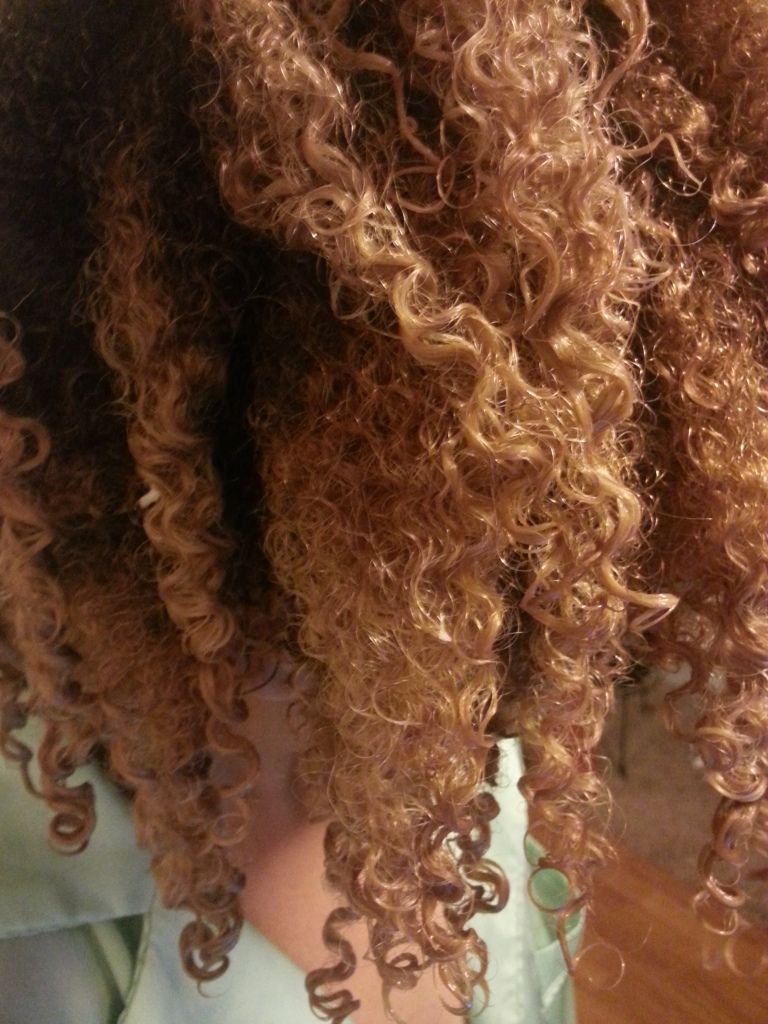
(Frizzy, brittle, dull)
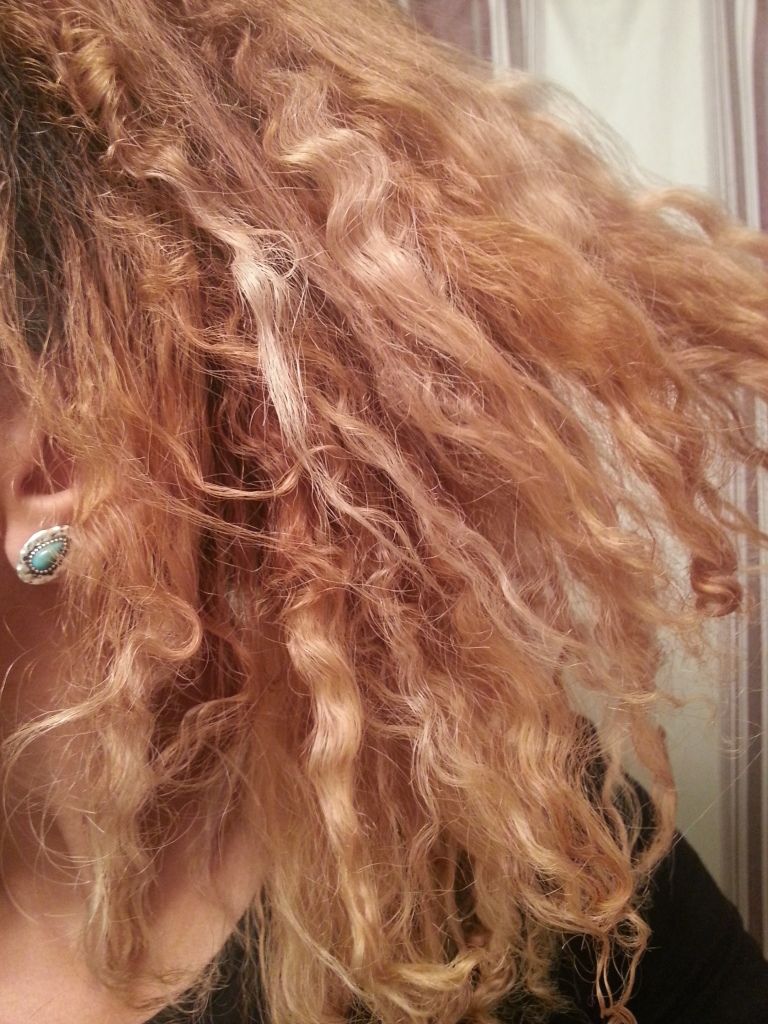
To this:
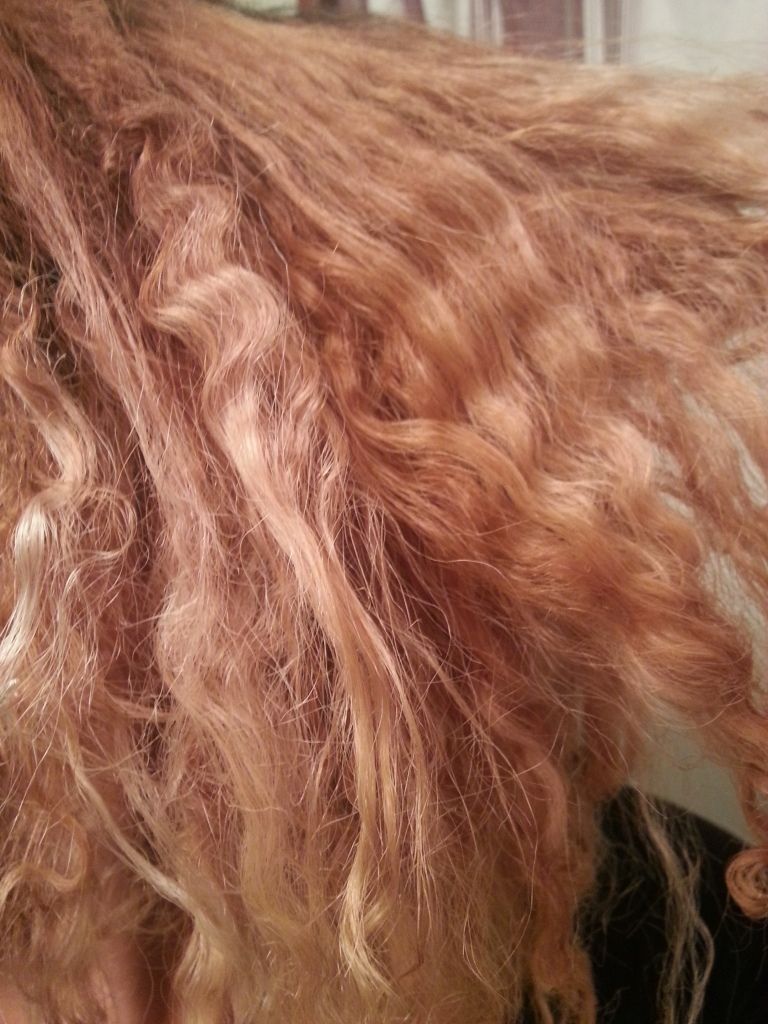
(Smoother, softer, shiny)
As you can see, this method of styling resulted in much softer, tamer, and smoother curls and waves--and I didn't use ANY gel! As you may know...my new natural hair tool kit favorite is
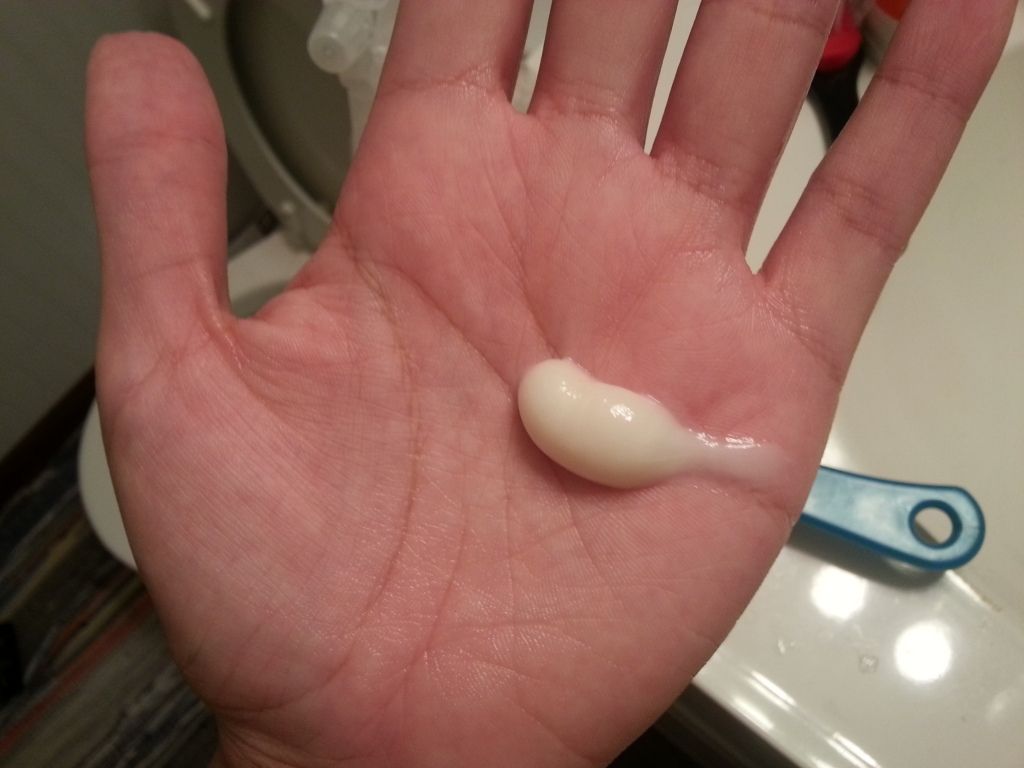
Yes To Carrot's leave in conditioner. It is super creamy and moisturizing and leaves my hair feeling very soft. To get this look I do use heat--though if you are opposed to heat styling, you can stretch your hair using the wrapping or pony tail method. You could also twist or braid and then pull until taught, bobby pinning the ends.
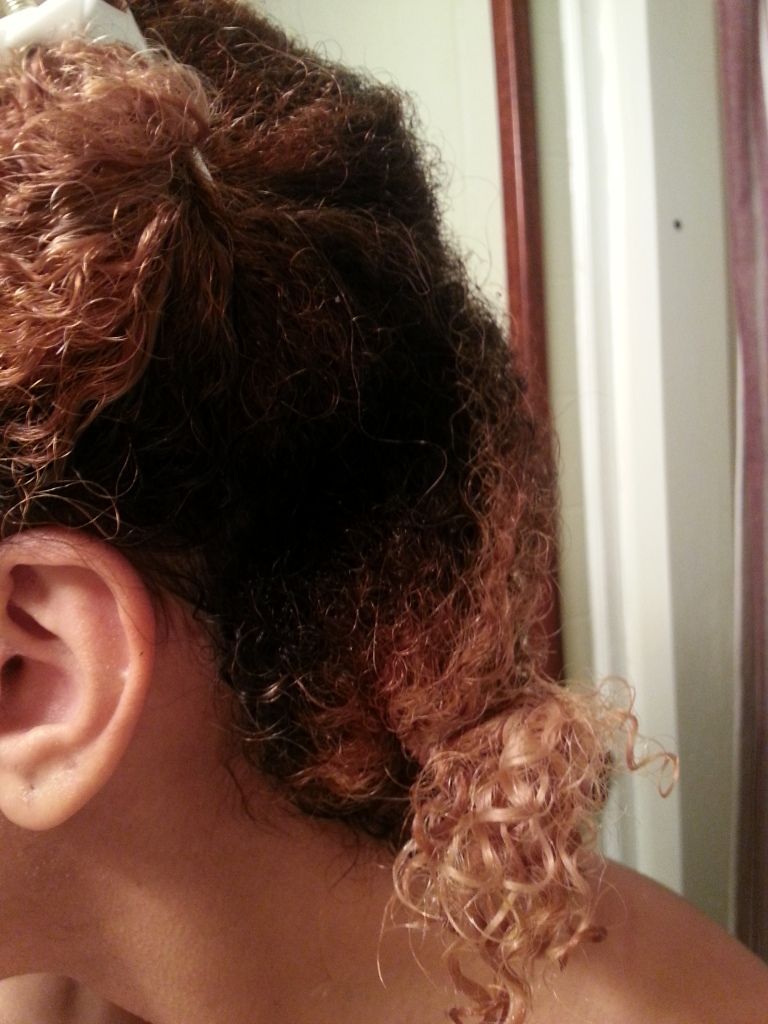
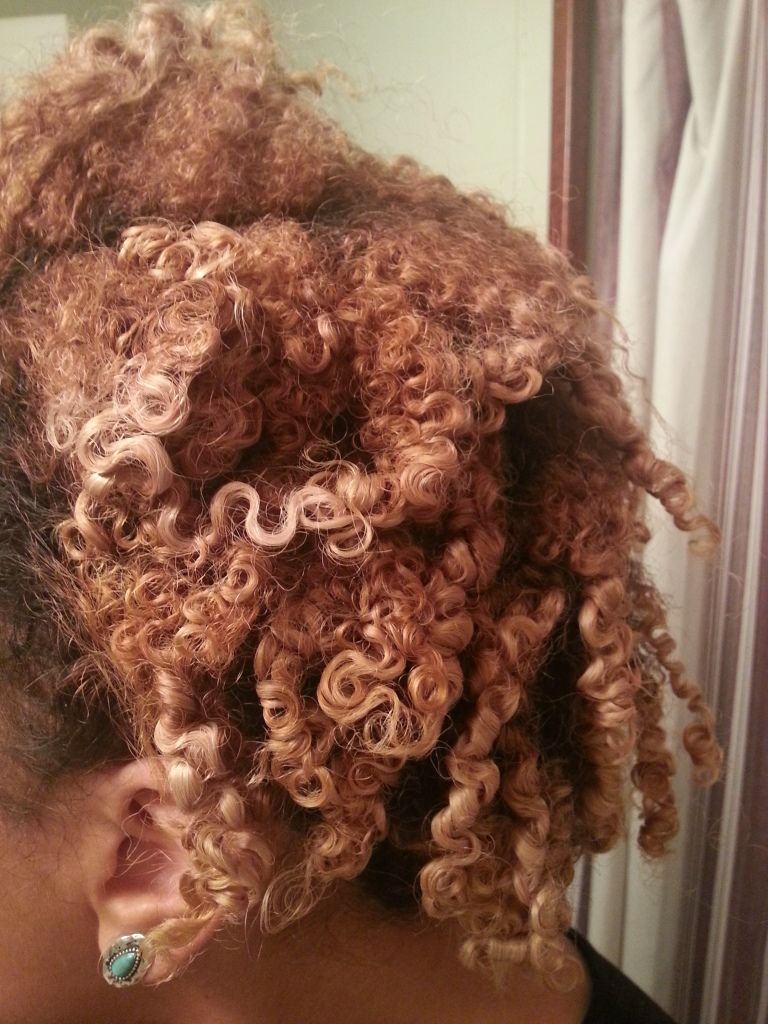
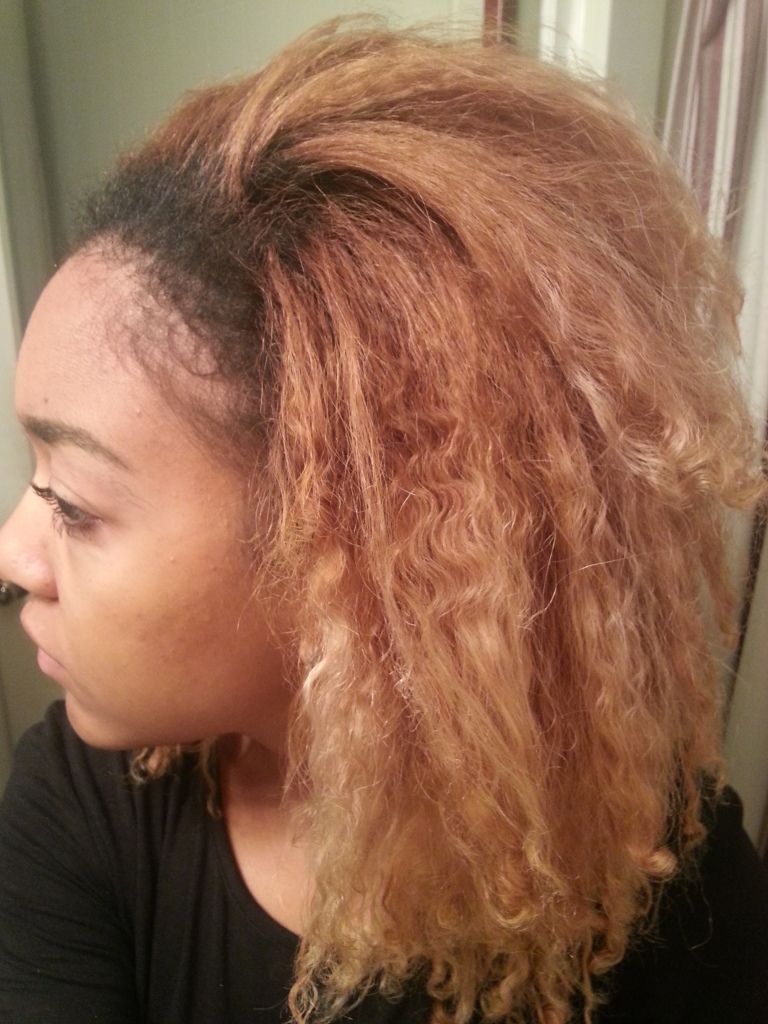
As you can see, my natural hair is totally fried and breaking off little by little. It's a nightmare! But I am coping as best as I can...not to be overly dramatic...and
Yes to Carrots has been a big help. I love the conditioner and shampoo as well...but that will be another post!
The Process:
First I washed my hair using a purple shampoo and Trader Joe's Nourish Spa Conditioner.
Then I separated my hair into about 4-6 sections.
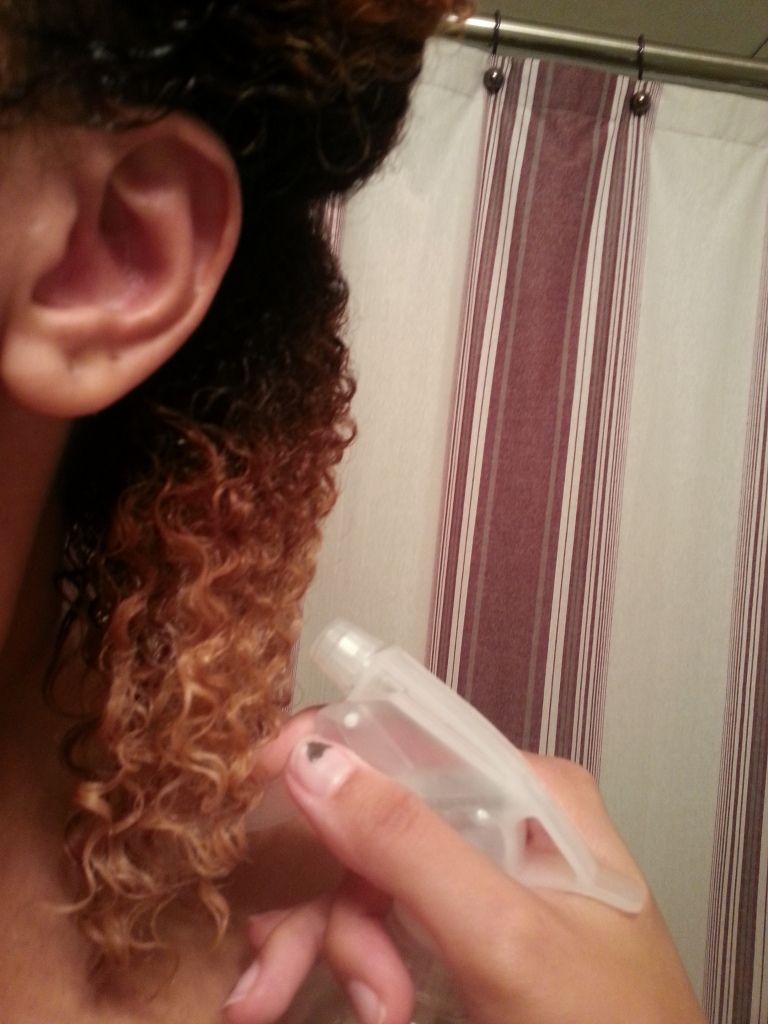
I re-spritzed each section with water.
Then detangled.
To further distribute product and help clump my curls, I brushed through using my Denman brush.
After that process, each section looks something like this.
Repeat this process throughout your whole head.
After the Say Yes to Carrots Leave In was evenly distrubited throughout all of my hair...I sat under my bonnet dryer for about 45 minutes until my hair was about 85-95% dry.
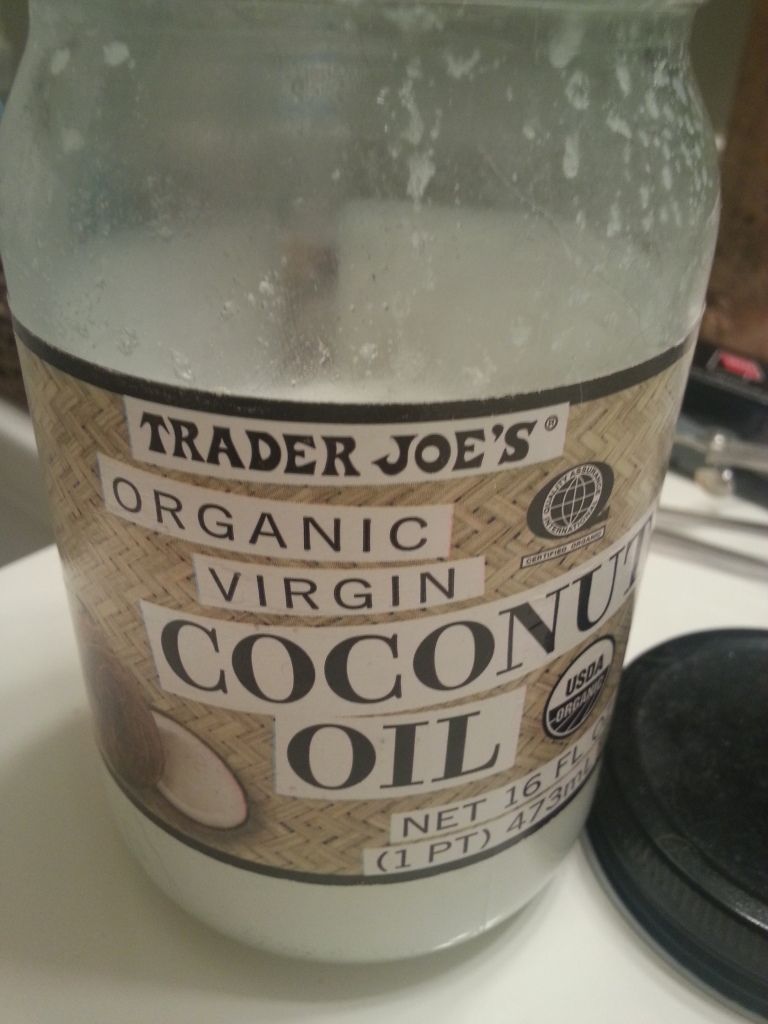
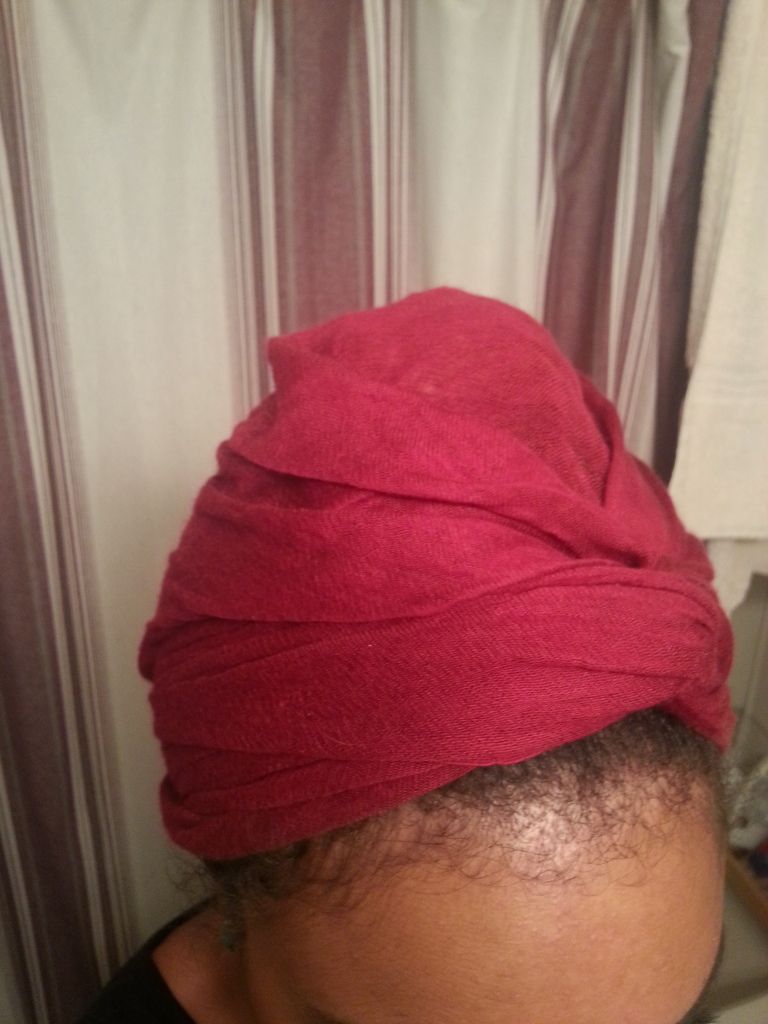
Then, I covered my hair in a scarf and slept on it overnight letting it dry completely and allowing the coconut oil to absorb.
The next morning, I sectioned my hair again into workable sections.
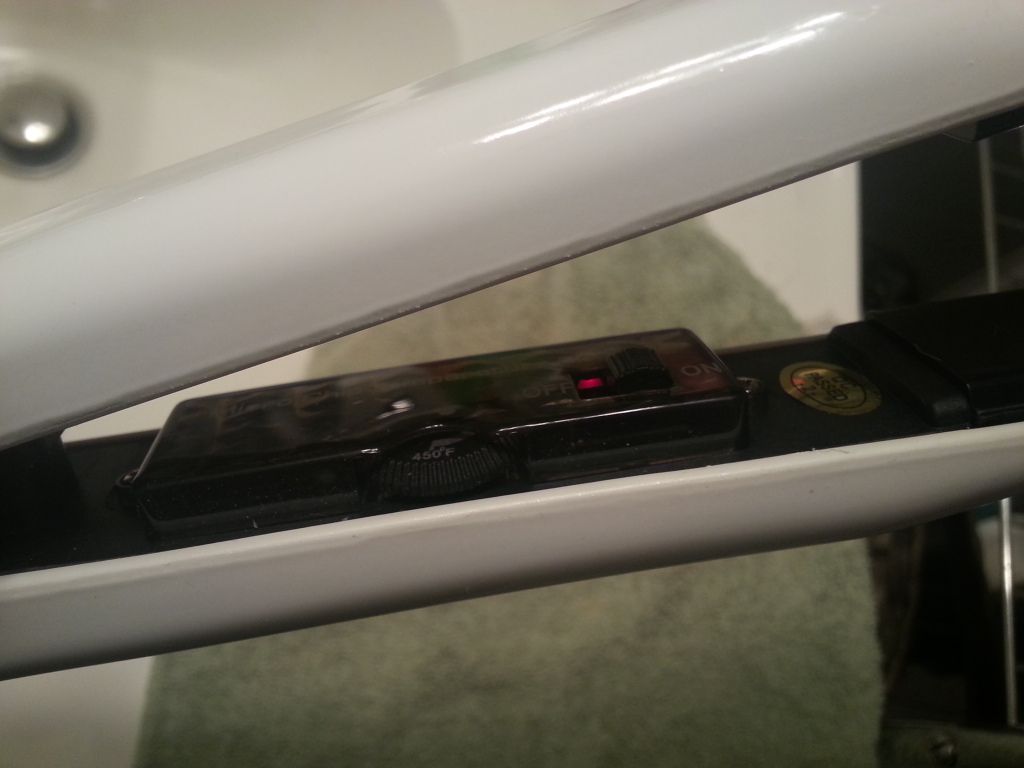
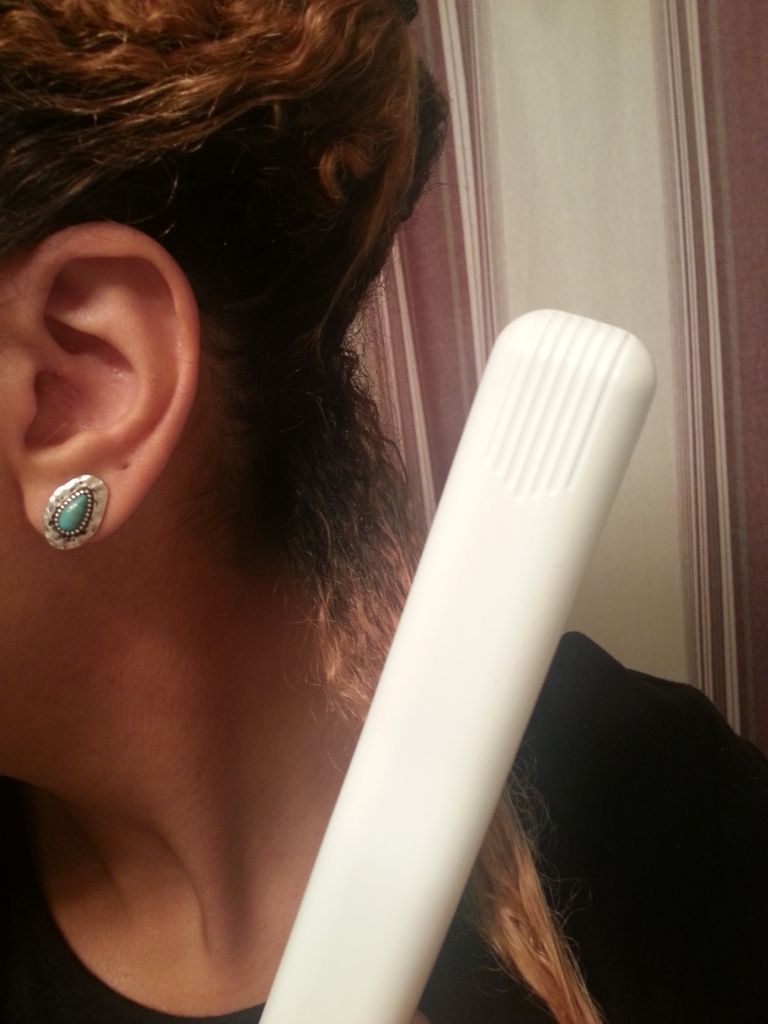
You don't need to set your straightener to the highest heat level--but the hotter the straighter, the less time you'll need to run the straightener over your curls. You want to be careful not to STRAIGHTEN your hair -- just stretch your hair.
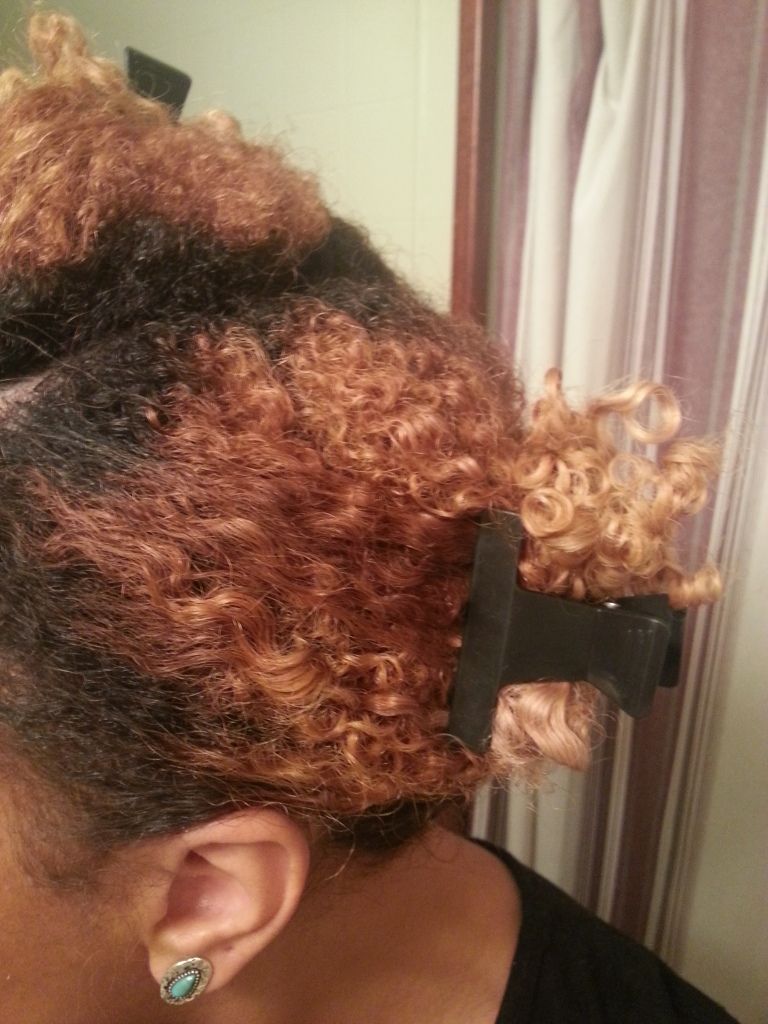
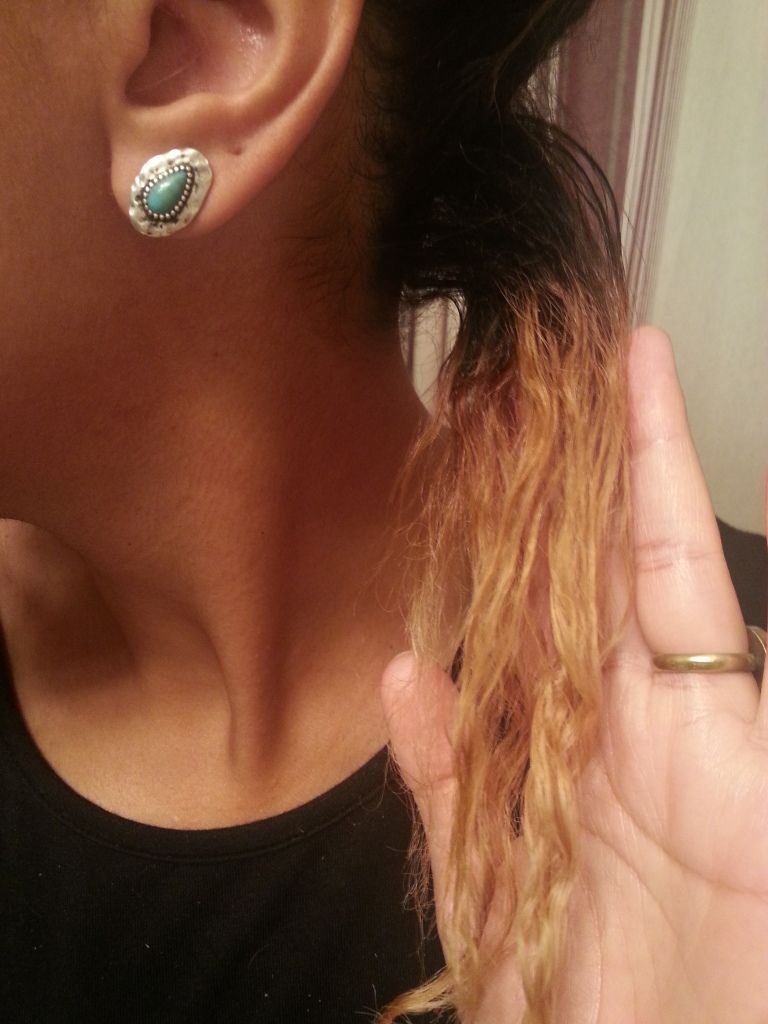
This is how short my hair is with shrinkage! It shrinks to about a third the length. Sometimes even less!
As you can see...my hair is actually much longer. You want to stretch out the small section of hair with your fingers...
And then quickly run your straightener over the section. The longer you let the straighter stay on your hair, the smoother and less curly it will be. I focus the straightener more at the roots and less on the ends.
Then repeat this throughout your whole head -- focusing a little more on the roots and then running the straightener on high heat more quickly along the rest of the hair and your ends.
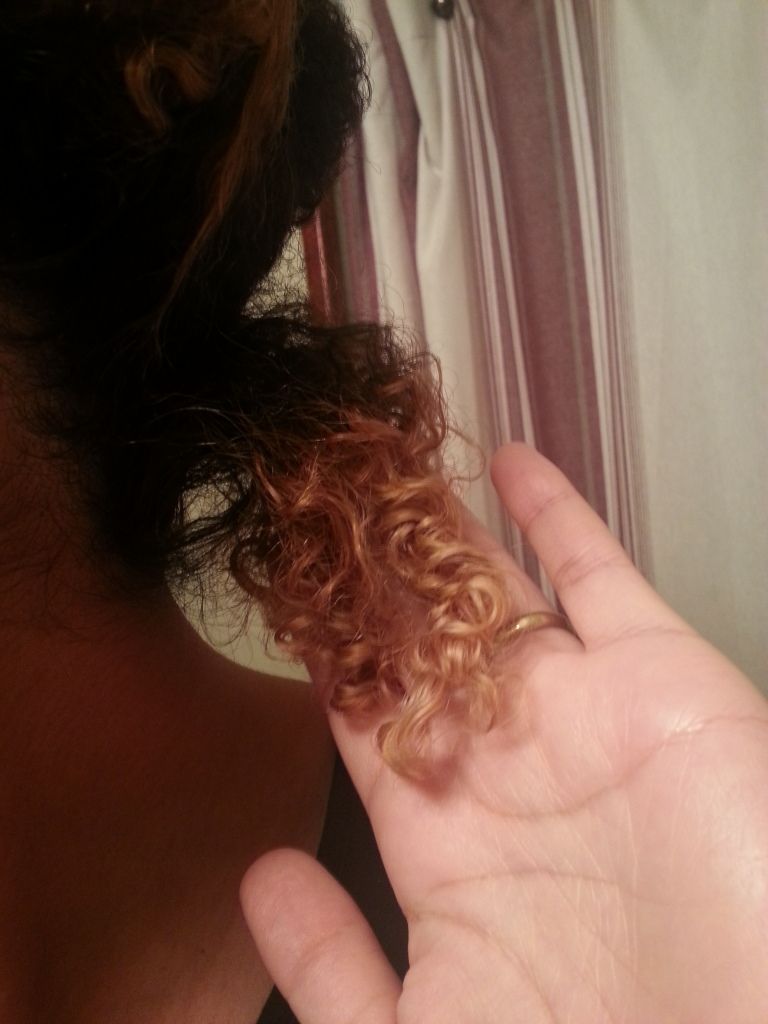
This is the result! I didn't use ANY gel or styling product -- only Yes to Carrots Leave in Conditioner. If you do use a gel on top of this, the curls will likely be a bit tighter and will probably last a day or two longer. So that is up to you -- but this just shows that even if you do have very tight curls, you can get away with ditching sticky and/or crunchy styling gels.
This style lasts me 1-3 days until it starts to frizz. I usually touch up again with a straightener or twist it throughout the week. I find that using a straightener to stretch my curls, rather than a blow dryer, leaves my hair less frizzy and helps reduce shrinkage. Though I still like using my blow dryer on days when I want more volume. I guess it just depends on your style and what you like! But if you have very tight curls (like I do) and want to get the 3B curl/wave look--this is a good method!
Let me know how it works for you!