
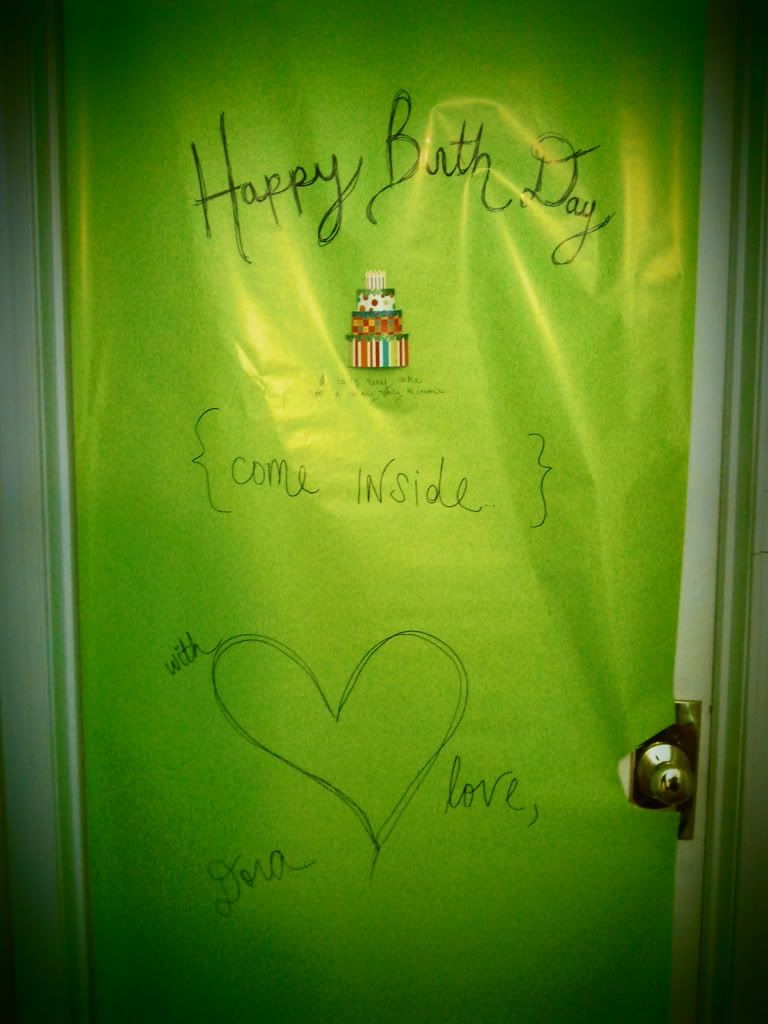
For my mom's birthday, me and my younger sisters teamed up to redo the upstairs bathroom that used to be ours, to give to my mom. She recently gave her master bed room to my sisters along with the bathroom attached to it...so she has been bathroom-less for a while. The whole bathroom took about a week and a half to complete, and my mom had no idea because she rarely goes upstairs! She spends most of her time at work or in the basement working in her ceramic studio.
Where we started:
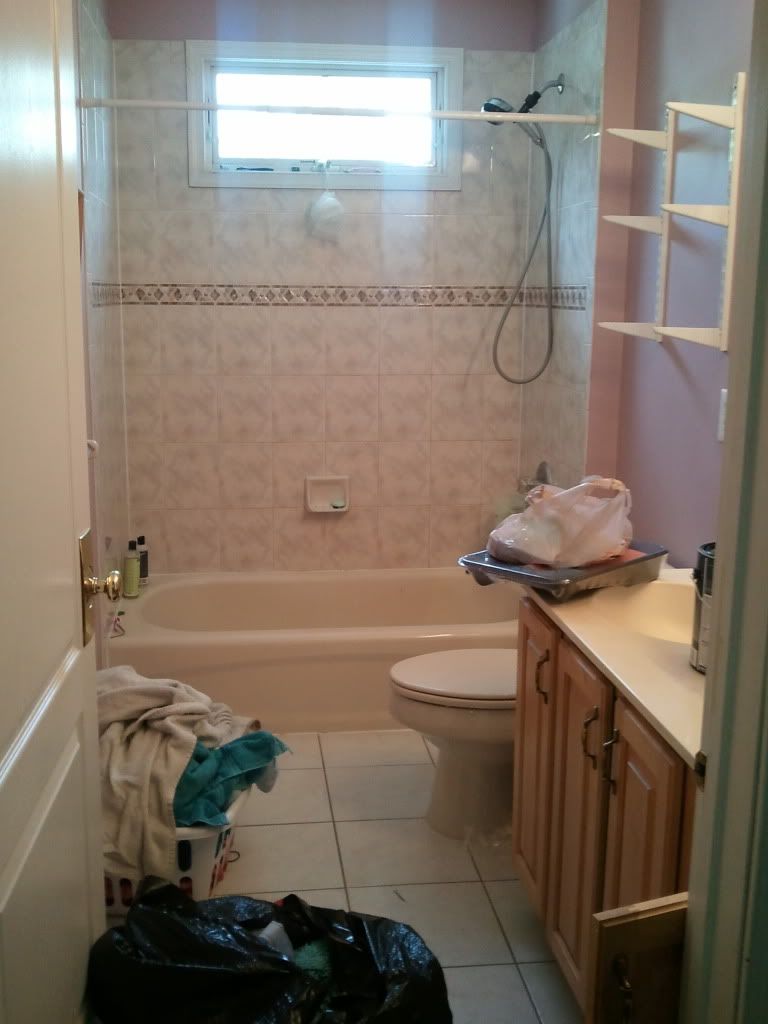 |
| It actually looked kind of worse. This picture was taken after taking down a shower curtain printed with huge, gaudy, multicolored flowers on it. This was also after removing a green, fuzzy rug that was over 13 years old, along with bright blue painted wooden shelves that sat over the toilet. |
The Process:
The Cabinets
The cabinets were the biggest challenge. Instead of painting or staining, I tried using a kit. I used the Rust-Oleum Furniture Transformations kit, costing a little over $30. Since I was only working with a bathroom sized cabinet, I chose the 35 sq ft sized box. The color we used was Federal Gray, but there are a couple dozens of colors to chose from shown on the back of the packaging. The application is time intensive, but gives good results. You don't have to deal with sanding, which you would have to do with a wood stain, but can still achieve a natural wood grain effect using the decorative glaze that you can't get from a regular paint job.
Contents:
 |
| community.homedepot.com |
First, we used the deglosser to remove whatever finish was on the wood. This is basically like cleaning the cabinets. Then, we applied two coats of the bond coat (color). You are supposed to wait at least an hour or two between coats. The decorative glaze is optional and darkens the color slightly while adding a grainy wood appearance. We chose to apply the glaze because we liked the natural wood look. To do this, you apply a thin layer with a brush, and then use cloth (provided in the kit) to wipe off excess. After this dries for 8 hours (we didn't wait this long, but probably should have), then it's time for the protective top coat, which adds shine and protects against moisture.
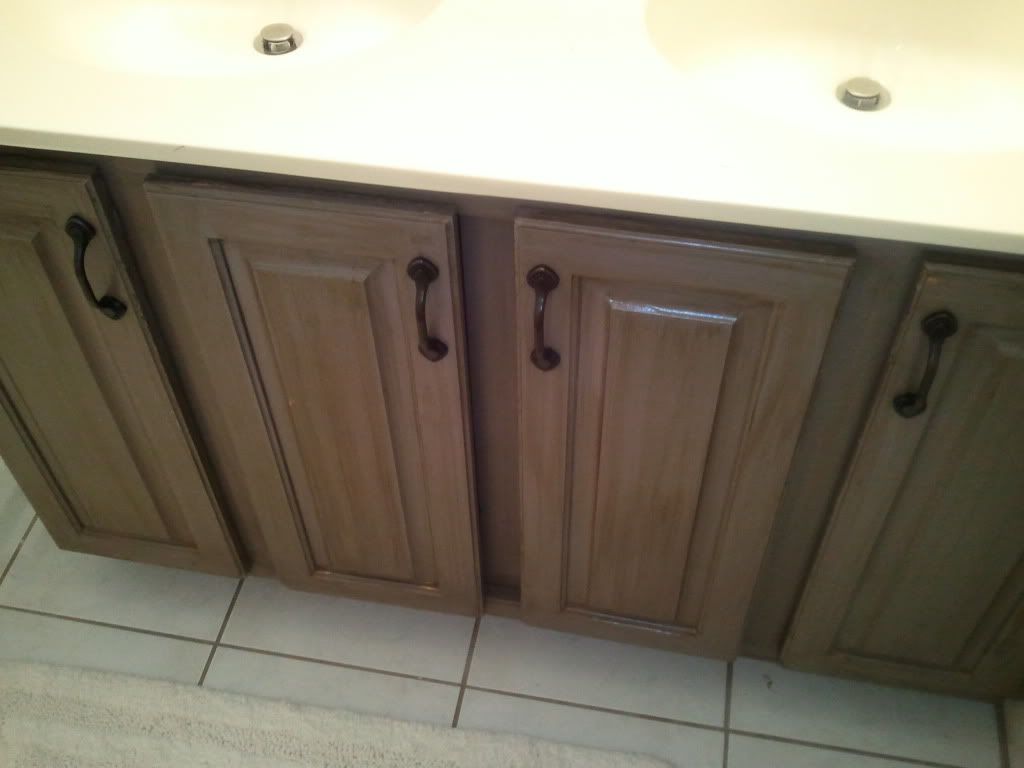
Before beginning the paint job, we removed all of the doors from the unit and removed all of the hardware from the doors. Afterwards, we replaced the handles with new ones. Turned out cute!
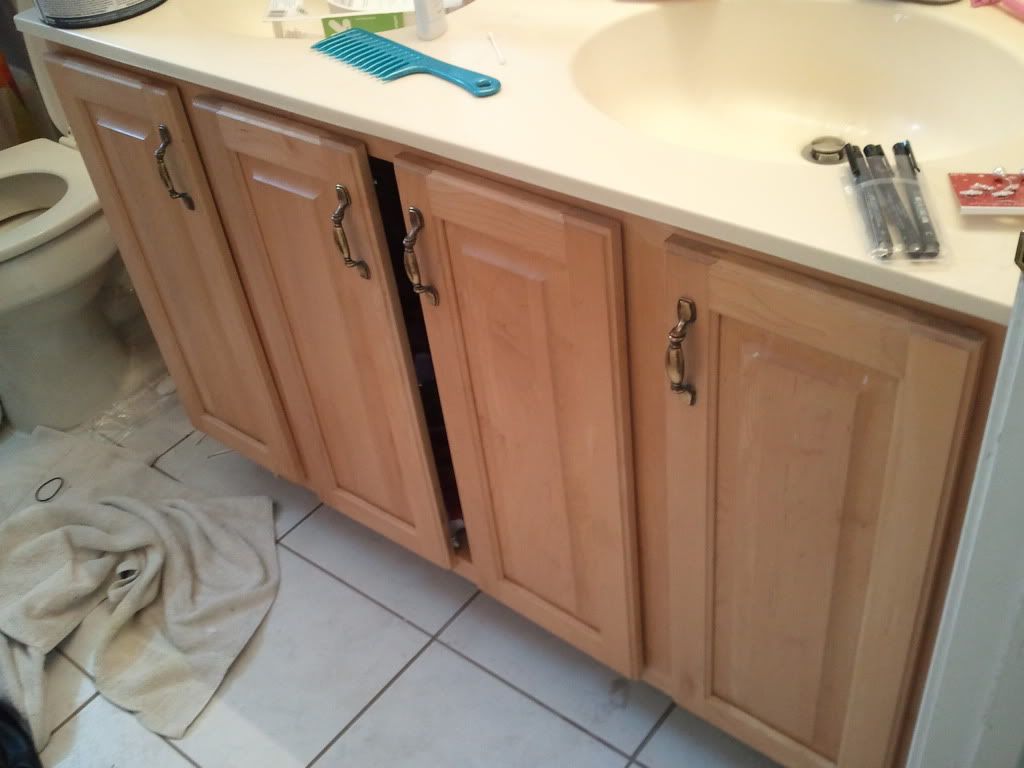

Before:
After:
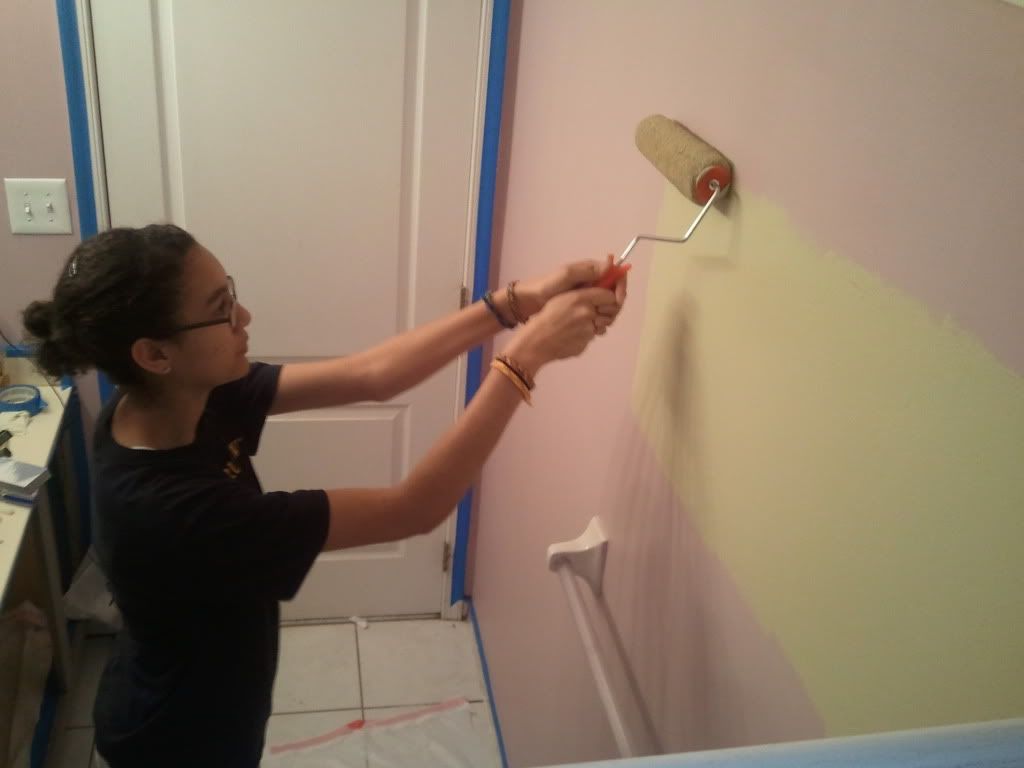
The Walls
Since we were working with purple walls, we decided to go with BEHR Premium Plus Ultra Paints, which have a primer mixed into the formula. The color we chose was called Lion, a pretty green, and the paint guy at Home Depot suggested a satin finish for bathrooms, so that's what we got. The can cost around $30 for a gallon. We taped everything, of course, and then applied two coats. The color dried slightly darker than I had anticipated, but I liked how it looked either way. It's the kind of green that can either look more cool or more warm depending on the atmosphere. I just used a 2" brush to cover smaller areas and corners, and my sister took over the rest of the walls using the roller. Total painting time was probably 4-5 hours, but I wasn't really timing it. I would suggest using a small ladder to reach heights, and not balancing on stacked chairs and stools like we did.
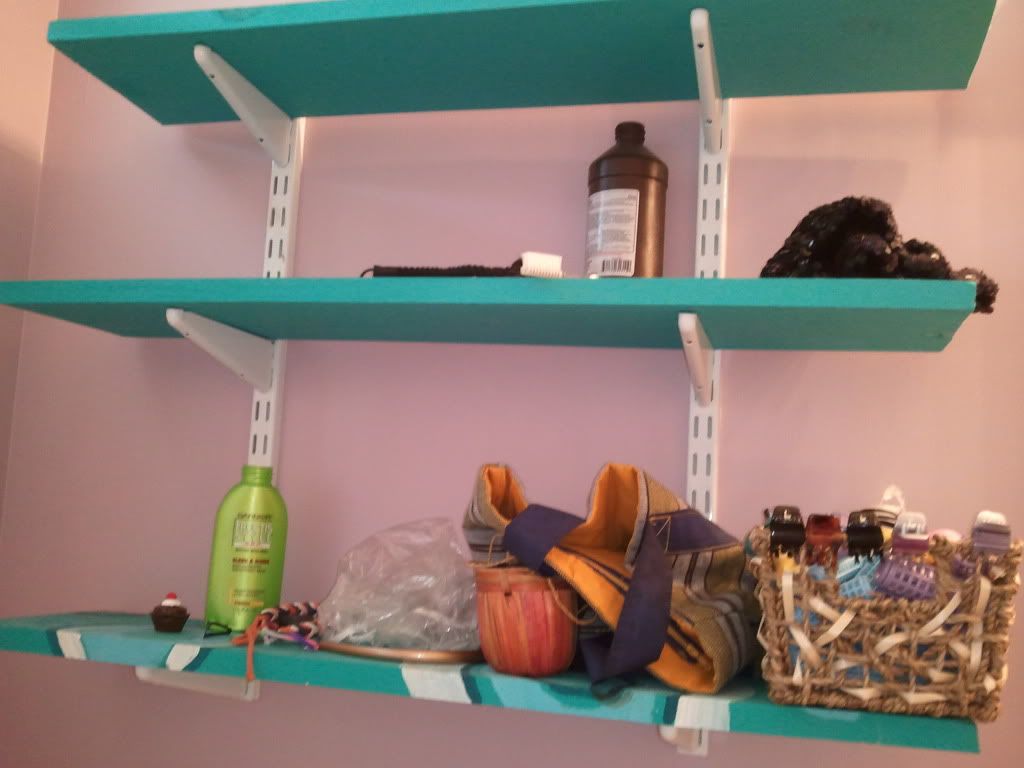
Shelving
We wanted something a little more sophisticated but not over our budget. We went to Target and bought a bronze finished shelving unit for $18. I guess bronze finish actually means black. We didn't think the stark black finish looked right with the rest of the bathroom, so we bought spray paint from Home Depot for about $5 and spray painted the shelf before mounting it on the wall. To get rid of the holes from the original shelving we had, we used Spackle and sandpaper. Just filled in the holes with Spackle, let dry for an hour, sanded, and painted.
Before:
After:
The Final Touches
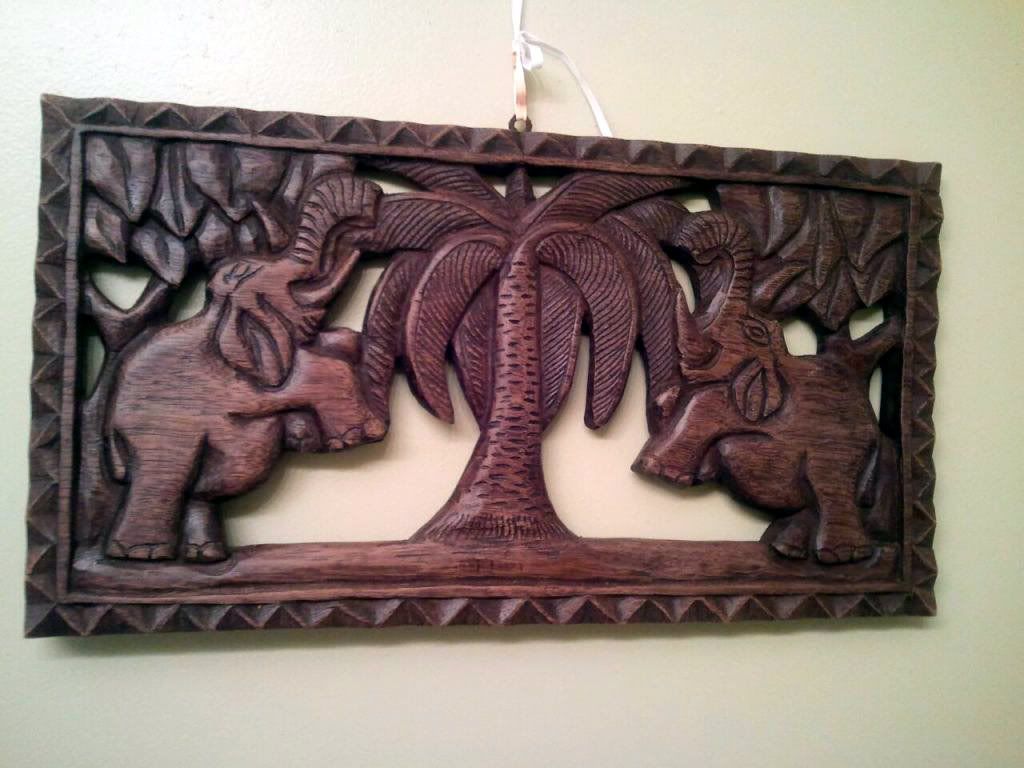 |
| An elephant portrait I bought from a wood carver in Cameroon during my last visit in 2006. |
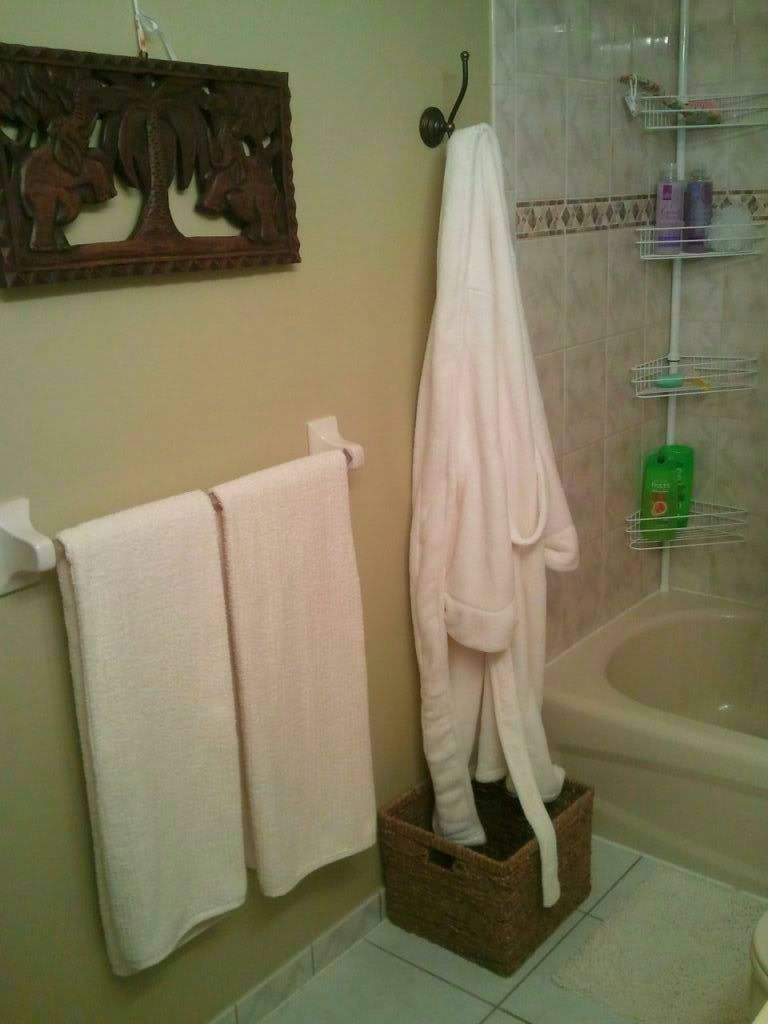 |
| Chunky robe hook Fluffy white robe Pair of fluffy white towels Shelving unit for the shower |
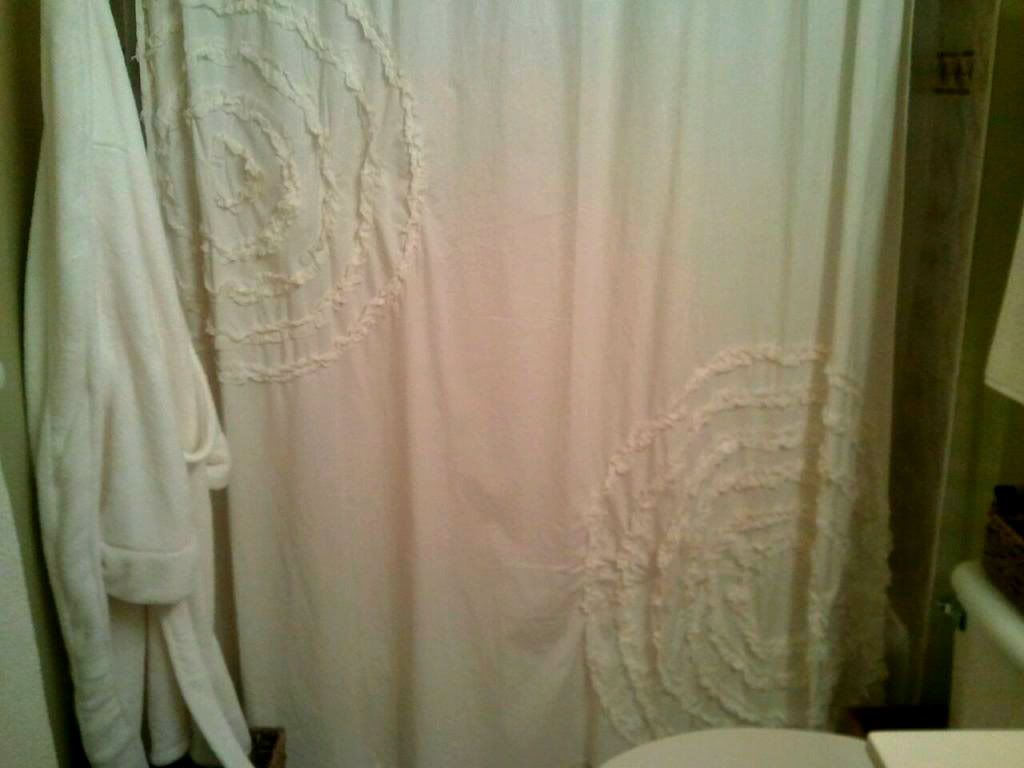 |
| Dainty shower curtain |
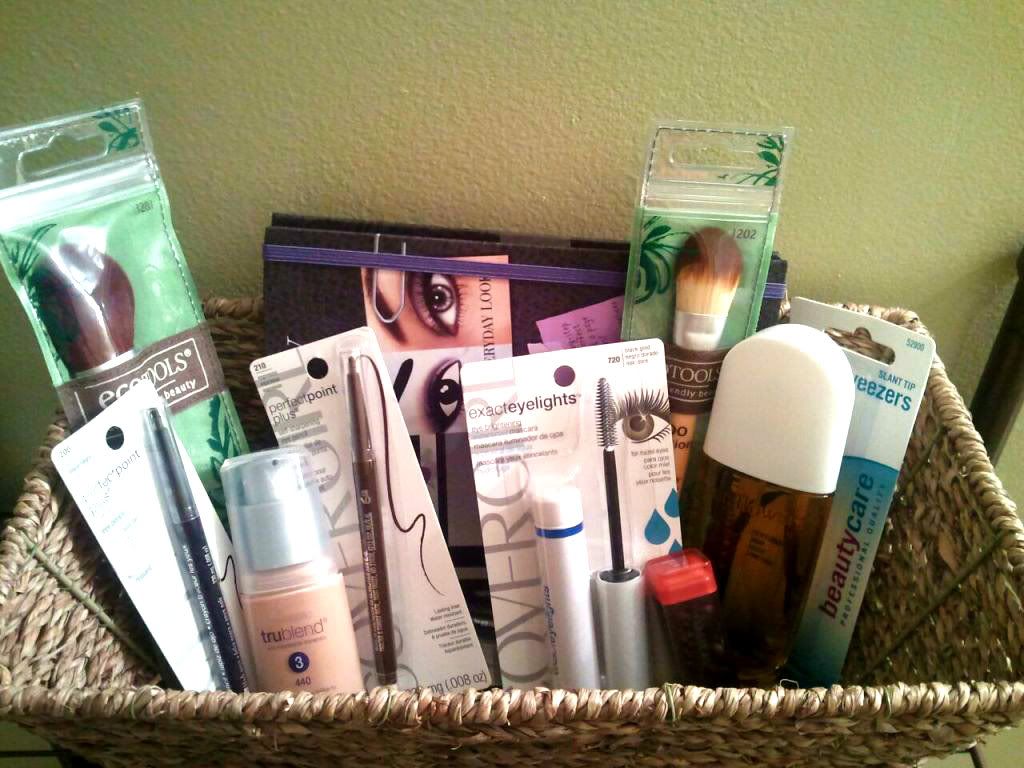 |
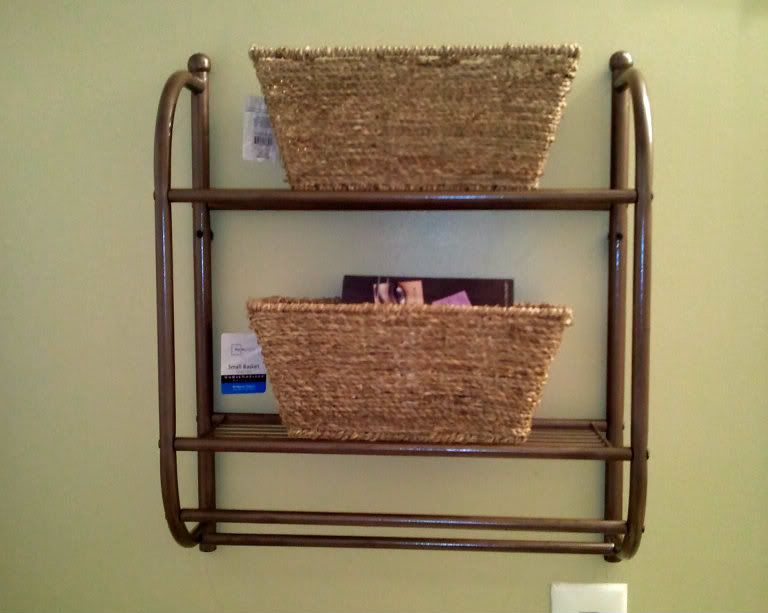
| Baskets full of things moms love |
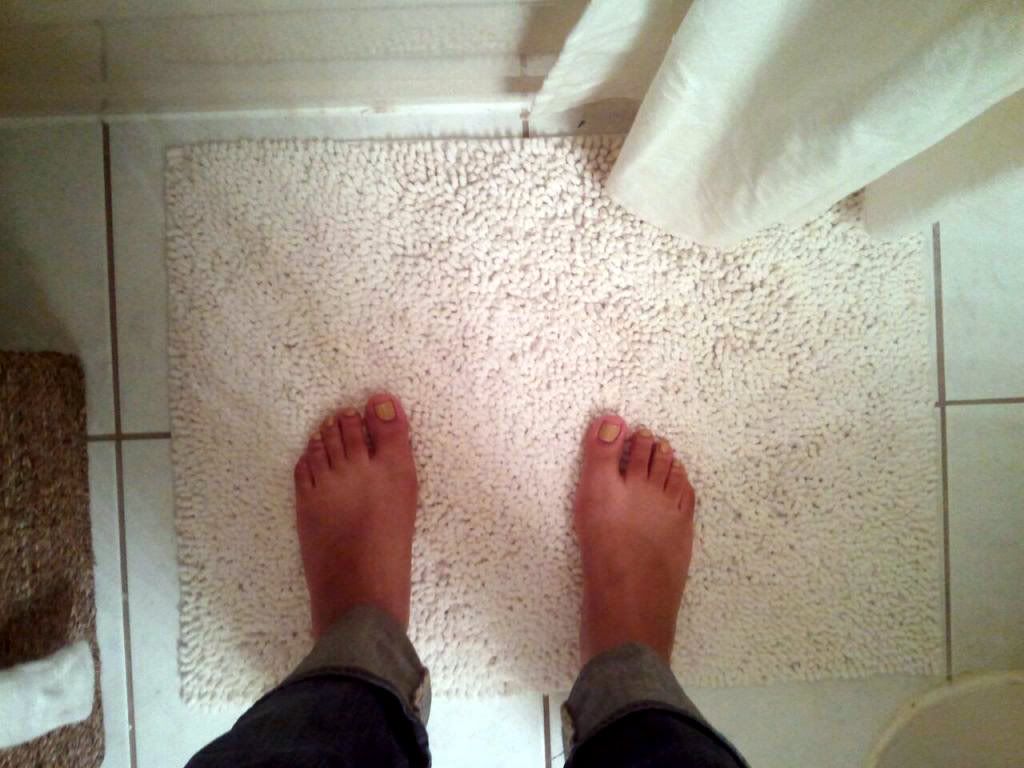 |
| Fluffy floor mats |
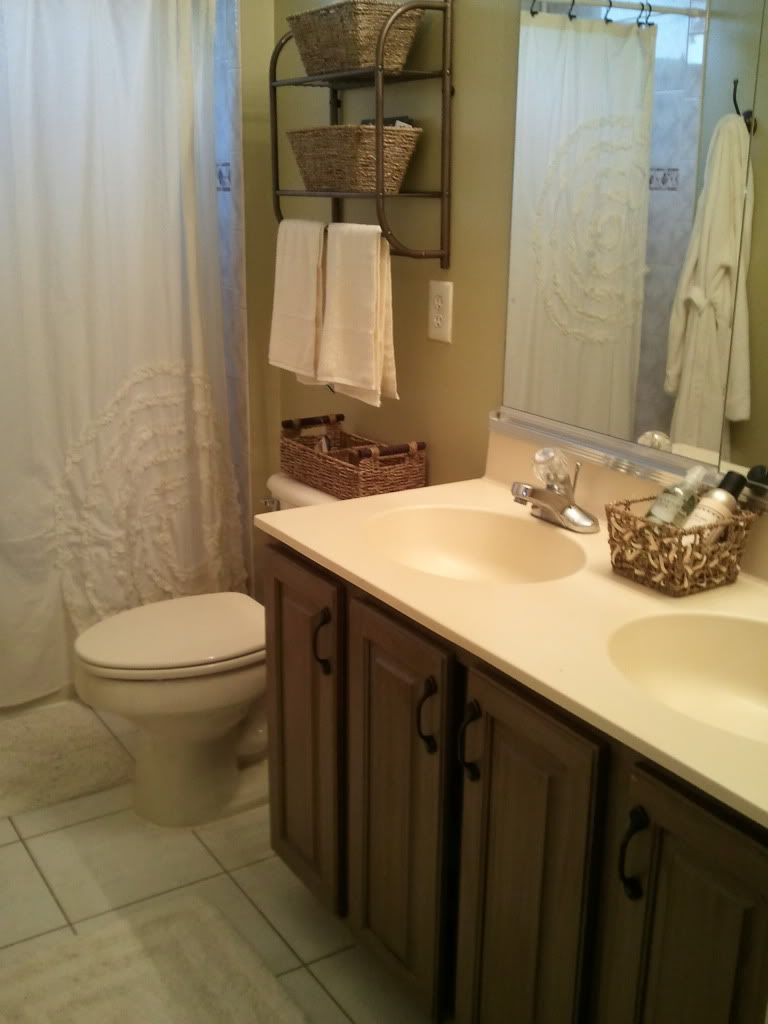
And finally...
The Happy Mommy
She loved it! And she looked very cute in her fluffy white robe.

I love how you transformed this bathroom with such care.
ReplyDelete