
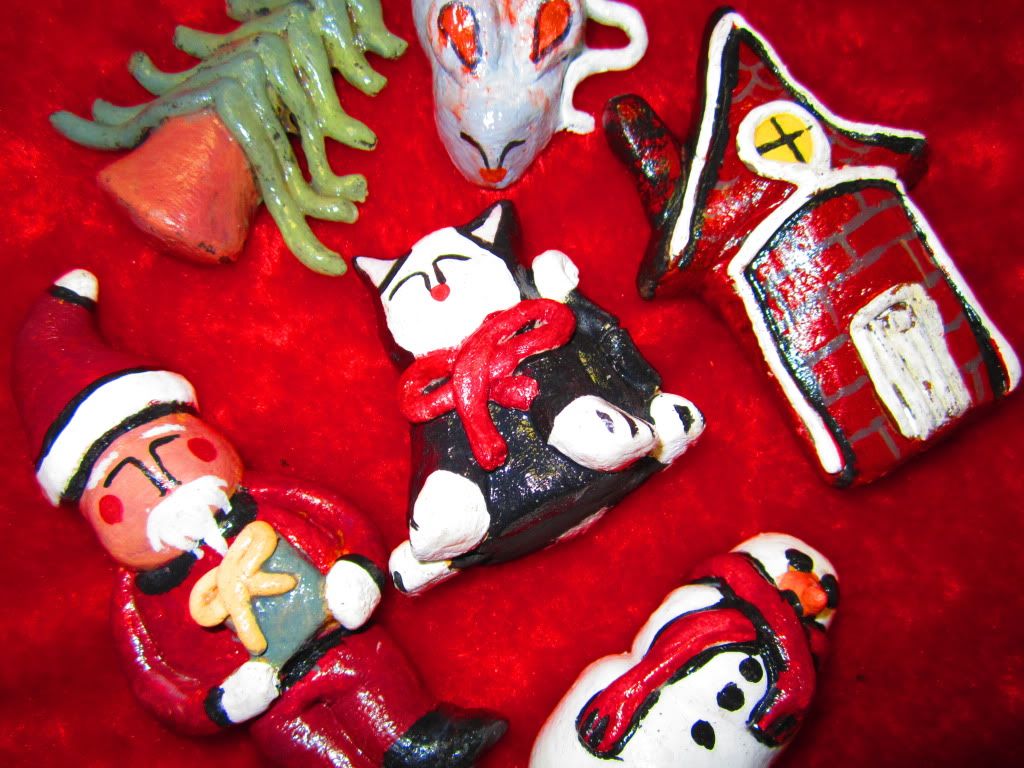
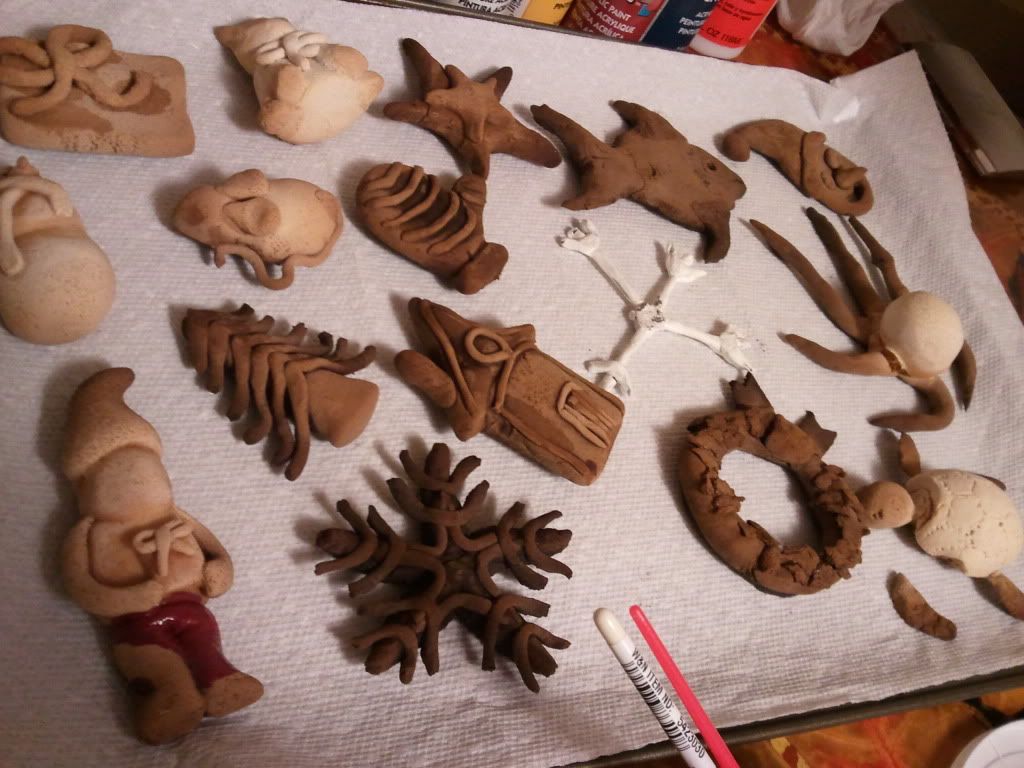
Watson, my terror of a puppy, decided to pee/chew/destroy in every canine way possible most of my family's Christmas ornaments. My mom made an emergency run to the dollar store where she bought a handful of just okay ornaments, but also made a handful of her own. They turned out really nice! I asked her how she made them so I could try making some myself and was surprised by the extremely simple recipe -- yes, there is an ornament recipe. The little Santa, snowman, tree, cat (a tribute to my other terror animal named Samson), mouse and Christmas house seen above are all made out of a simple dough, just flour, salt and water. I realized they make good gifts, too, and they are very inexpensive to make. A little dough goes a long way. For people who are more difficult to shop for, and who enjoy decorating, a set of home made Christmas ornaments could be a good gift solution.
What you will need
For dough:
1 cup flour
1/2 cup salt
1/2 cup water
~
For decorating:
Mod Podge or any acrylic finish
paint
brushes (small tips are best!)
A quick drying glue with strong hold
String or wire
Whatever else you think may add a dazzling touch
Directions
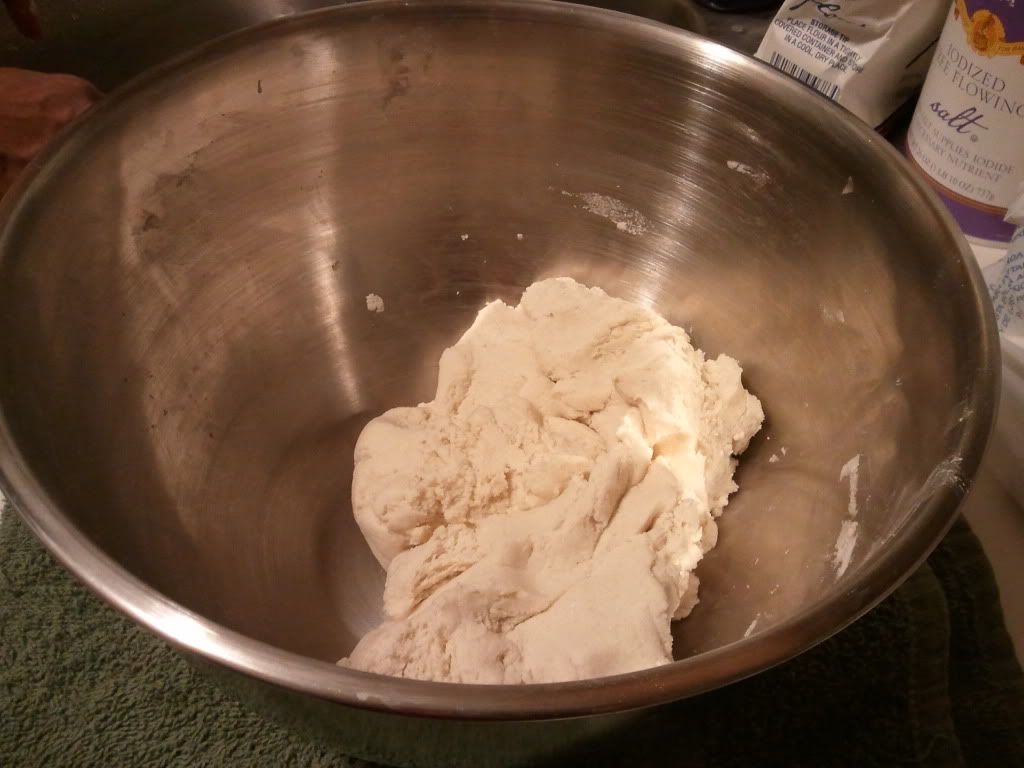
1. Mix together the dough. It works best to knead it with your hands. It's going to be a thick consistency similar to Play-Dough.
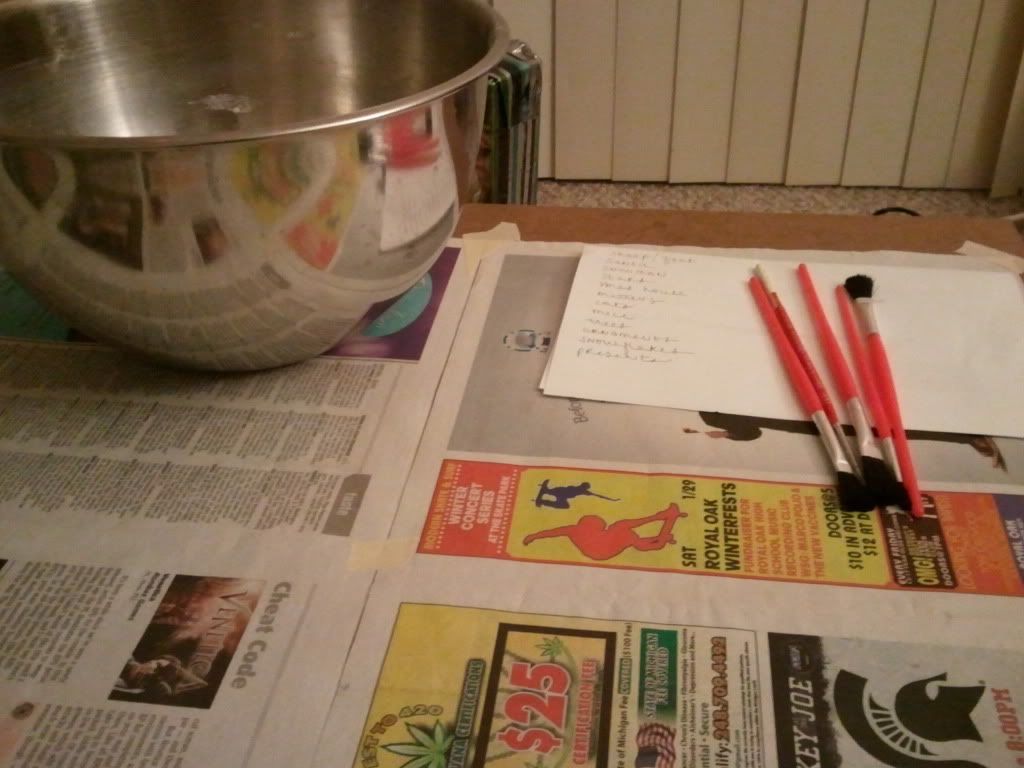
2. Set up a mess-friendly work station because you WILL be making a mess. First it will be sculpting, then it will be painting. As you can see, my brushes weren't the greatest because I got them at CVS. I happened to have a tiny tipped brush that I got at an art supply store on campus though which worked great for painting details later on. If you don't have thin brushes, try using tooth picks or wires for small details.
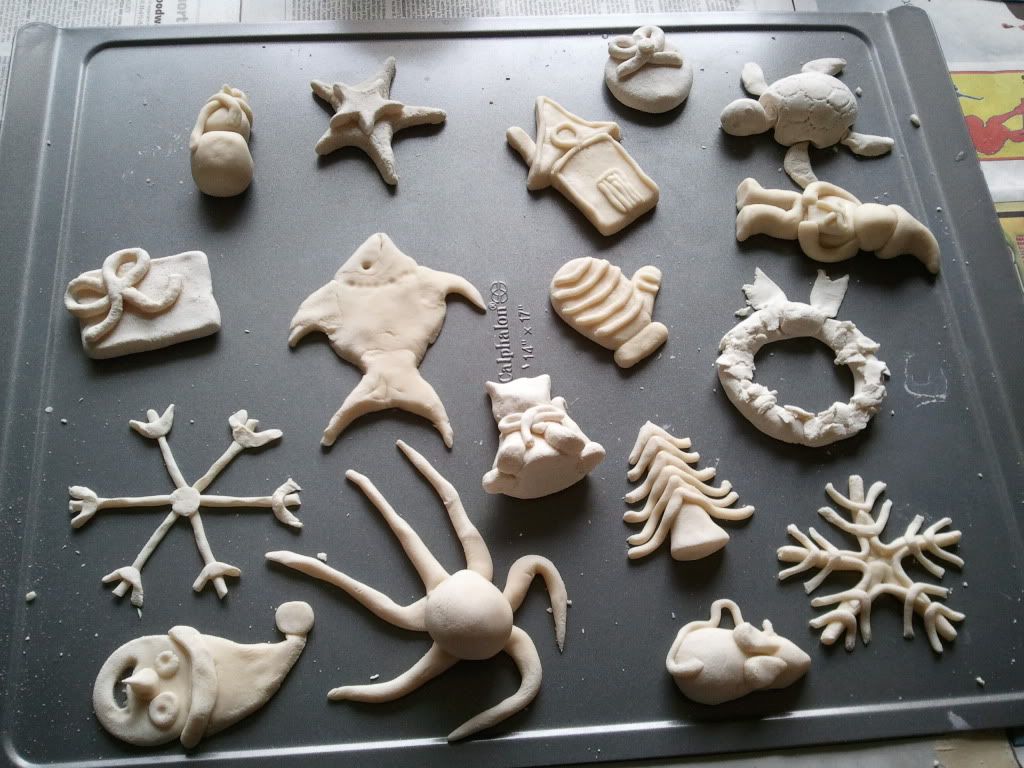
3. Mold fun shapes! Try not to go too thin, because the thin pieces are most susceptible to cracking and breaking. If you are attatching smaller peices onto larger bases, try adding a drop or two of water to the area you want to attatch to. Water acts kind of like a glue -- not too much water though, or the figure will lose its shape. As you can see, me and my boyfriend who helped, got pretty silly creative.
4. Bake at 250 degrees for 30 minutes to an hour or until hard. I baked mine for about 45 minutes because my mom suggested baking them for 1-2 hours. I found 45 minutes to be too long. As you can see, some of the figures started burning and when the dough burns, it becomes crumbly and much weaker. It could have been because my oven is extrememly tempermental and who knows if the dial is even at all indicative of its actual temperature. Just to be safe, even if you're working with a normal oven, I would say check them after a half hour. You want them to be completely moisture free and hard surfaced. If they end up being a little soft still, just put them back in the oven a little longer, but don't let them burn!
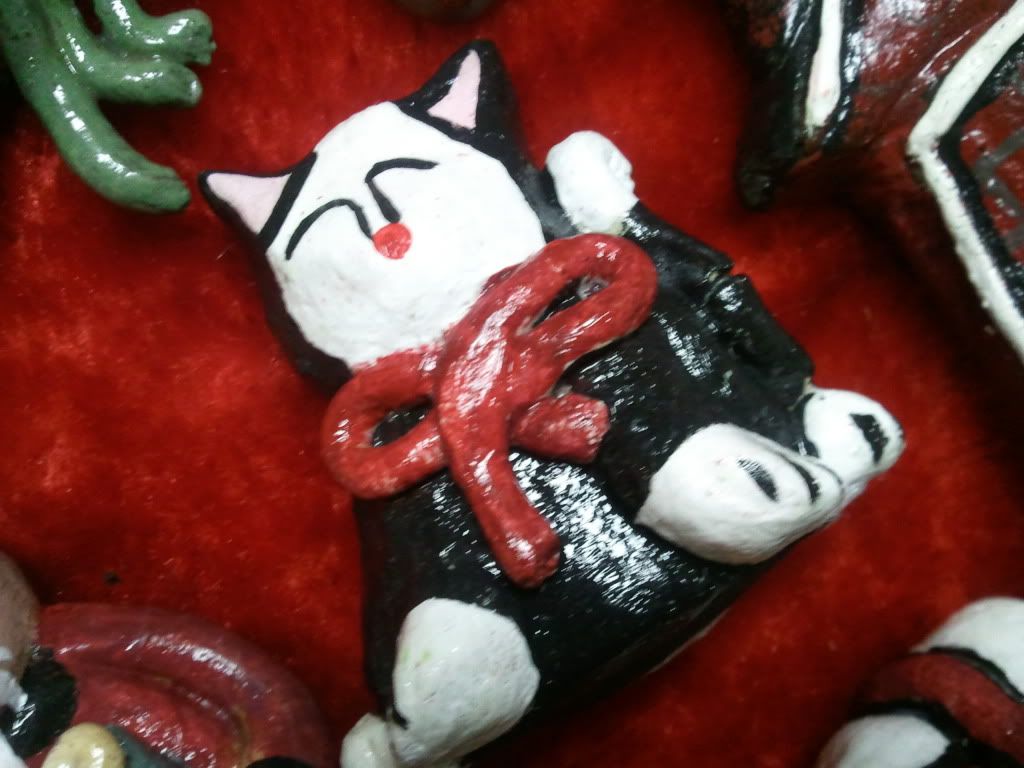
5. Now have fun and paint, glitter, decoupage even, and do whatever you want to make your ornaments look the way you please. I kept it simple and bought CHEAP "craft paint" from Meijer for literally 75 cents each. I found the cheap paints to be horrible at blending, it was impossible to make any vibrant secondary colors like green, but I was kind of okay with that because it created a more antique, vintage look. After the paint dried, I just Mod Podged a layer over it to give it that glossy finish. Glue a loop of string or wire to the back and there you have it, a finished ornament. Another option, instead of string, would be to insert a paper clip into the back of each figure while they are still doughy and before you bake them. Then the metal clips will act as hangers. I forgot that step, so I just used strings which work fine, too.
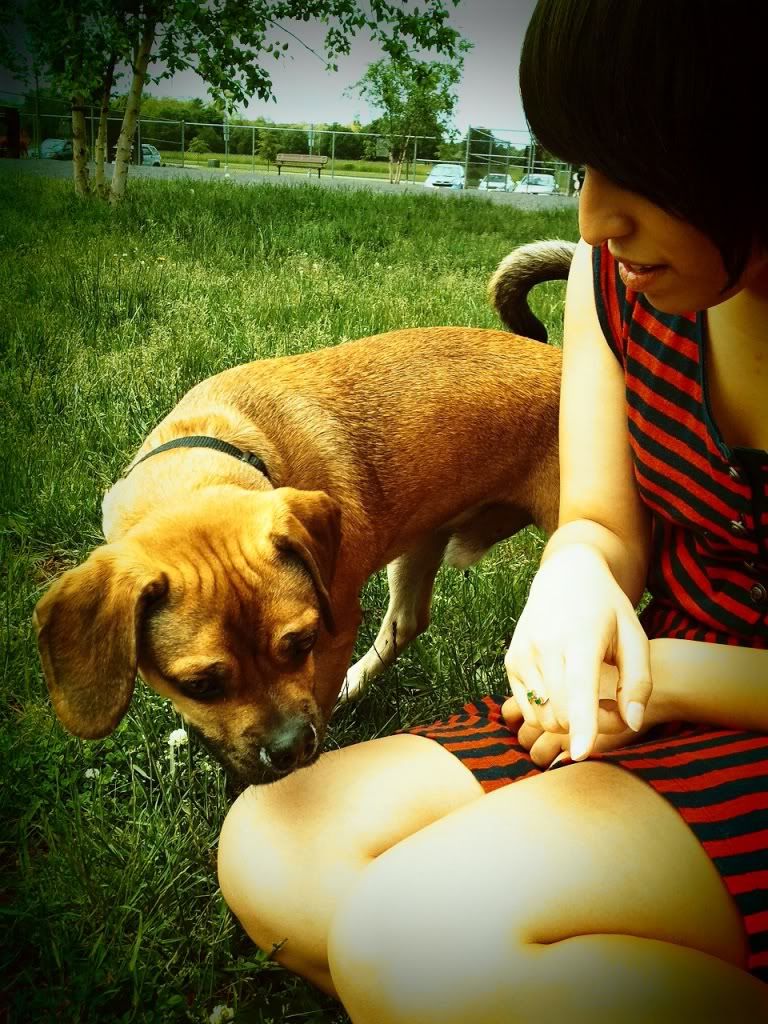 |
| (The puppy who destroyed the old and inspired the new.) |
 |
| -doe |

No comments:
Post a Comment
Any insight?